Showing posts with label animal pillows. Show all posts

Monday, October 18, 2010

my first pdf file - the pillow buddy tutorial

Thanks to Lorene over at Just Lu who guest posts over at Debra's place, Housewife Eclectic, on Wednesdays . . . wow, that was a lot of name dropping . . . I made my first attempt at linking to a pdf. 


Which tutorial was lucky enough to be the guinea pig? 


Be gentle with me.  It was after all my first attempt, so the pdf is very basic and there are probably a ton of mistakes in spelling, grammar and alignment.  Next time I'll do better . . . I promise!

Craft on! 

Friday, July 30, 2010

pillow buddy tutorial - part 2

Alright the moment we've all been waiting for . . . well, at least the moment I've been waiting for has finally arrived . . . wait for it . . . part 2 of the pillow buddy tutorial is finally finished! 

I've been either working on a pillow buddy or working on a pillow buddy tutorial for what feels like forever.  Uhm . . . that is apparently my overly-dramatic side kicking in because I went back in my archive and it turns out I've only been working on the pillow buddies since June 20.  Hmmm . . . by my calculations that's only a little over a month . . . not forever.  

Below you will find part 2 (the final part) of the pillow buddy tutorial.  For part 1 which guides you through the body-making process, go here.  Or for a pdf version click here.

**Disclaimer**
     The following tutorial is for the basic construction of the pillow buddy. You will have to adjust depending on the animal that you choose to make. I wish I knew how to attach a PDF pattern, but alas, I'm technically slow so get ready to use your own creativity to create the head of your cuddly pillow buddy.  AND I know I probably don't need to say it but I'm going to anyway . . . this is for personal use only not for resale use.


What you need for the head:
-a brown paper bag cut flat for pattern
-microfleece, regular fleece or chenille
-small felt scraps
-embroidery thread
-stuffing

What you do:
1)  Draw freehand the shape of your animal's face onto the brown paper bag.  If you aren't too fond of freehand drawing, google "coloring pages of dog head" (or whatever animal) and you might find a page you can enlarge and print off for your pattern.   Cut out pattern head.  Draw and cut out ears separately.  Because the pillow buddy body turns out to be a little over 18 inches, I kept the widest part of the head (the cheeks) to about 10 inches. KEEP IN MIND THAT YOU NEED ABOUT 1/4 to 1/3 INCH EXTRA ALL THE WAY AROUND FOR SEWING AND TURNING.

2)  For both the puppy and the kitty I decided to use some contrasting fabric for a part of the face.  You don't have to do this.  If you want to, first take the head pattern and pin it to your fabric.  Cut out ONE piece from this pattern for the back of the head.  Unpin.  Now cut the pattern piece in the way you want the front of the head to look with contrasting fabric.  Pin these pieces to your fabric of choice and cut out adding even more of an edge wherever you will be sewing the two pieces together.  

3)  Put the two contrasting pieces of fabric for the front of the head right side together at the edges and pin.  Sew together.  In the way I did this for the puppy, I made little eyelids which you can see in the second picture below.

4)  You need four pieces cut from the ear pattern.  Put ears right sides together and pin.  Sew around leaving flat ends open for turning.  Turn.  You can top stitch around the ears once they are turned, but I chose not to for the pupply so that the ears would be pretty floppy looking.  I cut four large triangles for the kitty ears and I DID topstitch the kitty ears after turning to make them stiffer and more likely to stand up.  

5)  Baste or pin the ears to the right side of the back of the head.

6)  Layer the front piece of the head over the ears sandwiching the ears in between.  Head pieces are right sides together.  Pin.  Sew around leaving about two inches open for turning.

7)  Turn head right side out. 

8)  Stuff head but don't stuff it too full yet because you are going to sew on the nose. 

9)  Cut out a piece of felt for the nose and start to sew it on with embroidery thread.  I waited to do this until now, so I could see exactly where the nose would be when the head has stuffing in it.  After sewing most of the nose on, I put a bit of stuffing in it to make it stick out and sewed the rest of the nose up. 

10)  Use embroidery thread to stitch the mouth down from the nose.

11)  Stuff the head full now and stitch up the opening of the head.

12)  Use pink thread to sew the head very securely onto the body.  I basically used needle and thread to sew a small circle of stitches connecting head to body.  Then I went around again making a bigger circle.  In the process of sewing the larger circle, I closed the hole on the body that was left from turning and stuffing by stitching up the hole and attaching each stitch to the head as well.  Basically, you just need to sew the head on securely however works best for you. 

13)  Secure eyes on head.  I used felt for eyes on the puppy, but you could use buttons as well.  (I know . . . I know . . . it seems like it's a little late in the game to put the eyes on, but that's how I roll.  I don't even have eyes on the kitty pillow buddy yet.  So basically, put the eyes on whenever you want.) 

14)  Cuddle with your new pillow buddy.  Okay, I know you made this for a kid in your life, but you can still cuddle with it.  Do it . . . you won't regret it.  These pillow buddies are so soft and cuddly you might even want to make one for yourself!  ;)
**The kitty's head was made by cutting a triangle like hole in the front face and cutting contrasting fabric in a slightly larger triangle.  I pinned and used the sewing machine to sew the triangle shape into the triangle hole.  Done!  Not too hard either.

I'm going to go celebrate the completion of this tutorial!  I'm baffled by two things:  1) that I finished it and 2) that it took me this long to finish it!  But I'm done!  Woohoo! 

Please feel free to e-mail me any questions you have or clarifications you need.  I realize that I may not be very clear, so I'm happy to try to help in any way.

Now, go get started on your pillow buddy and don't forget to send me pics when you get done!

Craft on!


I may link this project to these great parties.

Wednesday, July 7, 2010

stay tuned . . . pillow buddy update

***
My mom used to sing this little ditty while I was waiting for her to make my mac 'n' cheese which seemed like it took way longer than the 10 minutes the box claims it takes:

Be patient.  Be patient. 
Don't be in such a hurry. 
When you get impatient, you only start to worry.  Remember, remember that God is patient too. 
Just think of all the times when others have to wait for you.

A few of you have been asking me when I will be posting the pillow buddy tutorial.  Maybe there are others out there who are wondering but don't want to ask. So here's the update . . .

I am working on the tutorial.  I promise.  My problem is that I'm impatient . . . maybe even more impatient than when I was at the age of five waiting for my mac 'n' cheese.  I don't want to sit down and type out a tutorial when my brain is swimming with ideas for my recent t-shirt refashion fixation.  I'm working on the tutorial a little bit each night, and I hope to have it up and ready for your viewing pleasure as early as next Monday and as late as next Friday.

Here's the preview of what's to come:

Hmmm . . . what's missing here? 

Obviously, I still have an issue with the kitty pillow buddy.  I have tried six or seven different eye options, and none of them are exactly what I want.  Any ideas?

Craft on!

Wednesday, June 30, 2010

the saga of the pillow buddy


June 8 - I announced (a week late) that June's craft till Christmas would be the animal pillow . . . now renamed the pillow buddy.

June 19 - I fessed up that I had put zero work into the pillow buddies.  Ten days before June was out and I hadn't even purchased fabric and supplies for my pillow buddies.

June 20 - Surprise . . . an impromptu trip to the fabric store . . . the first pillow buddy is started.

June 23 - Another even BIGGER SURPRISE . . . the first pillow buddy is finished! 

June 27 - The second pillow buddy is started.

June 30 - The last step - sewing the head on the body.  I have hope that I'm actually going to get this little gal done before July 1!!!!!  So exciting! 

Tonight I carefully hand stitched the kitty's head onto the body.  I tied in the finishing knot.  Set her down on the floor to attach Velcro and take a picture and another really UNEXPECTED SURPRISE . . .


What is wrong with this picture?  Hmmm . . . you think I would have noticed that I was sewing the head on upside down at some point during the 45 minutes it took me to sew this on.  Yes, you would think that, but you would be wrong.  Forty-five minutes to sew it on . . . four minutes to cut it off. 

Wah wah

So the second pillow buddy will indeed not be done by July 1.  I'm throwing in the towel pillow tonight and tomorrow I will . . .

craft on!
SYS Thurs

Saturday, June 12, 2010

what I'm up to: a seventh craft update

Alright, so a few days ago I announced that my seventh craft till Christmas is the stuffed animal/pillow . . . a pet pillow.  This project is a double blessing because my kids have been begging for giant pillows and a pet of some sort.  Hmmmm . . . I wonder if they will see a pet pillow as an adequate pet stand-in?  I can always hope, I guess. 

I've been busy the last couple of days . . . busy with everything but crafting and sewing.  But tonight I actually had an hour to start on the seventh craft.  I have to admit that as soon as I announced that I would be working on these pet pillows, reality sunk in and panic was right behind.  Here's a news flash . . . I have no idea how to make a pet pillow. 

But I have to start somewhere, so this is how my seventh craft began tonight:

Yes, that is my fabric . . . NOT ALL MY FABRIC though.  Did you read my post a few weeks ago about my disease?  Do you believe me now?

So I began my seventh craft - the pet pillow - by sorting through my fabric in hopes that I already had stuff I could use.  Guess what.  I don't.  Bummer.  I can probably use some of the fleece I have, but for the majority of the body, I need some plush chenille type fabric.  So the seventh craft is on hiatus for a few days until I can make the 40 minute journey to the nearest fabric store.  

In a few days, I'll . . . 

craft on! 

Tuesday, June 8, 2010

tuesday's true confession and the seventh craft

This is a two-for-one post . . . you are getting a Tuesday's True Confession post AND the much anticipated (by me but probably nobody else) announcement of my seventh craft till Christmas all rolled up into one.  Aren't you the lucky blog reader?  (If you are new here, and wondering why in the world I'm already talking about Christmas crafts, please go to my first post.  Trust me, I'm not Christmas crazy.)

Okay, first let's tackle my true confession for this week.  I'm both a procrastinator AND a perfectionist.  This is without a doubt THE WORST COMBINATION EVER!  In case you have no experience with either, let me explain. 

Procrastinators put off doing stuff as long as they possibly can until it absolutely MUST be done.  For example, during my college years, if I had a paper due on Monday, some sort of force of nature prevented me from doing any writing until Sunday.  It was as if it was beyond my control.  The kicker was that this practice was only enforced by my professors.  If, for some uncanny reason, I happened to write my paper in advance, I always got a lower grade than if I waited until the very last minute to start the writing process.  What did I learn from this?  Clearly, it's better to wait until the last minute. 

Perfectionists have a compulsion to do things as perfectly as possible.  This is an extremely annoying personality trait on its own . . . just ask my husband who has graciously learned . . . 
1)  how to put all the silverware pointing the same exact direction in the drawer and 
2)  how to fold towels into three sections so they fit evenly in the linen closet. 

But pair perfectionism with procrastination, and you get someone who MUST wait until the very last minute to do something that MUST be done perfectly.  YIKES!  A deadly, or at least highly frustrating combination.    

So I've put off announcing my seventh craft till Christmas because I had such a hard time finishing up my eighth craft till Christmas just the way I wanted it.    I finished and refinished and then completely redid my mail bags for the pretend and play mail carrier kit, and I'm still not totally thrilled with the way they turned out. (That's the perfectionist in me rearing it's brutal , depressing, bubble-popping head.)  But they are done, and I'm refusing to let myself rework them yet again.  With the mail carrier bag tutorial that I will be posting tomorrow, I'm closing the book on the pretend and play mail carrier kit. 

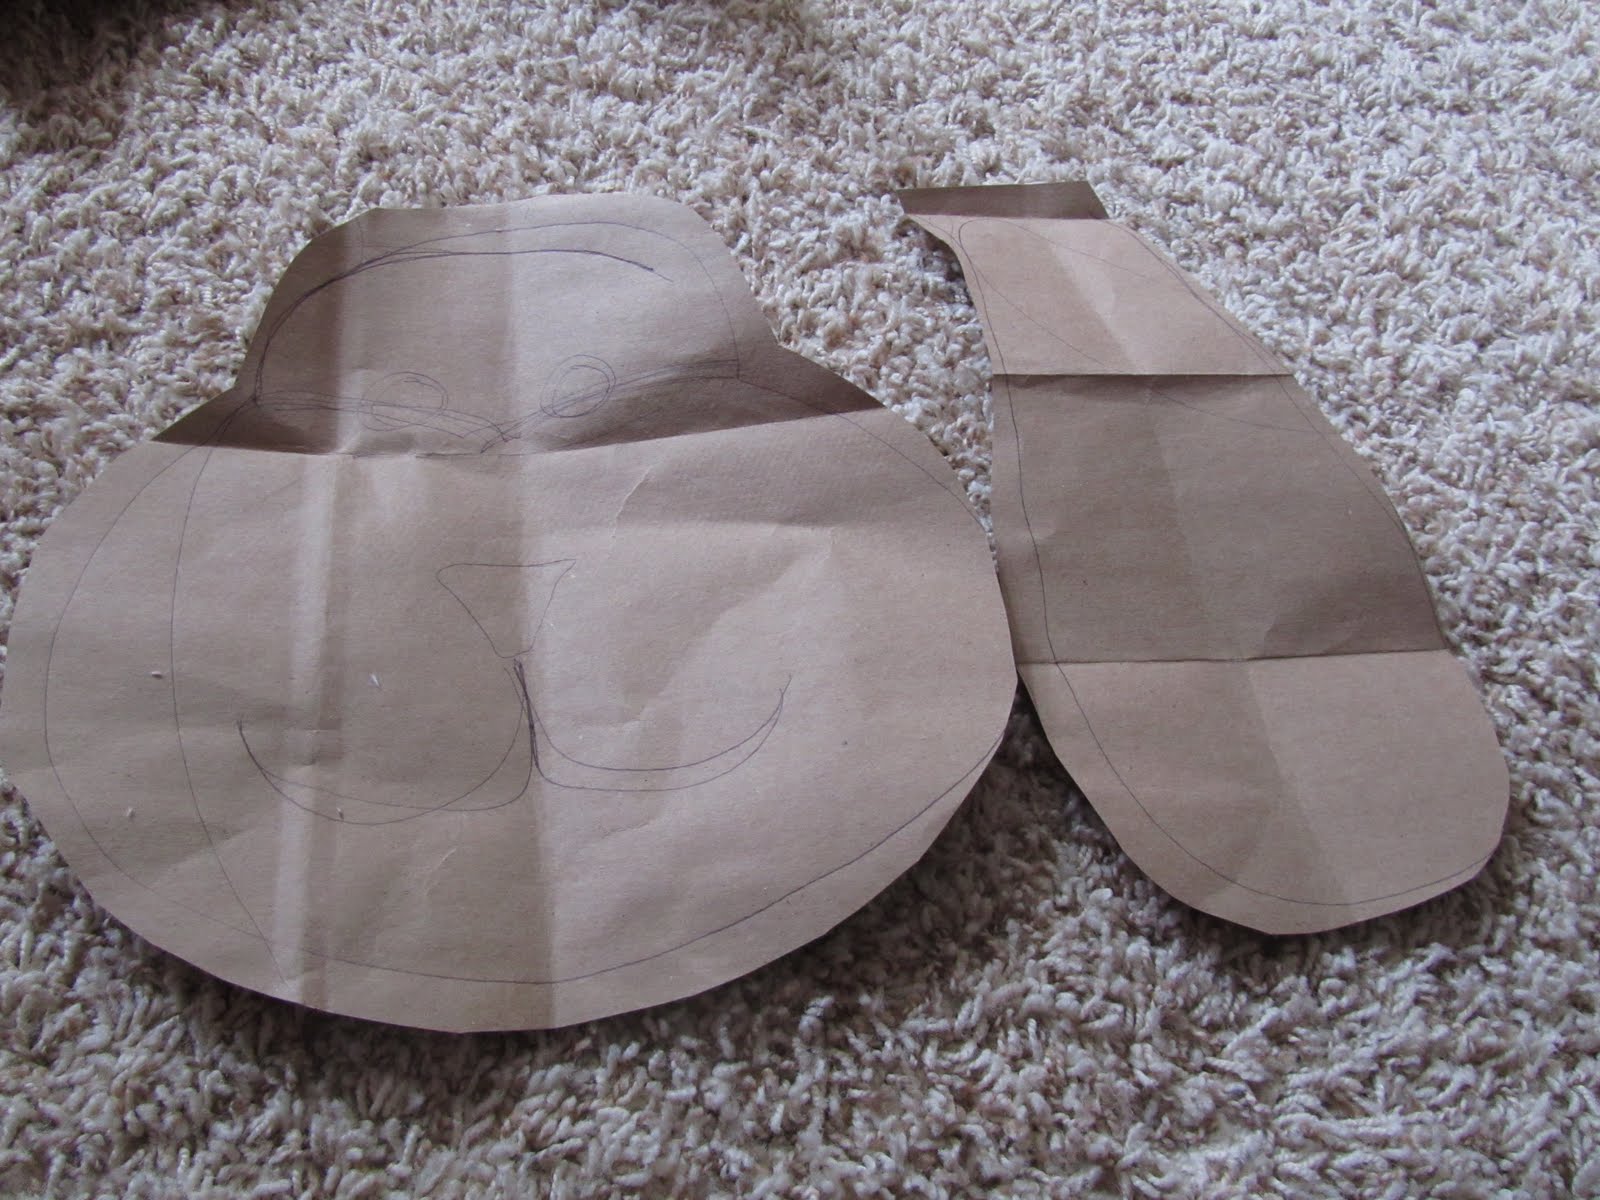
And I'm opening the book on . . . animal pillows!!!!!  "Animal pillows?" you say.  YES, animal pillows!  I have no idea how to make animal pillows.  I suppose like most of my little crafts/Christmas presents, I'll figure it out along the way.  And I'll show you how too.

So here's the background on this particular project pick for June . . .

The other day my girls and I were sitting together watching one of the few shows they are allowed to watch . . . The Adventures of Pippi Longstocking.  Love this show!  We aren't commercial people, so usually I skip right over the commercials.  However, on this particular day, I didn't get to the remote fast enough.  The first commerical at the break was a commerical for cute, fluffy animal pillows.  They are stuffed animals one minute, and with a quick Velcro change, they become pillows.  To my girls, this was as amazing as landing someone on the moon.  They were drooling all over the TV.  And then they looked at me with these big, sad eyes and the oldest said, "Mommy, we NEED one of those!"  (This is, of course, why we don't watch commericals) 

After a drawn out conversation about the difference between NEEDS and WANTS (it's official, I've turned into my mother), I hatched a secret plan to add the animal pillow idea to my "crafts till Christmas" list. 

So . . . due to my procrastination, I now have only three weeks to make two perfect quick-change animal pillows that are pillows by night and cute stuffed animals by day. 

Should be interesting and commical and frustrating all at the same time.  I hope you'll stick around for the month to encourage me, laugh with me, kick me in the pants when I seem to be stalling, or maybe even join me in making your own animal pillow/stuffed animal.  

Craft on! 
  
Related Posts with Thumbnails