Sisters Jeanine and Amy are the co-creators of everything crafty over at Serving Pink Lemonade. Today for this edition of Stuff Your Stockings, we are welcoming Amy from the crafty duo. Welcome Amy!
How exciting to be over here at twelve crafts till Christmas! Thanks for having me Elizabeth. I've loved seeing all the other stocking stuffer crafts so far. So many great ideas out there. And Christmas is just months away. Can you believe it?
Over at Serving Pink Lemonade my sister and I share the fun things we do with our kids. You can find crafts, homemade toys, activities to keep your kids entertained while traveling, learning games, songs and stories, book recommendations, free templates and more. We would love for you to stop by sometime.
Today I'm going to share with you a mini play mat that I made for my kids. They're 8 1/2" x 11"--which makes them the perfect size to roll up and stick in a stocking and they're also great to bring along in the car or when traveling.

First I drew up a template. I made it the mirror image of what I wanted the end result to be.

(Click to enlarge)
Once I was satisfied with my template I placed it right under my Wonder Under and traced the different parts onto it.

Once I was satisfied with my template I placed it right under my Wonder Under and traced the different parts onto it.

I then cut around each piece. I purposely didn't cut on the line at this point. It makes it easier when cutting out the felt.

I then placed each piece on the color felt I wanted . . .

and ironed it on. I always use a press cloth when doing this. It keeps my iron from getting ruined and protects my project from melting from too much heat. Always spray a little water on your press cloth before you iron.

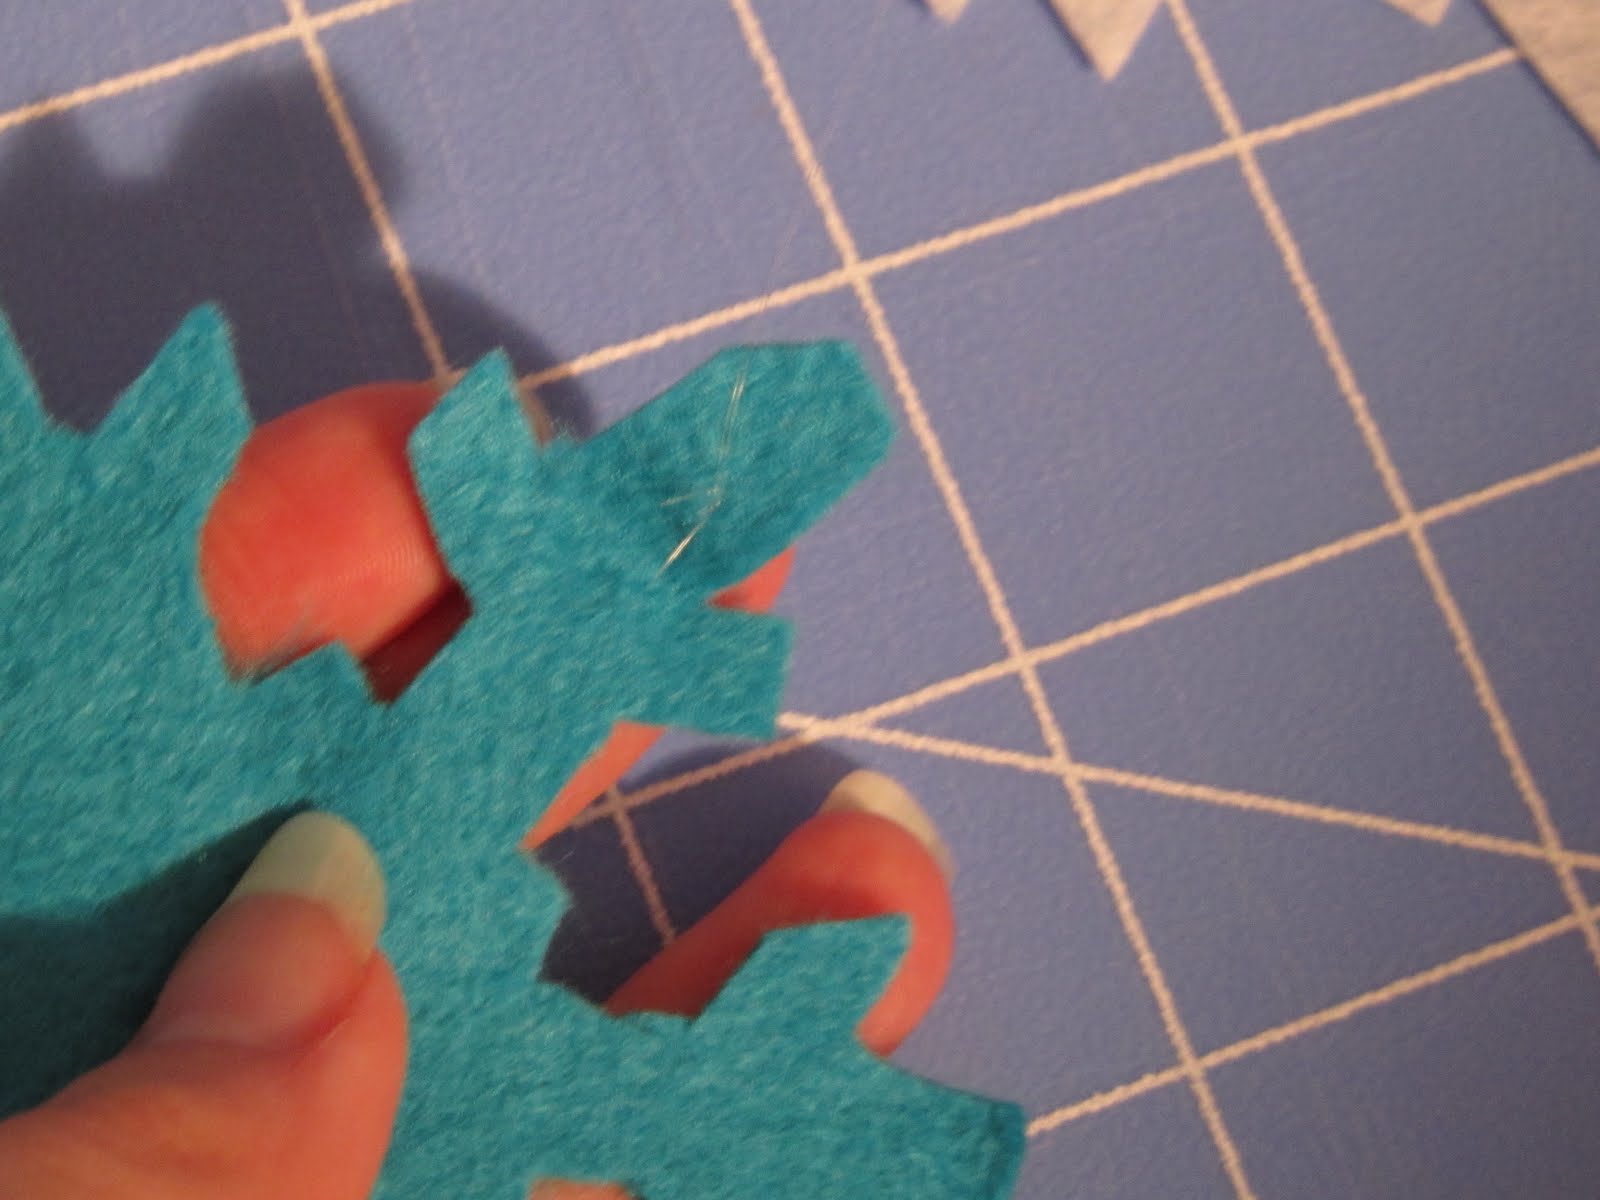
I then cut each piece out on the line. I find it's best to wait about an hour after I've applied the Wonder Under before I peel the backing off. If I try to do it right away it's hard to peel, but after I've given it some time to cool it come right off.

After you have all your pieces lined with Wonder Under and cut out . . .

You're ready to assemble your picture on the blue felt. Once everything is lined up and where you want it cover your project with your press cloth, spray a little water and get those pieces ironed on.
I did mine is phases, ironing and securing on the bottom layer first and then ironing the others after that.

I then trimmed the excess blue felt off, added a backing, and did a zig-zag stitch all the way around to bind them together.

All Done . . .
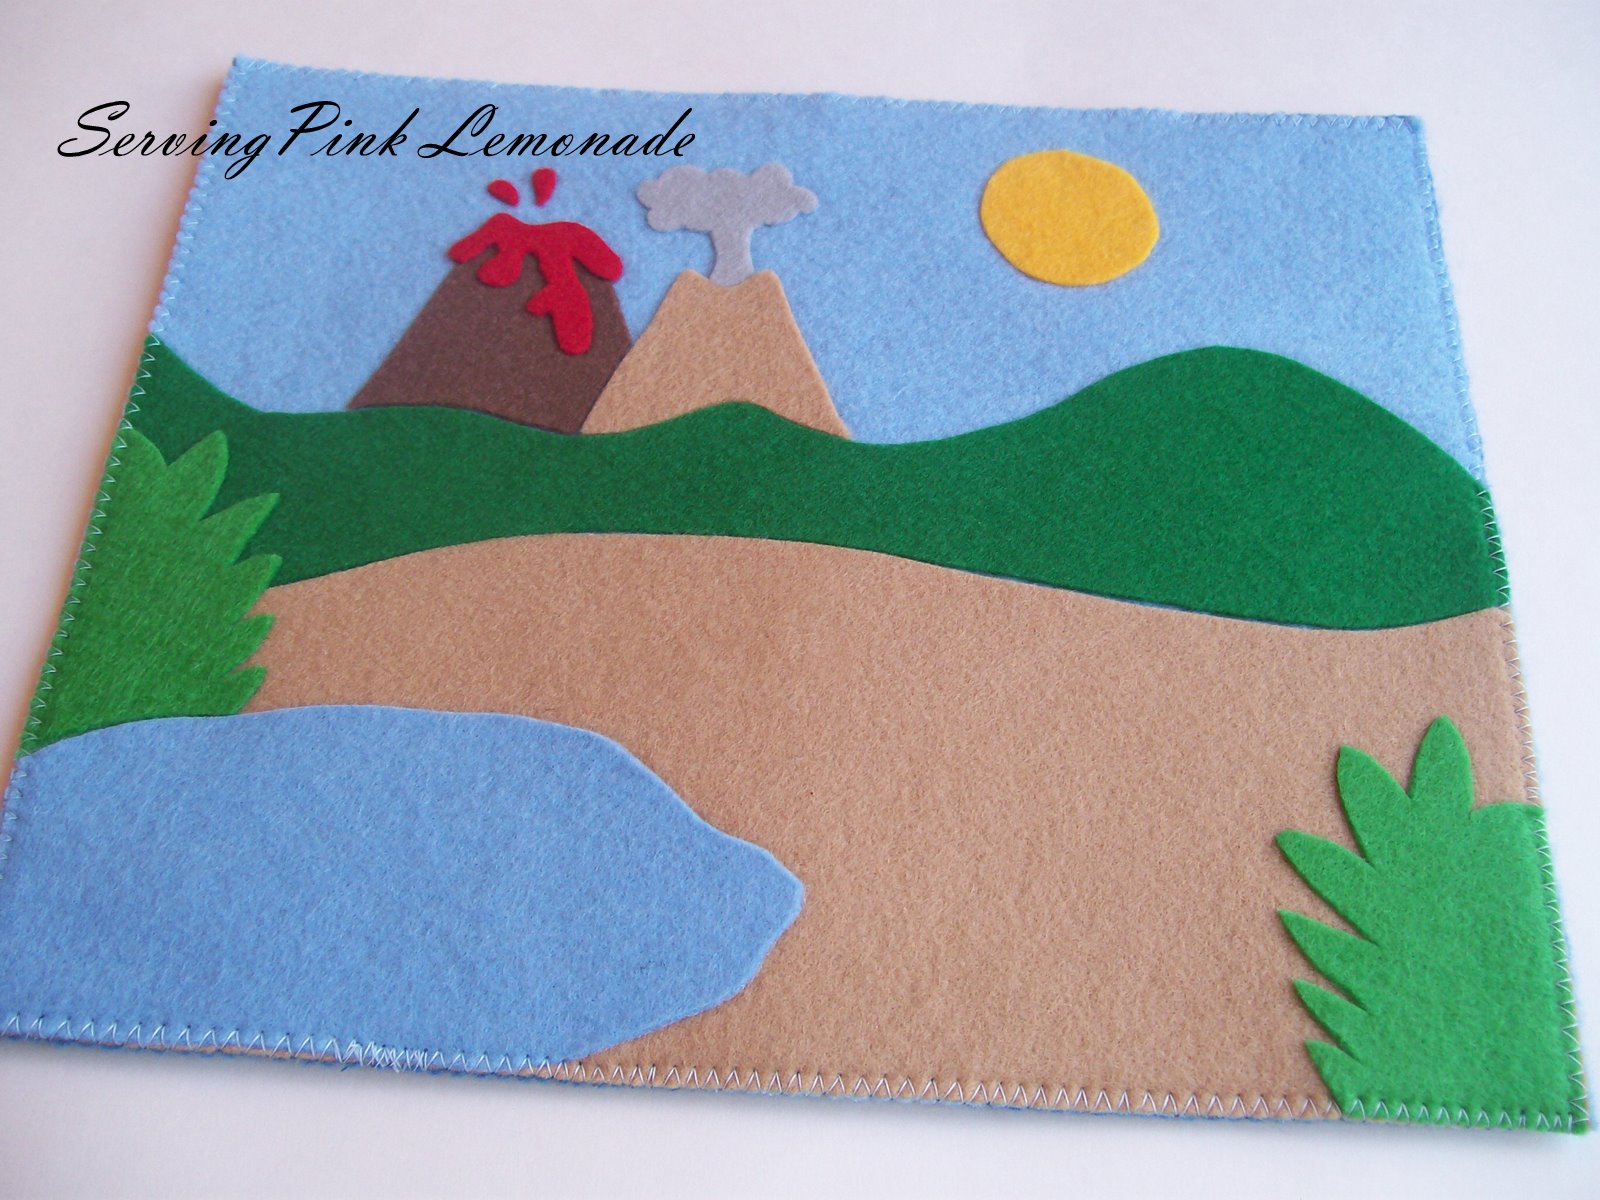
And ready for some serious dinosaur play!

Hope that makes sense. It really is an easy-peasy project. All you have to know how to do is trace, cut, and iron.
And for those of you who don't have dinosaur lovers in your home, here are some mini car mats that you can also find over at Serving Pink Lemonade. They can be made using the same concept as the dinosaur mat. When you make all four of them they can be arranged together to make one big mat.


Hope these help inspire you to make a homemade Christmas.

Thanks Amy!
I was so inspired by Amy's felt project that I added this to the list of things to make for my nephew's busy bag. And just for fun I made an extra mini-car mat for your chance to make it or win it.
Here's how you can win your own 8 1/2 x 11 inch mini-car mat:
**Leave one comment for each entry.**
1) Be or become a follower of twelve crafts.
2) Be or become a follower of Serving Pink Lemonade.
3) Link up an idea/stocking stuffer to the stocking stuffer idea page.
4) Help promote Stuff Your Stockings Saturday by posting the button (code on sidebar) on your blog or on the stocking stuffer idea that you linked up.
5) Leave a comment with your favorite item to put in a stocking.
Giveaway will be open for entries until Friday, October 8, 2010 @ 11:59 PM (CST).
Craft on!