During wood craft week I painted people. Well, I didn't paint actual people; rather, I painted little wooden dolls. I think they turned out kind of cute. I would put these little dolls on my success list. I couldn't keep them tucked away until Christmas, so I gave them to my girls in their Easter baskets.

On the other hand, my lacing beads project went right onto the failure list. My niece received some lacing beads last Christmas. My kids spent hours playing with their cousin's lacing beads. Rather than pay $15.00 to $20.00 for a set of commercially made beads, I thought I would try my hand at it. But . . . these little beads were tougher to master than I thought they would be, and I ended up putting them aside for a while.

I finally mastered the art of painting bobbins and other wood shapes, and I was able to finish this Christmas gift for my youngest daughter.


If you are looking to dabble in making a homemade gift for a child in your life, this is the perfect gift to start with. So grab the following supplies and get started.
Supplies for beads:
-acrylic paint or spray paint (Please don't use the cheapest acrylic paint you can find unless you are prepared to paint ten coats because cheap paint tends to be more watery. Take it from me . . . this is not the route you want to go!)
-Modge Podge or other non-toxic sealer
-paint brushes

Supplies for recycled bead container:
-Clorox wipes container or other cleaning wipes container
-large fabric scraps
-ribbon
-Modge Podge (Again? Yes, again!)
-razor/utility knife

STEPS FOR LACING BEADS: (This is so easy that I feel silly telling you what to do, but I will anyway.)
1) Sand any rough edges of bobbins, ball and wood shapes. This may seem unnecessary, but I highly recommend it!
2) Paint bobbin, balls and other wood shapes in various colors. You will have to do three or four coats depending on paint thickness and color. Let each shape dry in between coats.

3) Seal each wood shape with Modge Podge. I also used two coats of Modge Podge letting the first coat dry before I added the second.
4) Lacing beads done! How easy was that??!!

STEPS FOR RECYCLED BEAD CONTAINER:
1) Strip label off Greenworks Clorox wipes or other wipe container.
2) Wrap large scrap around to cut accurate size. Modge Podge this large scrap around the container.


3) Modge Podge ribbons on top and bottom. Don't worry it dries clear!


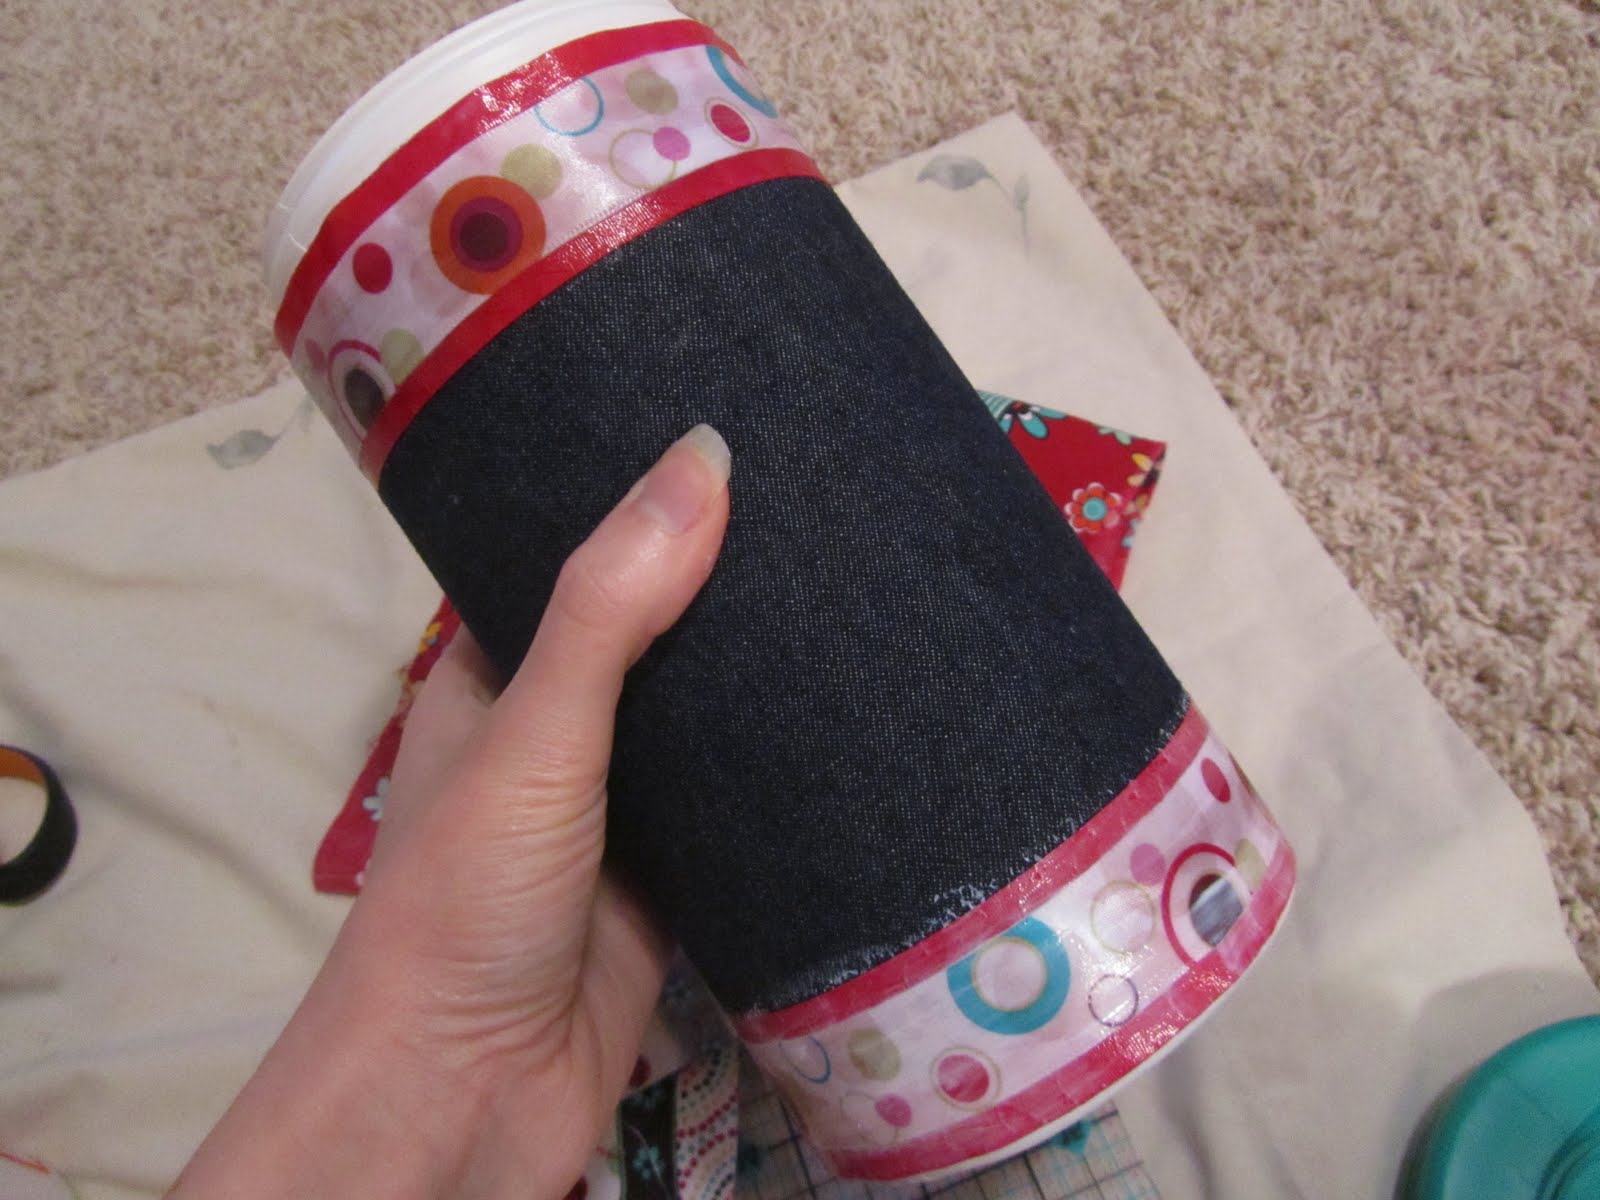
4) Cut plastic center out of top opening.


5) Bead container done! Can this get any easier??!! (Here's some info I should probably leave out so that you don't think less of me than you already do, but I'm going to include it anyway. I had the great idea to personlize this container with fabric letters saying, "Monkey's Beads," since they are for my youngest daugther, Monkey. I printed out letter, traced them onto fabric, carefully cut out the fabric, and . . . lost all the letters. So somewhere in my house are these little fabric letters that took me hours to create. I'm hoping I find them before Christmas!)
Place beads and laces in container, wrap and give to a cute little child in your life.

Craft on!


