Sunday, June 6, 2010

i am a top ten iron crafter!


So apparently my obsession with recycled cans paid off. (And trust me, I was obsessed!)  Because today as I was browsing the plethora (oh, I love that word) of blogs I follow on Google reader, I found out that my soda can jewelry made it into the top ten for the Iron Crafter Challenge over at Fireflies and Jellybeans.


Now, I've won the right to proudly display this button:


And there's more . . . if enough people like my soda can jewelry and vote here on Fireflies and Jellybeans, I could actually win an advertising spot on Fireflies and Jellybeans.  To be honest, I didn't actually think this far advance when I entered the challenge.  I'm not sure what exactly I would do with free advertising, but if, by some fluke, I would win one of the top three spots, I would think of something quick . . . ASAP.  Someone suggested that I just put my button in the spot, but my button is kind of sad looking.  I'm proud of it, but it's not exactly the best advertising look.    

So, click over to the voting page on Fireflies and Jellybeans.  Look through the different crafts entered and vote.  And I'm being serious when I say this . . . don't just vote for mine blindly.  There are a lot of really great ideas in that list, and you may think one of them is (or most of them are) better than mine.  Vote for the one you like best.  (Although if mine is your favorite, then by all means, vote for mine.  I would like that!)

Just get on over there, vote, be inspired and . . .

craft on!

Friday, June 4, 2010

the good, the bad, the ugly

Tonight, I have three things to share . . . the good, the bad, the ugly.

First, the good. 
A while ago I did a post on homemade gum.  (Check it out.  It's a great summer project for antsy kids on rainy or super hot days!)  My bloggy friend Jocelyn over at We Talk of Christ, We Rejoice in Christ took the plunge . . .the sticky, messy, colorful plunge, and made gum.  This is good for two reasons: first, someone was actually inspired by something I posted and tried it out and second, she has re-inspired (Is that a word?) me to get back in the kitchen and make some more gum.  What you should do is go to my gum reipce post.  Write down the recipe.  Then go to Jocelyn''s blog for gum-design inspiration.  You have to at least go there to check out the pic of her gum.  Thanks Jocelyn!

Second, the bad. 
Last night the needle on my sewing machine broke.  Since I recently confessed in a Tuesday's True Confessions post that I'm afraid of my sewing machine and I think it's taunting me, you can imagine that this incident only fed my fear and suspicion.  I've had this sewing machine a year, and I had no idea this could even happen.  So after trying to straighten the needle with my bare hands while it was still in the machine (stop laughing), I turned to my sewing machine owner's manual . . . turns out this happens, turns out you are not to use or try to straighten a bent needle, turns out the needle has to be changed.  To my surprise and excitement the manual reminded me that my machine came with extra needles.  To my disappointment my sewing machine did not come with someone who would change the needle for me.  Boo hoo!  Long story short . . . an hour later the new needle was in place and in working order . . . yes, you read that right - AN HOUR LATER!

Third, the ugly.
Two nights ago I mentioned that I was obsessed with cans as a result of the Iron Crafter Challenge over at Fireflies and Jellybeans.  I also mentioned that this challenge was preventing me from moving on to other projects and posts at hand.  And then I mentioned that I had two more can projects to post before I could move on.  I posted one - magnet can lids.  Here's a picture of the other:

Yes, it's ugly . . . it's a project only the crafter can love . . . strike that . . . I don't love it either.  Needless to say, it did not make it into the Iron Crafter Challenge line up.  Oh well.  My oldest daughter helped me with it.  She had fun.  And afterwards, she stood back admiring it and said, "Mommy, you're a good crafter."  Awwwww . . . I love that kid.  She can look at some ugly can luminaries and rocks on a plate and see beauty.  She's my inspiration, so I . . . 

craft on! 
SYS Thurs

great summer service project for kids!


I have a post for later tonight.  However, I saw this a few minutes ago, and I was filled with so much joy I had to pass it on.  If you've been around here at twelve crafts for a while, you may remember that a few months ago I got together a bunch of gals to make dolls for Sarah's Dolly Drive.  It was so much fun, but more importantly, we got help put smiles on the faces of a bunch of amazing children.  Sarah posted pictures of the children receiving their dolls today.  I'm not a person who cries a lot or easily, but well . . . these pictures brought tears to my eyes.  Tears of sadness for the heartache these children have endured in their short lives.  Tears of joy for the happiness that can be brought by a simple doll.  

Thank you, Sarah, for such an amazing opportunity.

If you haven't ever heard of Sarah's Dolly Drive opportunity, now is your chance to learn more about it and participate in the newest drive.  By making just one doll, you can impact the life of a child who needs to know that someone somewhere cares.

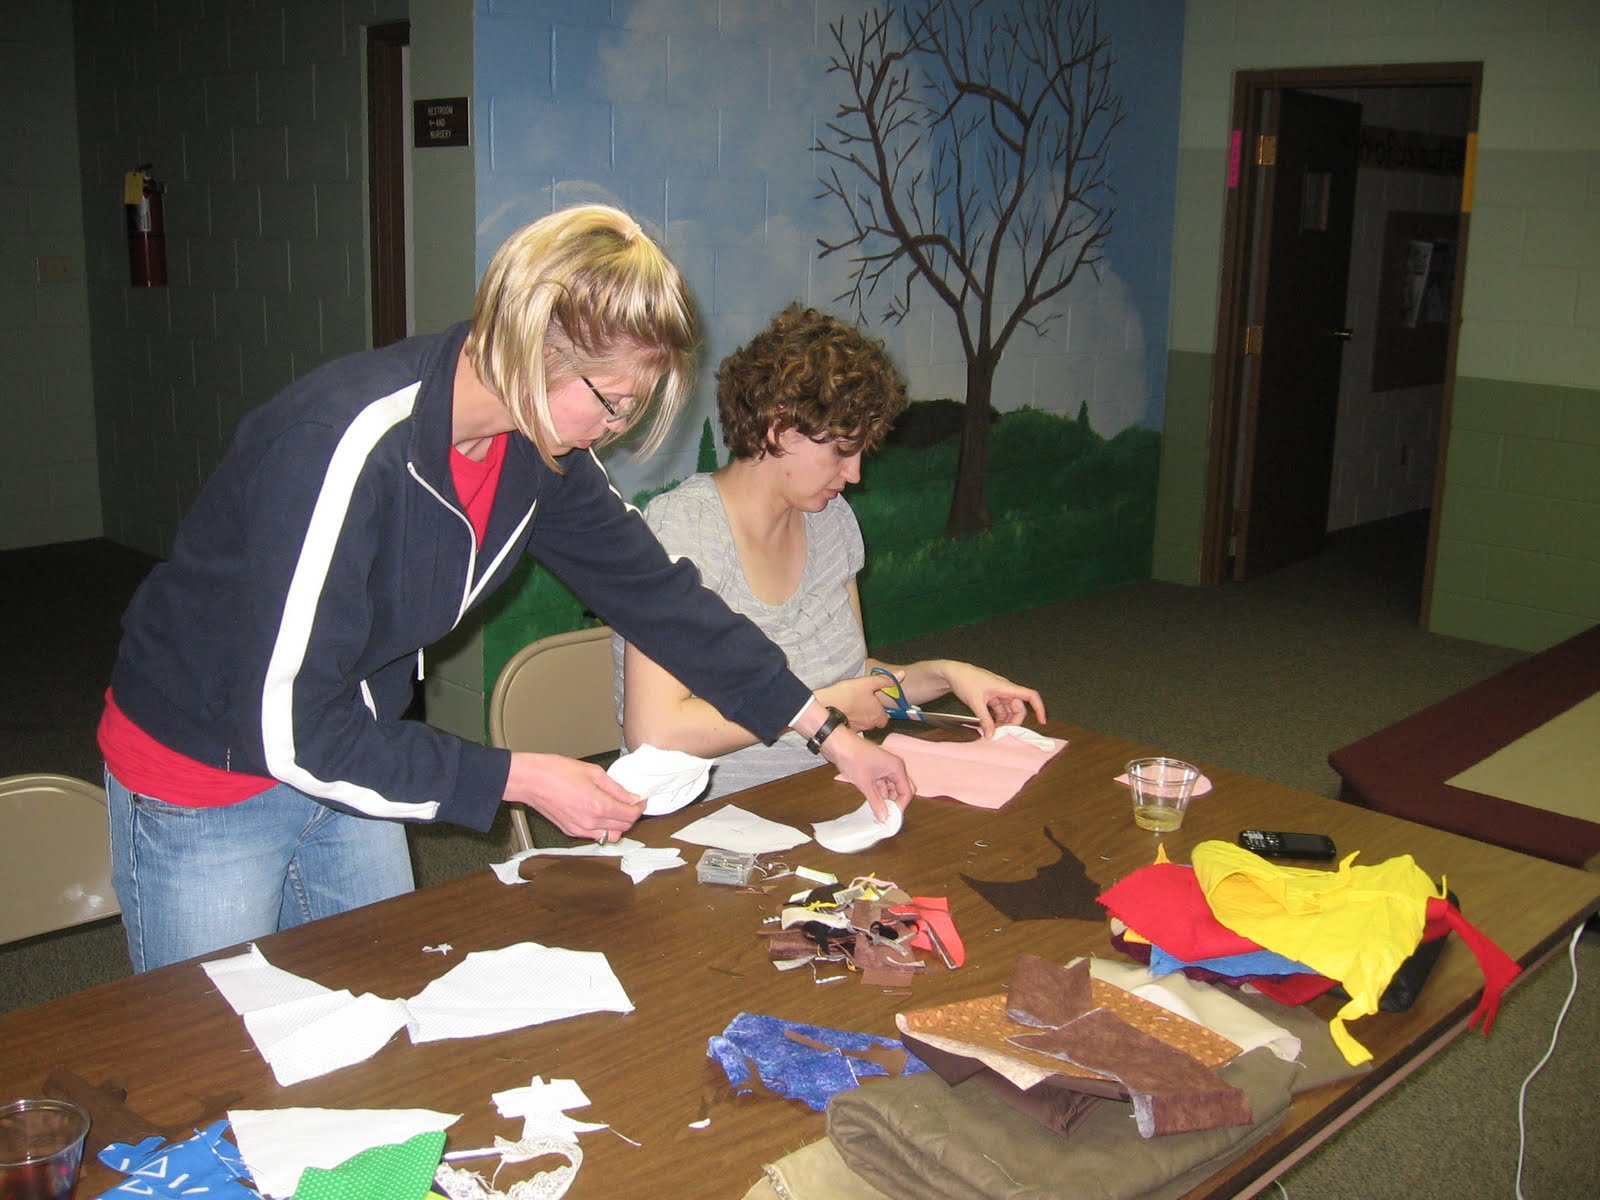
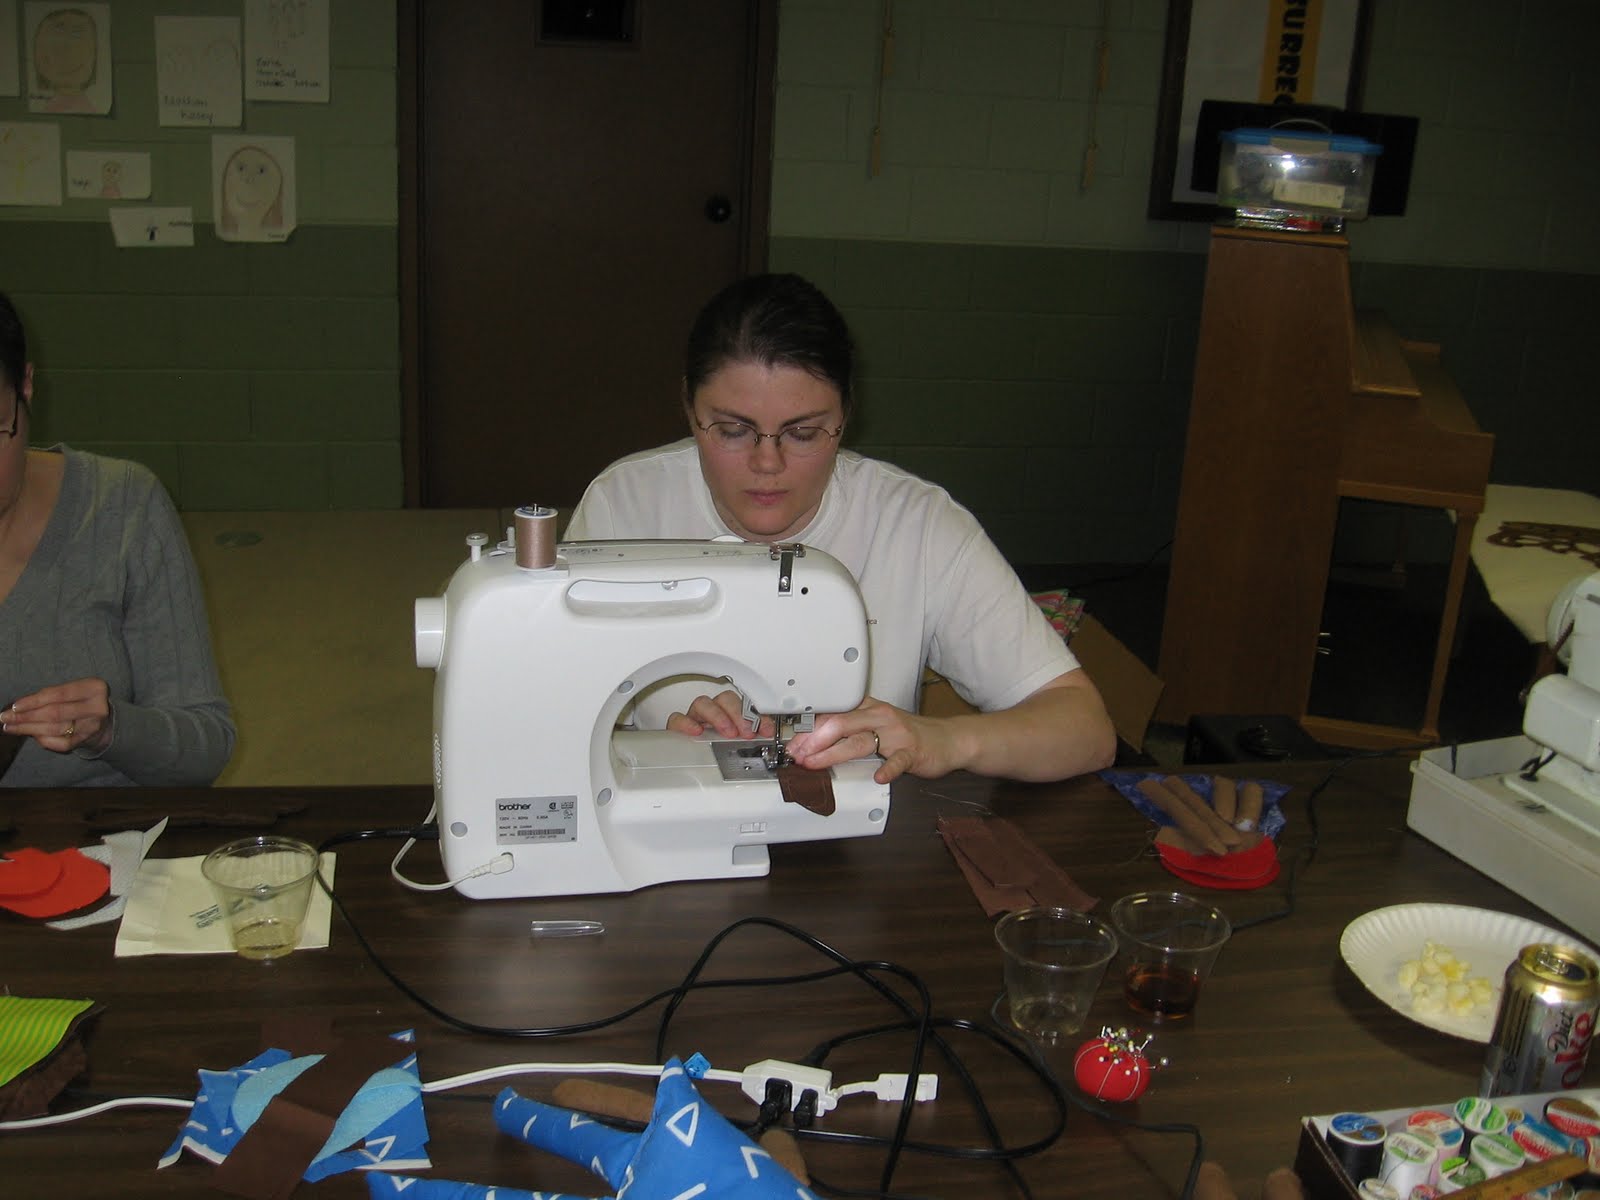
The little group of gals that gathered in February gathered again in April to start on our batch of dolls for this new drive.  (We hope to do these gatherings on a regular basis.)  Here are just a few pics from our most recent Dolly Drive sew-a-thon.  (You'll notice the plates of food in the pictures too.  We tend to use these sewing parties as excuses to eat junk food for dinner.  Yummy . . . nothing like homemade salted nut rolls, caramel corn, puppy chow and brownies for dinner.  Yep, I think that about covers the necessary food groups.)

Grab some scrap fabric, print out the pattern (found at Sarah's site) and start sewing.  This would be a GREAT summer project for all you mom's out there with kids at home for the summer.  They can cut out pieces and help stuff the dolls.  Make a difference in the life of a child and . . .

craft on!

Wednesday, June 2, 2010

the transformation of the magnet and can lid

Okay, I know it's June - June 2 to be exact.  I know I'm supposed to reveal my seventh craft till Christmas.  (I'm pretty excited about it, and I can't wait to share it with you.)  I know I haven't even officially wrapped up my eighth craft till Christmas.  (I do have my mail bag tute almost ready to share.) And I blame all of these delays on Fawnda and Jeannine of Fireflies and Jellybeans and their addicting Iron Craft Challenge.  They've challenged readers to create a unique craft with a secret ingredient.  For this round of the challenge the secret ingredient . . . wait for it . . . cans. 

Every time I see a soda can, a can of black beans or mushrooms, a baking soda can, any can at all, the only thing I can think about is, "What can I turn that into?"  So I have two more can-related things to post about.  And then I'm promising myself (and you) to put cans behind me and move on to the goal at hand . . . after all, Christmas is only seven months away.  There are gifts to be made.   

But for now, back to cans.

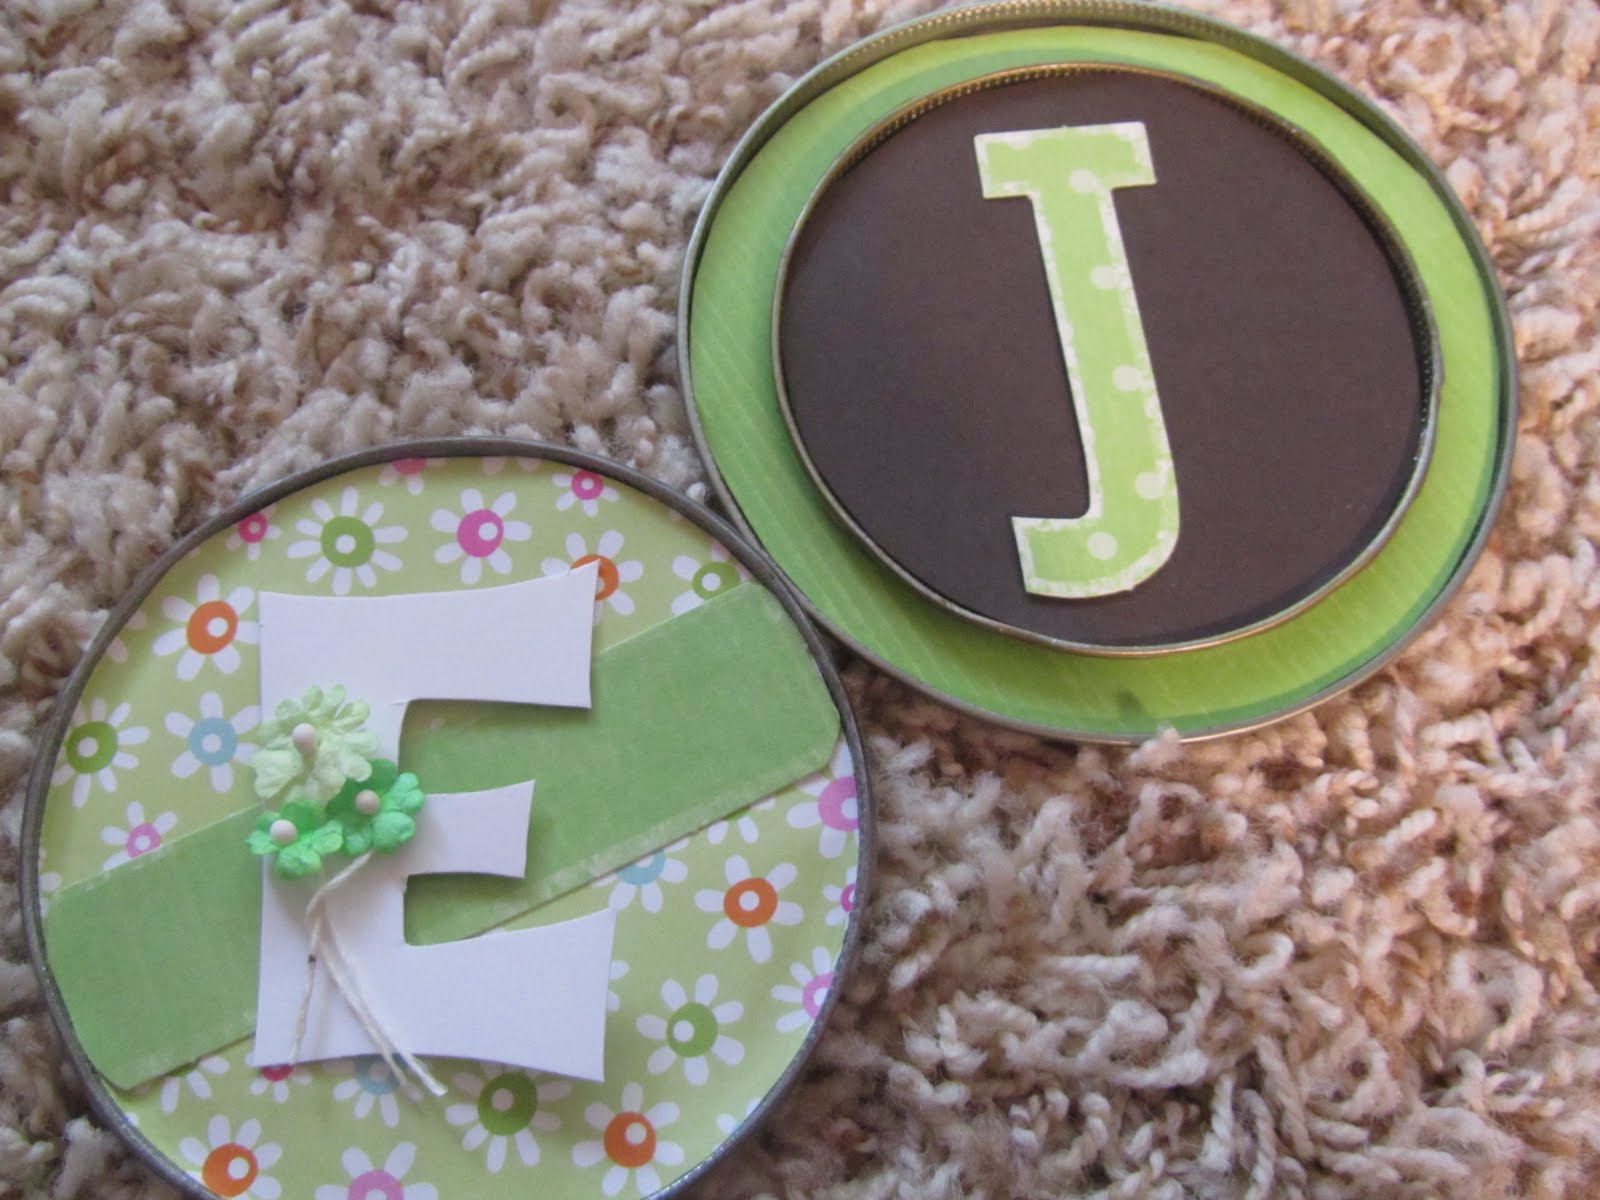
Today, we're going to turn those ugly old magnets on your fridge (everyone has them . . . you know the magnets from the bank, the medical clinic, the take-out place down the street that you never go to) into unique, personal, cute and useful magnets. 

Beside those magnets, grab:
-scraps of scrapbook paper and card stock
-other random scrapbook embellishments you have left over
-glue, glue-dots and a glue gun
-and . . . can lids from the cans in your recycling bin*
*Thanks to Jill at Creating My Way to Success for pointing out that I use a safe-edge can opener that removes the entire lid (including the rim) to create safe edges on both the lid and can that are not sharp.  This would not be a good project for lids that are removed with a top-open can opener.  If you don't have one of these, I totally recommend getting one.  They are easier, safer and more hygienic than traditional can openers.  (Plus, you can use them for fun crafts like this :) . . . bonus!)  

Isn't that great?  Only four things and you probably have them all on hand.  This couldn't be easier!

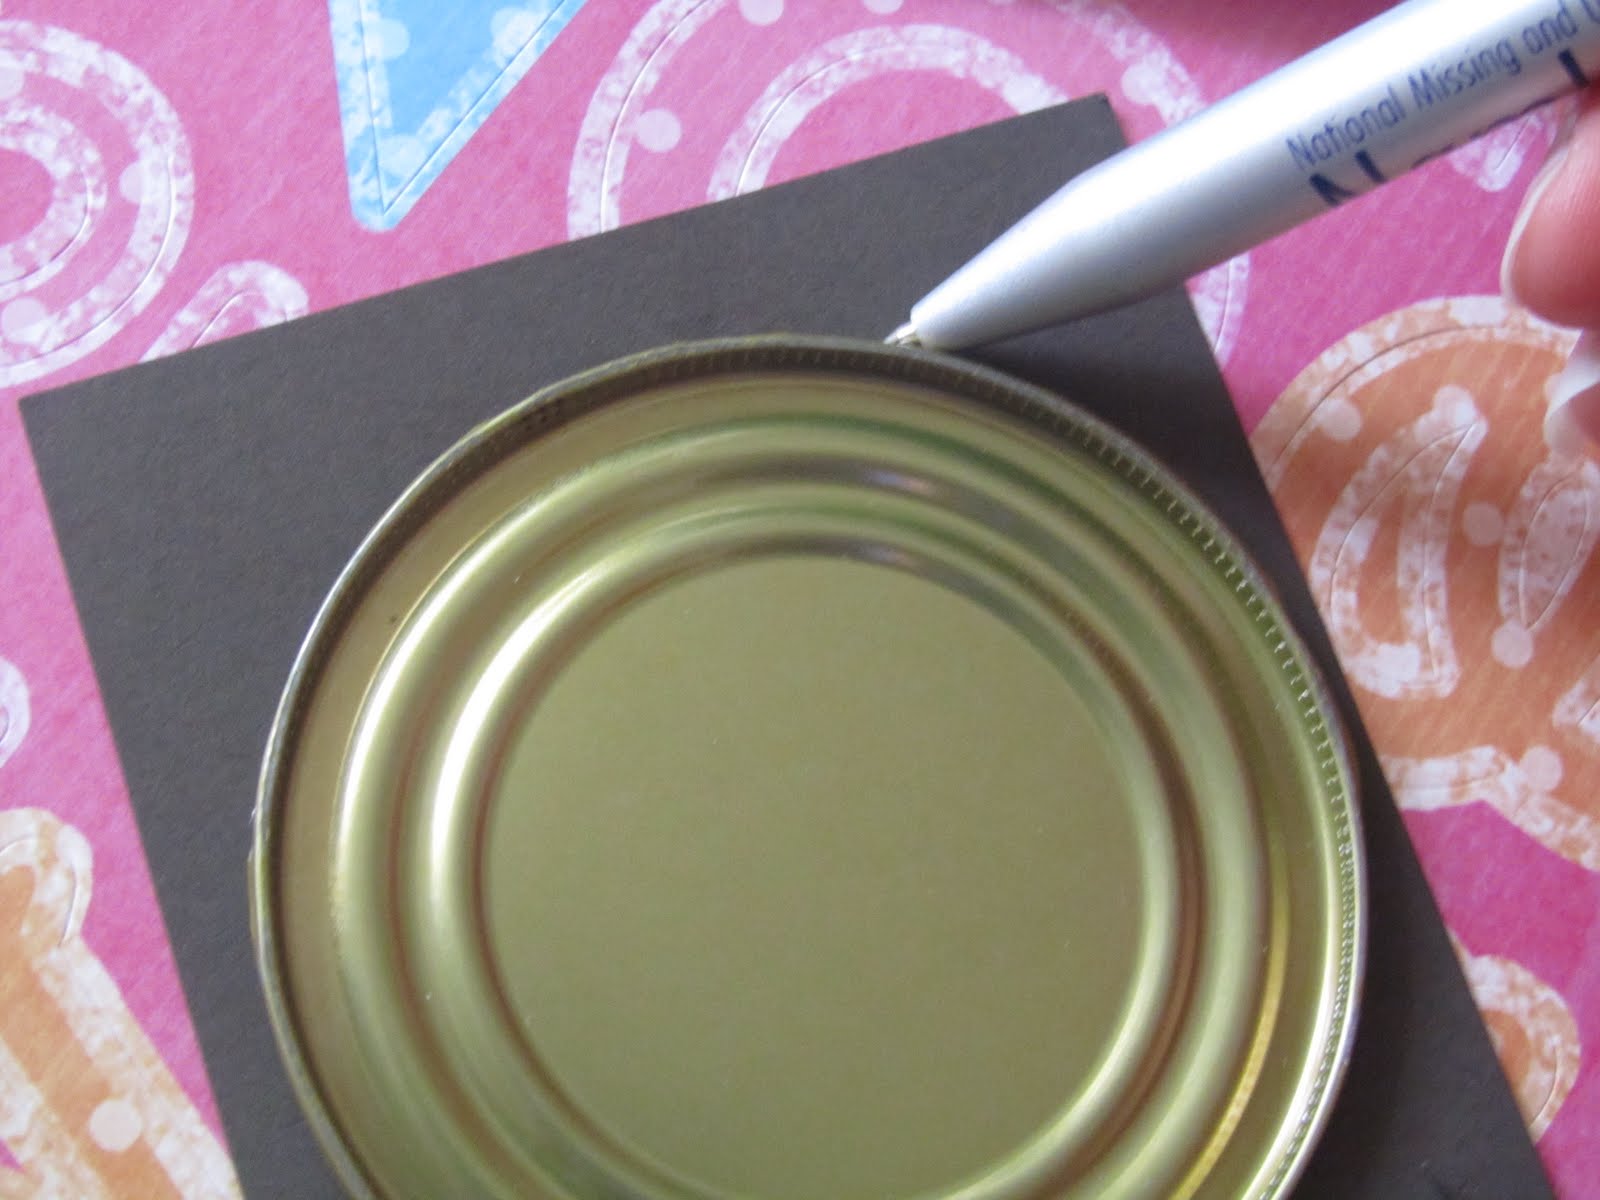
1)  Trace your can lids onto the paper or picture you will use for the background.

2)  Cut out circles and trim a bit to fit into can lid.  Paper would probably stay because the rim holds it in a bit, but to secure it use a few glue dots to affix paper to can lid.

3)  Embellish with other items.

4)  If your magnets are larger than the can lid, cut them to fit the lid.  Hot glue magnets to back of lid.  (Make sure you are not hot gluing the magnetized side of the magnet.)

5)  Ta Da!  Ready for display on your fridge!

Craft on!


Related Posts with Thumbnails