Thursday, September 30, 2010

bamboo felt and fleece button scarves


I finally received the e-mail I've been dreading all month.  A wonderful reader wrote this, "Hey, aren't you supposed to be working on hand-print gifts this month?"  I was hoping that no one actually remembered that.  You may have noticed that my self-diagnosed adult ADD kicked in, and I got totally distracted by the pretend and play mommy (or daddy) set.  Just when I got the obsession/distraction out of the way, a new one took its place . . . SCARVES . . . warm, fuzzy, comfy scarves!

Don't roll your eyes at me . . . I know it's fall.  I also know that fall just officially started last week.  And I do love fall, but I also love scarves . . . in fact, my love of scarves might be the only thing that gets me through winter. 

Last year my kids were always asking me why they didn't have any scarves of their very own, so this winter I've vowed to remedy that situation.  In fact, I'm pretty sure I'm over-compensating this year because this tutorial for the Button Scarf is the first in a series of what will be three different scarf tutorials.  Three?  Yes, three!  Aaack . . . this is defintely my new obsession. 

I'm in love with these buttons scarves I saw here and there last winter! 


This one is from a cute knit Etsy store.  Last week I had the chance to walk around a mall for an hour all by myself - a rare treat, and I saw these scraves everywhere in fleece, knit and wool (itchy).  I saw them for women, men, girls and boys.  Here's my version: 

Bamboo Felt and Fleece Button Scarf

Here's what you need:
-bamboo felt or fleece in a variety of colors*
-a solid, long strip of fleece
-a button

*Here's the deal with bamboo felt . . . it is so soft; however, it also shrinks a tiny bit if drycleaned and a little bit more than that if machine washed.  If washed super frequently, it also will break down a little bit faster than fleece.  So . . . I chose dark colors for this scarf so that it wouldn't need to be washed very much (gasp), and I plan to hand wash and hang dry to manage shrinkage.  If this is a concern for you, just use fleece for the entire scarf.

Here's what you do:
1)  Cut a vareity of felt or fleece strips in various widths.  One edge was cut with pinking shears and the other edge was cut with straight scissors. (I cut my strips 5 inches in length in various widths ranging from 2 inches to four inches.  When it was all said and done, this scarf was 4 1/2 inches wide and 36 inches long.  It was made to fit a 5 year old.) 

2)  Pin strips together in your own unique color combo.  The edge that has been cut with the pinking shears should be on top.  Sew strips together close to pinking sheared edge.

3)  Turn over and trim straight edges on back side of scarf.

4)  Pin wrong sides together to a strip of fleece the same size of your strip that is pieced together.

6)  Sew around fleece/felt combo leaving two inches for turning.

7)  Turn.  Fold in opening and pin shut.  Pin around and top stitch around edge of scarf closing up opening as you go. 

8)  Figure out where you want your button by trying on model or self.  Mark with disappearing ink.

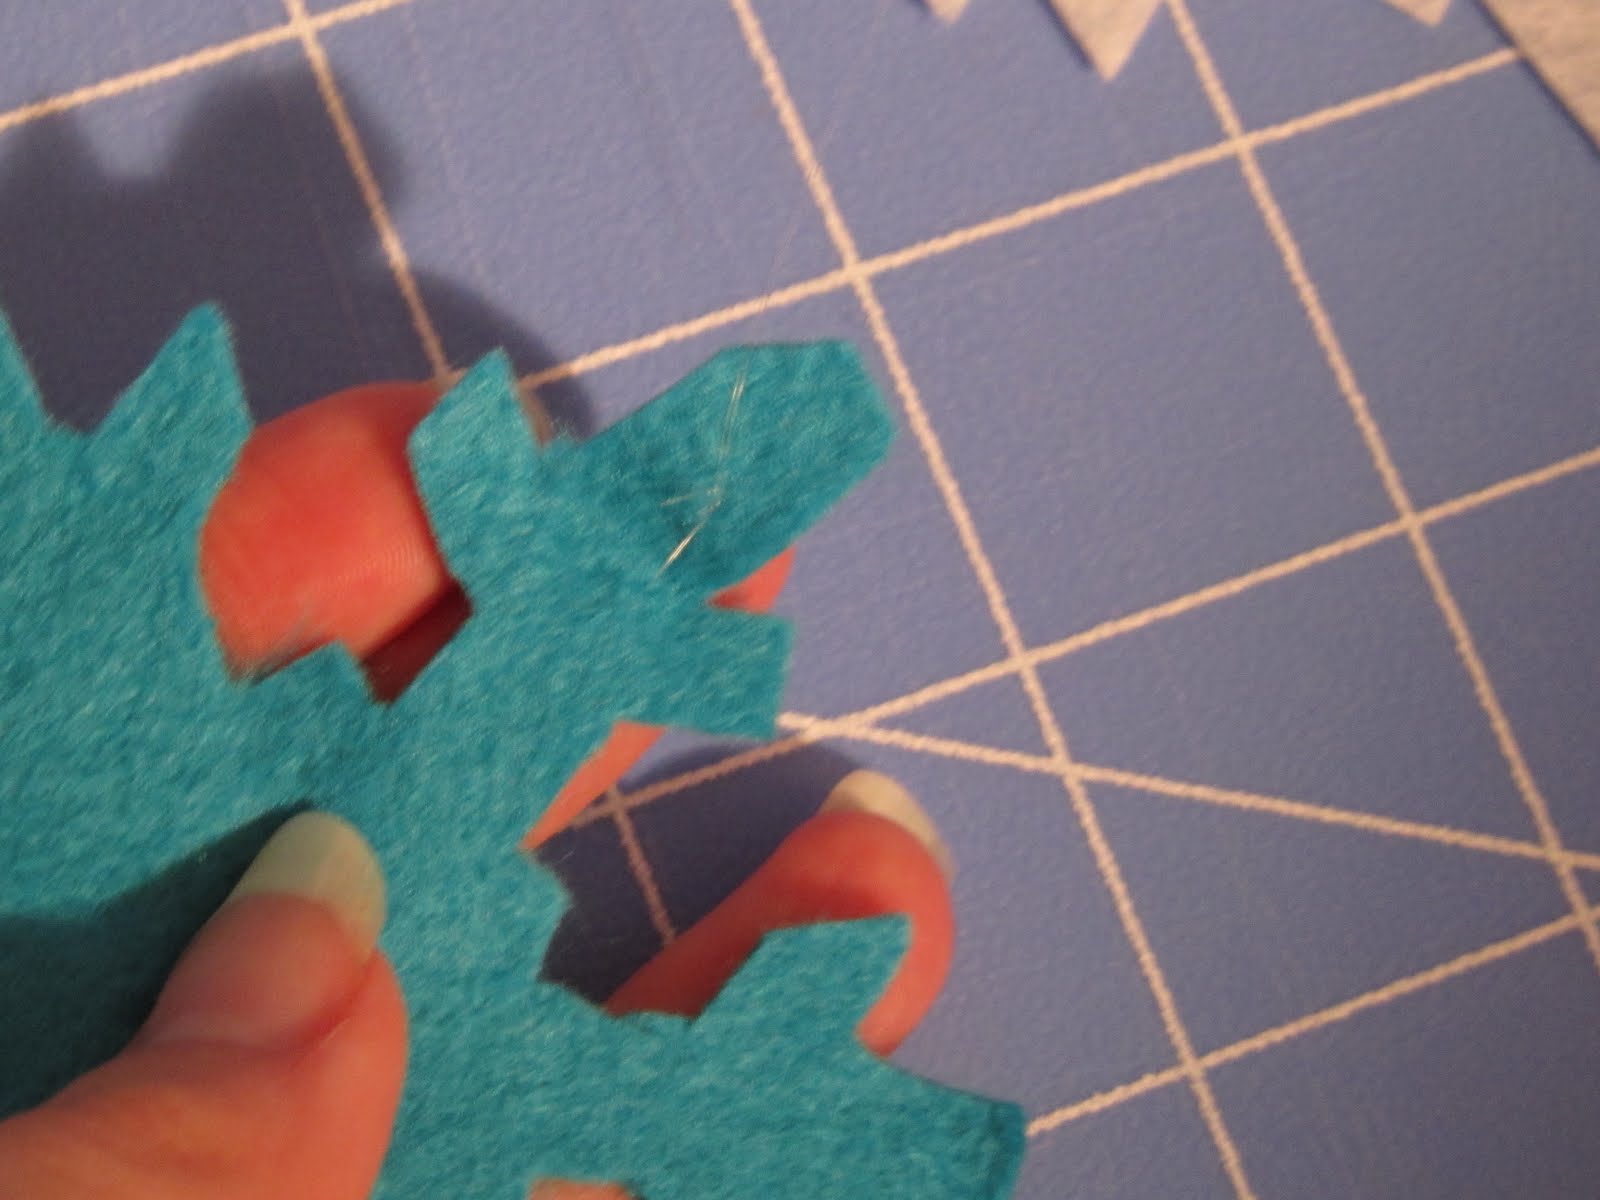
9)  Cut slit just big enough for your button to fit through.

10)  Sew around all four sides of slit. You could use your button-holer on your machine, but frankly I'm lazy and that thing scares me, so this is my method.

11)  Sew button on.

12)  Done!  I'm betting on the fact that the model will forget about this scarf by the time it makes it into her stocking! ;)

Craft on!

Check out some of the great parties I may link to by clicking on the blog name below or visiting my "I like to party" page that shows off all the party buttons.

Weekend - a little lovely, Craft Envy, Under the Table and DreamingBe Different Act Normal, A Vision to Remember, 504 Main - Tickled Pink, Funky Junk Interiors, Tatertots and Jello, I heart naptime

Monday - Keeping it Simple, Craft-O-Maniac, The Girl Creative, The Trendy Treehouse, CRAFT, Making the World Cuter, Mad in Crafts, Sumo's Sweet Stuff, Between Naps on the Porch, Tools Are For WomenIt's So Very Cheri, Skip to My Lou, Sew Can Do, Polly Wants a Crafter

Tuesday - All Thingz Related, Sugar Bee, New Nostalgia, Creative Itch, Lucky Star Lane, Hope Studios, These Creative Juices, My Delicious Ambiguity, Today's Creative Blog-Get Your Craft On!, Tasty Tuesdays at Housewife Eclectic

Wednesday - It's So Very Cheri, Beyond the Picket Fence, Blue Cricket DesignTrendy Treehouse, Tea Rose HomeSomeday Crafts, My Backyard Eden, Sew Much Ado, Night Owl Crafting

Thursday -  Fireflies and Jellybeans, Life As Lori, House of Hepworths, Somewhat Simple, Seven Thirty Three, The Train to Crazy, PonyTails and FishScales, Black Kat's Design

Friday - The Sabby Nest, A Little Knick Knack, Fingerprints on the Fridge, It's Fun to Craft!, It's a Hodgepodge Life, Kojo Designs, Amy Lou Who, A Few of My Favorite Things, Simply Sweet Home, Frou Frou Decor, Remodelaholic, Foodie Friday at The Speckled Dog

Wednesday, September 29, 2010

dear blogger,

We've been getting along so well for the last nine months. 

I've done everything you've asked me to do.

I've downloaded, saved, posted, edited.

But now you've turned on me.

You won't let me download my pictures with your new picture downloader. 

Is it something I've done?

Sincerely,
Elizabeth

Tuesday, September 28, 2010

tuesday's true confession: my crafting to blogging ratio

Hmmm . . . so let's get right to the point today . . .

I'm pretty sure that my crafting to blogging about crafting ratio right now is 1:100.  That might be a slight over-exaggeration.

But whatever the actual ratio . . . I confess that lately I've spent more time blogging about crafting than actually crafting.

And in an effort to get my crafting mojo back, I've made a commitment to spend tonight crafting . . . not blogging about crafting.

What's your crafting to blogging about crafting ratio? 

So that's that.

Confess on!

Monday, September 27, 2010

monday's buttons: week . . . oh I don't know

I've been fielding quite a few e-mail questions about blog buttons lately.  There are a number of you out there who don't have a blog button, but are looking for tips on how to make your own.  I love how you think that just because I'm obsessed with something and write about it, that I actually know what I'm doing.  Even though I really don't have a clue, I thought I would play along and share the advice I've been passing out by e-mail to the rest of you. 

My first piece of advice is always to do a quick google search for a variety of great tutorials out there.  That's how my obsession with blog buttons began.   I know some of you have requested that I do a post about button making, but to be honest, there are so many other great tutorials out there, my mediocre explanation doesn't need to be added to the mix.  ;)

My second piece of advice is to start simple.  You can always learn and tweak and start over as much as you want.  But sometimes when you are first starting out, it's best just to keep it simple, clean and fresh.  That's why I'm showing off these three buttons and blogs today. 

(My third piece of advice would be to pay someone to do it for you . . . however, I didn't even do that so I can't really authentically advise you to do that.  Plus, if you are like me, you get a little thrill figuring this stuff out on your own . . . even if you don't do it very well.)

Pickup Some Creativity  This summer we spent some time with my grandparents who don't have digital camera.  They have the "old" style camera that still uses film.  My oldest daughter went over to great grandpa and wanted to see the picture that he took on the back of the camera.  Imagine her confusion when I tried to explain that grandpa's camera didn't work like all the other camera's she has seen in her short life.  Then I tried to explain the concept of a Polaroid camera to her.  She was baffled.  But it brought back good memories of all the Polaroid pics I took as a kid.  I love Polaroids.  And that's one of the reasons I love this little button that Chris over at Pickup Some Creativity came up with.  Chris has a wonderfully creative blog that I have come to LOVE . . . not to mention that she is super sweet as well . . . creative and kind . . . a great combo.  Here's what she has to say about her blog button: 

1) How would you describe your blog in five words?
I share so you'll shine.

2) Did you craft your button or did you inspire someone to craft/create it for you?
I made my button myself (digitally of course!). Early on, I decided to use Polaroid type photos as a style for my blog. I've moved things around quite a bit, but that has been a unifying theme. There is a little free program called poladroid that will convert .jpgs to a Polaroid style photo. I love it!

3) How does your button reflect your blog? What are you hoping it says about your blog?
I wanted something straight-forward and easily recognizable. I hope it says "she's a child of the 80s...I bet she has some fun ideas!"

4) What are two of your favorite posts?
Oooh, that's hard to choose. I would have to say my Little Mama Series.  I made new bedding for my daughters' dolly crib, which turned into a four-part essay for my girls about being a mother.

The second, I made a 3D diorama in paper of the house my husband and I built together. We're now selling that house, and I am so glad to have a unique memory to keep.

 
HouseofGraceHouse of Grace  Simple, clean and bold . . . that's how I would describe Bonnie's buttons at House of Grace.  She has a series of buttons on her blog and they all share these same three traits.  Bonne's buttons show that you don't have to have a fancy, busy button to stand out in a crowd.  Simple makes its own statement!  Perhaps you've been waffling on the idea of making your own button.  Take a lesson from Bonnie - keep it simple!

1) How would you describe your blog in five words?
new, clean, fresh, simple, fun

2) Did you craft your buttons or did you inspire someone to craft/create them for you?
I made them all myself.

3) How do your buttons reflect your blog? What are you hoping they say about your blog?
I am not sure how they reflect it but I was hoping for a new, simple and fresh look.

4) What kids of blog buttons stick out to you in a crowded sea of blog buttons?
Ones that are easy to read and are not too busy.


Vibrant DesignsVibrant Designs  And last but certainly not least, I'm loving this last simple and fresh button from Julianne over at Vibrant Designs.  Another homemade button that caught my eye right away because of the background picture.  This button is a good example that a simple photo can go a long way in a button.  Plus, Julianne has some amazing sewing skills (check out her blog), so this button is a perfect representation of who she is and what her blog is about.  A good lesson on making sure your button represents who you are as a blogger.     

1) How would you describe your blog in five words?
vintage, genuine, creative, progressing, clean

2) Did you craft your button or did you inspire someone to craft/create it for you?
I'd been wanting a button for a long time but I had no idea how to go about it. One night, I was "blogging" late and something my husband said came to mind while I was contemplating blog buttons. "Google it." I did, and found a great little tutorial for creating your own blog buttons. I crafted my own button. The picture is mine from my blog banner.

3) How do your buttons reflect your blog? What are you hoping it says about your blog?
I think it's best for a blog button to reflect the blog it represents. My banner photo is the same on my website, my fb page, and my blog. In addition, I love to reuse interesting/vintage items, hence the antique sewing machine. I am hoping it reflects my love of all things vintage, fabric, and sewing.

4) What kinds of blog buttons stick out to you in a crowded sea of blog buttons? ;)
Colorful and unique...and words that don't quite make sense. I'll go check them out just to figure out what they're talking about. For instance, Flamingo Toes...what does flamingo toes have to do with crafting?


Go check out the blogs behind the buttons and . . .

craft on!

Sunday, September 26, 2010

pretend and play changing pad

I feel like this project is getting a little bit hugely out of hand.  However, I'm starting on a few custom orders and also hoping to put a few pieces of this set into my super lame Etsy store, so I'm in deep . . . maybe too deep with the pretend and play mommy set.  

Here's a little recap of what we've covered so far in the pretend and play set.


Now, on to the pretend and play changing pad.  Thankfully, this particular changing pad doesn't actually need to be water resistant, so you probably already have the supplies on hand.

Here's what you need:
-contrasting fabric
-fusible fleece or quilt batting or fusible interfacing
-ribbon

Here's what you do . . . so easy:
1)  Measure the doll or dolls who will most likely be using the changing pad.  Cut your fabric and fusible fleece or batting to these measurements adding about two inches.

2)  I wanted to add a few details to my plain fabric on this particular changing pad.  I only had a few scraps left of the pattern/color that I used for the bassinet and diaper bag, so I used fusible interfacing to secure the scraps and also used the sewing machine to add a little stitch detail.  With the other changing pad I used quilt batting so I quilted one side with straight parallel lines for added detail.

3)  Fuse interfacing or fleece according to package directions. (Or quilt batting to one piece of fabric.  You can see the detail of that in the second picture.)

 4)  Cut ribbon 15 to 20 inches - depending on the length of your changing pad.  Remember the ribbon will be folded in half, and it needs to be long enough to wrap around the rolled up changing pad and tied.  Fold it in half right sides together.

5)  Sandwich folded up ribbon in between fabric rectangles right sides together.  Pin.  Sew around leaving two inches for turning.

6)  Turn.  Fold in turning opening and top stitch all the way around the changing pad to close up opening. 

7)  Roll up, tie, stick in diaper bag along with diaper wipes and doll diapers!  So cute!  Hours of fun for your little one!

Craft on!
   
Click on the links below for some of the great parties I may link to, or check out my "I like to party" page.
Weekend - a little lovely, Craft Envy, Under the Table and DreamingBe Different Act Normal, A Vision to Remember, 504 Main - Tickled Pink, Funky Junk Interiors, Tatertots and Jello, I heart naptime

Monday - Keeping it Simple, Craft-O-Maniac, The Girl Creative, The Trendy Treehouse, CRAFT, Making the World Cuter, Mad in Crafts, Sumo's Sweet Stuff, Between Naps on the Porch, Tools Are For WomenIt's So Very Cheri, Skip to My Lou, Sew Can Do

Tuesday - All Thingz Related, Sugar Bee, New Nostalgia, Creative Itch, Lucky Star Lane, Hope Studios, These Creative Juices, My Delicious Ambiguity, Today's Creative Blog-Get Your Craft On!, Tasty Tuesdays at Housewife Eclectic


Friday - The Sabby Nest, A Little Knick Knack, Fingerprints on the Fridge, It's Fun to Craft!, It's a Hodgepodge Life, Kojo Designs, Amy Lou Who, A Few of My Favorite Things, Simply Sweet Home, Frou Frou Decor, Remodelaholic, Foodie Friday at The Speckled Dog

Saturday, September 25, 2010

and the winner is . . .

Well, come on . . . I'm not going to start out announcing the winner.  I have to keep you in suspense.  (Yes, I realize that you can scroll down at any point . . . uhm . . . because that's probably what I would do . . . in fact, I'm doubting that 25% of you actually kept reading this far ;).)

First, I'm loving Stuff Your Stockings Saturdays so far.  I hope you are too!  I'm so thankful for the three wonderfully creative ladies who have shared tutorials and giveaways over the past three Saturdays.  There are some cute tutorials and even a few more great make it or win it giveaways coming up for future Saturdays.  However, I'm hoping to fill all the Saturdays until Christmas, so please keep linking up any ideas that you think would make great stocking stuffers to the idea page.

Second, today is September 25 . . . I believe I've mentioned that I like to state the obvious.  So . . . you know what that means . . . only three months to get cracking on at least one homemade/handmade gift for a loved one in your life.  Commit to it right now and just do it!  Check out the tutorial page for a few ideas. 

This is also the last day of my reduced ad rate.  I'm super excited about the amazing sponsors who've taken advantage of that ad rate so far.  (Check them out in the sidebar.  You will find some wonderful places to buy handmade gifts on the off chance you won't have time or energy to make all of your own handmade gifts.)  Anyone who e-mails me before 11:59 PM (CST) will get the reduced rate.

Third, I need to figure out how to number my comments because when RANDOM.org picks a number like 60, I get a little agitated counting that far.  Needless to say the winner of the anthro-inspired bracelet made by Beverly at Flamingo Toes is . . . Annette at Designs by a Rose.  Congrats Annette! 

Don't forget to check out the super cute crochet hat tutorial from Michell.  She's also giving away to the winner their choice of hat from her Etsy shop!  I soooo wish I could enter!

Alright that about covers it for tonight . . .

craft on!

Friday, September 24, 2010

stuff your stockings: super cute crochet hat

A few years ago I attempted to teach myself to crochet.  I managed to make a very small square before I gave up.  After seeing these sweet little Sesame Street hats that Michell linked up to the stocking stuffer share-along page, I'm thinking that I may need to drag out my crochet supplies and start learning again. 

Michell has a very cute stocking stuffer to share with you today.  And . . . she's even giving you the chance to make it OR win it!  Woo hoo! 

I'm so excited to have the pleasure to do my FIRST guess post.

Hi, I'm Michell
and you can find me here:
Photobucket

Last year at 39 I had a baby, quit my Flight Attendant job and picked up my crochet hook that I forgot about for the last 15 years.

I love making  stuff......especially hats for my son (who at the moment HATES wearing hats.)

I share lots of tutorials on my blog....and here's another one I am excited to share...... just in time for Christmas...
Isn't this Santa Hat the CUTEST??
Let's Make one!!

Materials
Size I/5.5 mm crochet hook
Your Favorite RED 4 ply yarn
Your Favorite White Fur
Tapestry Needle for attaching the pom pom

Here are instructions for this Santa Hat Newborn to Adult Sizes:
Chain 3, Join.
Round 1: Work 6 SC through the chain. (6 SC total) Mark the first stitch with a yarn marker. Do not join.
Round 2-3: The first single crochet will be worked right in the top of the previous single crochet, working the cap in a continual round. Work 1 SC through each stitch. (6 SC total)
Round 4: Work 2 SC in each stitch. (12 SC total)
Round 5-9: Work 1 SC in each stitch around. (12 SC total)
Round 10: *Work 1 SC in each of the next 2 Stitches, work 2 SC in the next stitch. Continue around from *. (16 SC total)
Round 11: *Work 1 SC in each stitch around. (16 SC total)
Round 12: *Work 1 SC in each of the next 3 stitches, work 2 SC in the next stitch. Continue around from *. (20 SC total)
Round 13: work 1 SC in ea SC around. (20 SC total)
Round 14: *Work 1 SC in each of the next 4 stitches, work 2 SC in the next stitch. Continue around from *. (24 SC total)
Round 15-16: work 1 SC in ea SC around. (24 SC total)
Round 17: *Work 1 SC in each of the next 2 stitches, work 2 SC in the next stitch. Continue around from *. (32 SC total)
Round 18-21: work 1 SC in ea SC around. (32 SC total)
Round 22: *Work 1 SC in each of the next 3 stitches, work 2 SC in the next stitch. Continue around from *. (40 SC total)
Round 23: work 1 SC in ea SC around. (40 SC total)

This is the first place that you can stop increasing and continue on for the length of the cap. The will fit a newborn size head 12"-13" inches.

Round 24: *Work 1 SC in each of the next 4 stitches, work 2 SC in the next stitch. Continue around from *. (48 SC total)
Round 25-27: work 1 SC in ea SC around. (48 SC total)

This is another place that you can stop increasing and continue on for the length of the cap. This will fit a toddler size head 16"inches.

Round 28: *Work 1 SC in each of the next 4 stitches, work 2 SC in the next stitch. Continue around from *. (58 SC total)
Round 29-32: work 1 SC in ea SC around. (58 SC total)

This is another place that you can stop increasing and continue on for the length of the cap. This will fit a child size head 18" inches.

Round 33: *Work 1 SC in each of the next 5 stitches, work 2 SC in the next stitch. Continue around from *. (66 SC total)
Round 34-43: work 1 SC in ea SC around. (66 SC total)
Continue for the length of the cap. This will fit an adult size head 22"-24".

To end, skip 1 stitch, slip stitch in the next stitch. Cut the yarn and pull the tail through.

Edging
Round 1: Work a round of single crochet with white fur around. Join with the beginning stitch
Round 2: Work 1 double crochet in each single crochet around.  Join with the beginning stitch.
Round 3: Work 1 single crochet in each stitch around. Join with the beginning stitch.

Pom-Pom
There are a million ways to make a pom-pom. Just search YouTube and you will see what I mean....

Here is my favorite simple way:
1. Wrap yarn around 2 or 3 fingers about 50 times.
2. Slip off fingers and tie a tight knot around middle.
3. Cut loops, trim and fluff

Use yarn needle to attach pom-pom to hat.

That was so FUN....let's give one of my hats away!

Photobucket

Thanks so much Michell! 

You have got to check out Michell's Etsy store too . . . so many cute hats!  And she's going to give the winner their choice from the super cute collection.

Now, here's how you can win your own hat from the Michell's Etsy store:
*Leave one comment for each entry.*

1)  Be or become a follower of twelve crafts.

2)  Be or become a follower of Girl in Air.

3)  Link up an idea/stocking stuffer to the stocking stuffer idea page

4)  Help promote Stuff Your Stockings Saturday by posting the button (code on sidebar) on your blog or on the stocking stuffer idea that you linked up.

5)  Go check out Michell's Etsy page (click on link above hat picture) and leave a comment with which hat you will choose if you win.

Giveaway will be open for entries until Friday, October 1, 2010 @ 11:59 PM (CST).

Craft on!
   
Click on the links below for some of the great parties I may link to, or check out my "I like to party" page.
Weekend - a little lovely, Craft Envy, Under the Table and DreamingBe Different Act Normal, A Vision to Remember, 504 Main - Tickled Pink, Funky Junk Interiors, Tatertots and Jello, I heart naptime

Monday - Keeping it Simple, Craft-O-Maniac, The Girl Creative, The Trendy Treehouse, CRAFT, Making the World Cuter, Mad in Crafts, Sumo's Sweet Stuff, Between Naps on the Porch, Tools Are For WomenIt's So Very Cheri, Skip to My Lou, Sew Can Do

Tuesday - All Thingz Related, Sugar Bee, New Nostalgia, Creative Itch, Lucky Star Lane, Hope Studios, These Creative Juices, My Delicious Ambiguity, Today's Creative Blog-Get Your Craft On!, Tasty Tuesdays at Housewife Eclectic


Friday - The Sabby Nest, A Little Knick Knack, Fingerprints on the Fridge, It's Fun to Craft!, It's a Hodgepodge Life, Kojo Designs, Amy Lou Who, A Few of My Favorite Things, Simply Sweet Home, Frou Frou Decor, Remodelaholic, Foodie Friday at The Speckled Dog


Thursday, September 23, 2010

feed me friday: potato bake

I'm a lazy cooker . . . so I'm a fan of recipes that cover a lot of bases.  If all I have to do to complete the meal is throw a bowl of fruit on the table, I consider the recipe a winner!  Potato Bake is one of my family's go-to meals.  My husband claims he could eat this every night.  I should try that for a week . . . just to mess with him.  ;)

Potato Bake

Here's what you need:
-2 potatoes per person cut up into small cubes (I use whatever is on hand, but golden potatoes are our fav.)
-1 to 2 red/orange/yellow peppers cut up
-1 container of pre-sliced mushrooms
-olive oil
-2 cloves of garlic (I'm lazy so I used pre-minced garlic in a jar.)
-1/2 cup of chopped onion (optional)
-1 cup of broccoli florets per person
-salt, pepper and Lawry's Seasoning
-2 to 3 cups of your favorite shredded cheese (Our fav is sharp cheddar!)


Here's what you do:
1)  Heat 1/4 cup olive oil in saute pan. 

2)  Add garlic, potatoes, onion, peppers and mushrooms.  Saute until tender.  Add seasoning to taste.

3)  While potato mixture is sauteing, steam broccoli until just tender.

4)  Add sauteed potatoes and steamed broccoli to 9 x 13 pan sprayed with oil.** 

5)  Sprinkle 1 to 2 cups of cheese on top and mix cheese into potatoes and broccoli.  Then sprinkle remaining cheese on top.


6)  Place in 350 degree oven for 20 to 25 minutes.

**As you know by now, three people in our house are vegetarians.  However, if you prefer to have meat in your meals, you can add add it.  My husband sometimes adds Canadian bacon from the pizza isle at the grocery store to his side of the potato bake.

Cook on!


Wednesday, September 22, 2010

a winter wreath on the first day of fall

Today is the first official day of fall in North America. 

So . . . naturally, I made a winter wreath. 

What? 

I know . . . I'm just a tad bit ahead of the calendar. 

I tired and tried and tried to get into the fall crafting mood.  Every single blog that I follow is full of festive fall crafts - painted pumpkins, Mod Podge leaves, corn husk wreaths . . . I could go on and on.  Inspiration is everywhere . . . for fall, but I just couldn't do it.

Then I received this little package of bamboo felt from National Nonwovens treasures from my blog-friend Sandi over at A Legacy of Stitches. . .

. . . and my mind went instantly to winter.  I have lots of plans for these beauties.  Here's my first one.

Let It Snow Wreath
    
Here's what you need:
-felt . . . I used bamboo felt. I love the look and feel of it - so soft.
-cardboard or a wreath form . . . I'm cheap, so I use cardboard.
-glue . . . You could use any kind.  I used Gorilla Glue because I had it on hand.
-invisible thread
-a snowflake stencil or clip art cut out
-ribbon

Here's what you do:
1)  Cut out several circles of the same size from cardboard and glue them together with Gorilla Glue or other glue.  Use as many layers as you like for thickness.

2)  Cut the felt you are using to cover the cardboard wreath form into strips that are 1 1/2 inches wide and long enough to wrap around your cardboard form.

3)  Wrap felt pieces around cardboard form.  Do not glue the first piece very securely yet because you are going to have to tuck the very last felt strip underneath this one.  Glue them on the back using Gorilla Glue.  Layer each piece over the previous piece as you go around the form. 

4)  Wiggle the last felt piece underneath the first one to completely cover the cardboard.

5)  Use snowflake stencil or clip art cut out to trace and cut out as many snowflakes as you like.  I used three blue and two white.

6)  Use needle and invisible thread to attach the snowflake to the back of the wreath at varying lengths. 

7)  Attach one snowflake to the wreath with glue.  (Uhm . . . I'm pretty sure that felt isn't one of the recommended materials to  use with Gorilla Glue.  However,  I'm lazy.  Since I used the Gorilla Glue for the cardboard part, I didn't want to get up and get a different glue for the this.) 

8)  Slide ribbon under wreath and glue together overlapping ends.  I had the most perfect snowflake ribbon from Michael's for this project.

9)  Hang up . . . of course, you may actually want to wait for winter.  ;)

Craft on!
Check out the great parties I may link to by clicking on the blog name below or visiting my "I like to party" page that shows off all the party buttons.  These gals go to a lot of work to host these parties.  If you particpate in parties please take time to look through a variety of the projects linked up.  They are a great source of inspiration!


Weekend - a little lovely, Craft Envy, Under the Table and DreamingBe Different Act Normal, A Vision to Remember, 504 Main - Tickled Pink, Funky Junk Interiors, Tatertots and Jello, I heart naptime


Monday - Keeping it Simple, Craft-O-Maniac, The Girl Creative, The Trendy Treehouse, CRAFT, Making the World Cuter, Mad in Crafts, Sumo's Sweet Stuff, Between Naps on the Porch, Tools Are For WomenIt's So Very Cheri, Skip to My Lou, Sew Can Do, Polly Want a Crafter, Texas Monkey


Tuesday - All Thingz Related, Sugar Bee, New Nostalgia, Creative Itch, Lucky Star Lane, Hope Studios, These Creative Juices, My Delicious Ambiguity, Today's Creative Blog-Get Your Craft On!,


Wednesday - It's So Very Cheri, Beyond the Picket Fence, Blue Cricket DesignTrendy Treehouse, Tea Rose HomeSomeday Crafts, My Backyard Eden, Sew Much Ado, Night Owl Crafting


Thursday -  Fireflies and Jellybeans, Life As Lori, House of Hepworths, Somewhat Simple, Seven Thirty Three, The Train to Crazy, PonyTails and FishScales


Friday - The Sabby Nest, A Little Knick Knack, Fingerprints on the Fridge, It's Fun to Craft!, It's a Hodgepodge Life, Kojo Designs, Simply Sweet Home, Frou Frou Decor, Remodelaholic, Momma's Kinda Crafty
Related Posts with Thumbnails