Here's a little recap of what we've covered so far in the pretend and play set.


Now, on to the pretend and play changing pad. Thankfully, this particular changing pad doesn't actually need to be water resistant, so you probably already have the supplies on hand.

Here's what you need:
-contrasting fabric
-fusible fleece or quilt batting or fusible interfacing
-ribbon
Here's what you do . . . so easy:
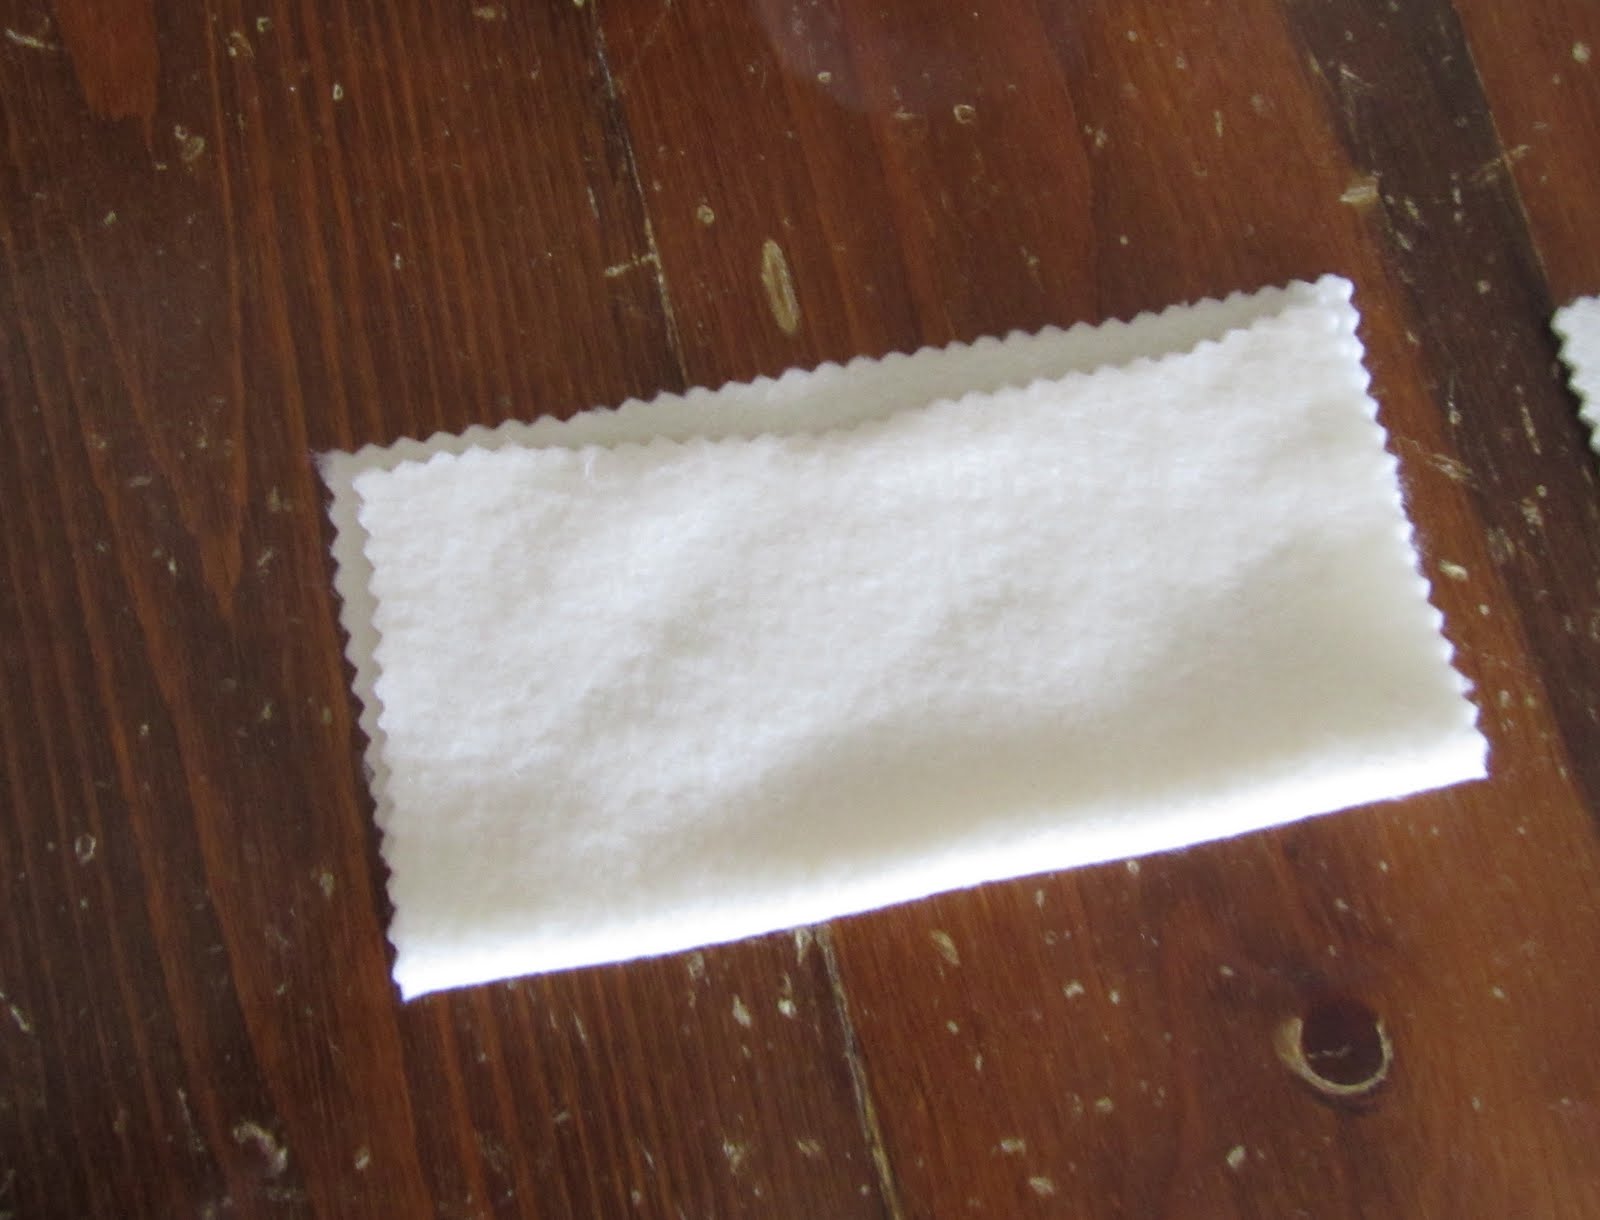
1) Measure the doll or dolls who will most likely be using the changing pad. Cut your fabric and fusible fleece or batting to these measurements adding about two inches.

2) I wanted to add a few details to my plain fabric on this particular changing pad. I only had a few scraps left of the pattern/color that I used for the bassinet and diaper bag, so I used fusible interfacing to secure the scraps and also used the sewing machine to add a little stitch detail. With the other changing pad I used quilt batting so I quilted one side with straight parallel lines for added detail.

3) Fuse interfacing or fleece according to package directions. (Or quilt batting to one piece of fabric. You can see the detail of that in the second picture.)


4) Cut ribbon 15 to 20 inches - depending on the length of your changing pad. Remember the ribbon will be folded in half, and it needs to be long enough to wrap around the rolled up changing pad and tied. Fold it in half right sides together.


6) Turn. Fold in turning opening and top stitch all the way around the changing pad to close up opening.

7) Roll up, tie, stick in diaper bag along with diaper wipes and doll diapers! So cute! Hours of fun for your little one!

Craft on!
Click on the links below for some of the great parties I may link to, or check out my "I like to party" page.
Weekend - a little lovely, Craft Envy, Under the Table and Dreaming, Be Different Act Normal, A Vision to Remember, 504 Main - Tickled Pink, Funky Junk Interiors, Tatertots and Jello, I heart naptime
Monday - Keeping it Simple, Craft-O-Maniac, The Girl Creative, The Trendy Treehouse, CRAFT, Making the World Cuter, Mad in Crafts, Sumo's Sweet Stuff, Between Naps on the Porch, Tools Are For Women, It's So Very Cheri, Skip to My Lou, Sew Can Do
Tuesday - All Thingz Related, Sugar Bee, New Nostalgia, Creative Itch, Lucky Star Lane, Hope Studios, These Creative Juices, My Delicious Ambiguity, Today's Creative Blog-Get Your Craft On!, Tasty Tuesdays at Housewife Eclectic
Wednesday - It's So Very Cheri, Beyond the Picket Fence, Blue Cricket Design, Trendy Treehouse, Tea Rose Home, Someday Crafts, My Backyard Eden, Sew Much Ado, Night Owl Crafting
Thursday - Fireflies and Jellybeans, Life As Lori, House of Hepworths, Somewhat Simple, Seven Thirty Three, The Train to Crazy, PonyTails and FishScales, Black Kat's Design