Showing posts with label stocking stuffers. Show all posts

Saturday, December 18, 2010

stuff your stockings: finale & giveaway

Can you believe that Christmas in NEXT SATURDAY?!?!  Aaack!  Deep breath.  Double aaack! 
Okay, so perhaps you need a quick stocking stuffer that can be done with stuff you already have on hand or can get easily from a local store.  Well, Stephanie from Binkies and Briefcases has the idea for you.  This is stocking stuffer idea is perfect for the kids in your life.  PLUS, Stephanie is giving a lovely little gift for you as well.  Check out the details at the bottom of the post.
~~~~~~~~~~~~~~~~~~~~~~~~~~~~~~~~~~~~~~~~~~~~~~~~~~~~~~~~~~~~~

Hi! I'm Stephanie and I blog over at Binkies and Briefcases.
Binkies and Briefcases Button

I have been following Elizabeth for quite a while and have been so inspired by her that I also decided to make all of our Christmas gifts this year, plus I added another little challenge for myself. I'm making all of our gifts by re-purposing things we already have so it's going to be a totally no-spend Christmas.

I was honored that Elizabeth liked my felt solar system enough to share it as a Stocking Stuffer Saturday idea!

To make your own you need:
1. Fleece scarf
2. A few squares of felt (you can find these at any craft store)
I also used some fabric markers & embroidery thread for some extra details

Start by folding one side of the scarf in on itself 6-8 inches or so.


Sew the bottom shut and sew half way up the side. Cut the top half off of the piece that you folded over and you will be left with a little pocket where you can store the pieces when they're not being used. I used embroidery thread to embroider his name on the pocket later.


Next cut space-related shapes out of your felt and use a fabric marker to embellish them. I made a rocket ship, a few stars, all of the planets, and the sun. I labeled the sun and labeled each planet with the first letter of its name.


Store the pieces in the pocket and roll it up. I made a little band out of elastic to keep it shut.
Fold it closed for easy storage:


Open for hours (more like 10 minutes if I'm lucky) of imaginative play:


I think this could also work for home schoolers learning about space, a birthday gift for a child, or even a teacher gift when the class starts studying the solar system. (I was an elementary school science teacher in my life before kids and I would have loved a gift like this.)

I have also gotten a few suggestions for other ideas like making a race track. I'm envisioning a pink one for the My Little Pony Preakness races. Anybody with me?

Thank you so much for having me Elizabeth! I have loved all of the inspirational pieces you have featured and because of your influence me children will forever have the memories of these homemade toys. They might not have cost a dime to make, but memories like that are priceless!

We are also happy to be giving away an 8 x 10 of this architectural print that was inspired by a Restoration Hardware print. (Frame not included)


Here's Elizabeth with the details....

Thanks Stephanie!  Stephanie will be sending the winner their very own Restoration Hardware inspired 8 x 10 print to frame and display.  What a great idea!

Mandatory Entry:
Leave one comment telling me where you might hang this print.

Optional/Extra Entries - leave comment for each entry:
~Be or become a follower of twelve crafts
~Be or become a follower of Binkies and Briefcases
~Leave a comment at Binkies and Briefcases

Giveaway closes on Thursday, December 23, 2010 at 11:59 PM (CST).  Frame not included.  Winner will receive an 8 x 10 print.

Craft on!

Friday, November 12, 2010

stuff your stockings: juice pouch headband tutorial

Let's give Misty a big twelve crafts welcome.  She's sharing a super fabulous stocking stuffer idea with us this week for Stuff Your Stockings!  AND she's offering a very fun giveaway, so don't forget to throw your hat in the ring (whatever that means) to enter to win in the comments section.

I'm SUPER excited to be contributing to Elizabeth's "Stuff Your Stockings" ideas!  I'm a huge fan of Twelve Crafts Till Christmas.  HUGE!!  I love Elizabeth's idea of making one craft each month specifically for Christmas.  I'm thinking I may be following her lead in 2011.  We'll see how I do!

I'm Misty from Creative Itch.  


Photobucket 
 

Today I'm going to show you how to make a Reversible Juice Pouch Headband!! 

{Juice Pouch Headband Tutorial}
Supplies Needed:
* 4 juice pouches, cleaned and dried
* Fabric
* Tape
* Sewing Machine
* Coordinating Thread
* about 4" of Elastic
* Headband Template (I just found one online that I liked...HERE)
* Scissors
* X-acto Knife

{Step 1}  To get started, let me first show you how I clean out my juice pouches.  All I do is carefully cut a slit in the bottom, wash out in soapy water, and let air dry.  Sometimes if I want to speed up the drying process, I'll put the juice pouches in the dryer on low. 
{Step 2}  Next you'll need to carefully cut off the back of the juice pouch.  Using an X-acto Knife, start cutting on the bottom of the pouch, where you cut the slit to clean it out.  Keep going until you've cut the whole back of it off.
This will give you a better idea of what it should look like.  The pouch on the left has the back cut off....the one on the right doesn't.
{Step 3}  Sew the pouches together.  I like to use a zig-zag stitch, but you can use a straight stitch if you prefer.
{Step 4}  Fold the pouches in half, and tape your headband template on top.  Cut around the template.
Here's what mine looked like after cutting.
{Step 5}  Fold both your fabric and headband in half.  Place juice pouch headband on the fold of the fabric.  Cut out leaving about a 1/2" border.
**Tip:  I put tape on the inside of the juice pouches to keep them in place while cutting out the fabric.  If you do this, make sure to take the tape off once you're done cutting!!
{Step 6}  Unfold the juice pouches and fabric, and place the juice pouches in the center of the fabric, right side up.  The fabric needs to be right side down. 
{Step 7}  Fold fabric to edge of juice pouch, then fold again.
Tape in place.
Here's mine all taped down.
{Step 8}  Sew along the inside edge of fabric, right over the tape.  I used a straight stitch.  DO NOT sew the ends closed!!  Once you're done with both sides, carefully peel off the tape.  After the tape is all off, iron the fabric flat using low heat.
{Step 9}  Sew your elastic in one end, backstitching to secure.
Then do the same with the other end.  Make sure you back stitch a few times!  (I usually put my headbands on once I've sewed the elastic in one side and measure where I need to sew it in the other side.  Just to make sure it fits snug).
And that's it!!  You're all done!  Now put on your cute headband and admire your work!! 


Check out what Misty is offering up for this week's stocking stuffer giveaway:
~a juice pouch wallet
~2 pairs of scrabble tile earrings

Here's how you can win this prize pack:

ONE entry each - Leave one comment for each entry. 
~Be or become a follower of twelve crafts.
~Head on over to Creative Itch and become a follower.

TWO entries each - You DO NOT need to leave comments for these entries
~Link up your own stocking stuffer ideas and you might be featured on Stuff Your Stockings in the Saturdays to come. You can link up as many as you want.

ONE extra entry - Leave a comment for this extra entry.
~If you link up a stocking stuffer idea, put a link or one of my blog buttons somewhere in the post, sidebar, linky party page, etc. and come back here to tell me that the link or button is up. 

Giveaway will be open for entries until Friday, November 19, 2010 @ 11:59 PM (CST).

**Also, I've started announcing winners of these Saturday giveaways up at the top of the blog rather than in a separate post.  I also contact winners, so the winners do not have to contact me to claim their prizes.**

Craft on!
This post is sponsored by Arise Shine Designs.  Visit Arise Shine Designs for beautiful Scripture-inspired jewelry:
Photobucket

Saturday, November 6, 2010

stuff your stockings: business card wallet


I hope you will join me in welcoming Julie for sharing another stocking stuffer gift idea to our growing list.  At the end of the post you have an opportunity to win this stocking stuffer and also link up your own stocking stuffer gift ideas for an opportunity to be featured here on an upcoming Saturday.  Feel free to link up anything that will fit inside a stocking for a girl, boy, adult, pet . . . and yes food treats count as well!

Thank you so much for having me here at Twelve Crafts for your Stocking Stuffer Saturday!  When I found that link a while back, I was really excited because finding stocking stuffer ideas that don't empty my bank account by itself can be next to impossible!! 

Today, I'm going to share with you my business card wallet tutorial. 

This is great because all you need to make this wallet is a couple scraps of fabric and a couple scraps of heavyweight interfacing.  So first things first...

Materials:
~2 fabric scraps  (1/8 yrd)
~2 interfacing scraps (1/4 yrd)
~matching thread
~normal sewing notions

**Unless otherwise noted, use a 1/4" seam allowance.

Step 1
Cut two pieces from your desired fabric to measure 3 1/2"x8 1/2".  Cut and iron on your interfacing to match the size.

Step 2
Fold one piece in half length wise to cut out the thumb piece.  Cut 1/4 of a circle out on the fold, at the top of the fabric piece.  Do this to both pieces of fabric.


Step 3
Line them up, right sides together, with the thumb piece lining up as well.
Begin sewing about 2/3 of the way down one side of the wallet.

Be sure to back stitch a couple times at the beginning and the end for strength when turning at the end. It helps to use a small stitch when maneuvering around the curve at the thumb piece. Leave a 2 inch space along the side for turning the wallet.

Step 4
Clip your corners and your seam allowance on the curve. Do not cut the stitches!! Turn wallet right side out and press well.

Step 5
Top stitch all the way around the wallet.  

Step 6
Fold wallet in half length-wise and stitch down each long side.

Voila! You have your business card wallet!


Thank you so much for having me.  Come on over and see me at Vibrant Designs!

Thanks Julie! 

Now, here's how you can win your own business card wallet:

ONE entry each - Leave one comment for each entry. 
~Be or become a follower of twelve crafts.
~Head on over to Vibrant Designs and become a follower.

TWO entries each - You DO NOT need to leave comments for these entries
~Link up your own stocking stuffer ideas and you might be featured on Stuff Your Stockings in the Saturdays to come. You can link up as many as you want.

ONE extra entry - Leave a comment for this extra entry.
~If you link up a stocking stuffer idea, put a link or one of my blog buttons somewhere in the post, sidebar, linky party page, etc. and come back here to tell me that the link or button is up. 

Giveaway will be open for entries until Friday, November 12, 2010 @ 11:59 PM (CST).

**Also, I've started announcing winners of these Saturday giveaways up at the top of the blog rather than in a separate post.  I also contact winners, so the winners do not have to contact me to claim their prizes.**

Craft on!
This post is sponsored by Arise Shine Designs.  Visit Arise Shine Designs for beautiful Scripture-inspired jewelry:
Photobucket

winter's coming: ear warmer tutorial

Welcome visitors who are hopping over from The Train to Crazy! (That is possibly the best blog name ever!) I hope you will poke around a little and be inspired to make at least one handmade gift this holiday season.  If you are a twelve crafts' reader, check out The Train to Crazy because Andrea is hosting Make it for Winter this entire month.


Winter's coming . . . I'm hoping it's not coming soon though!  Of course, you know that I've been preparing for winter for a while now with this:


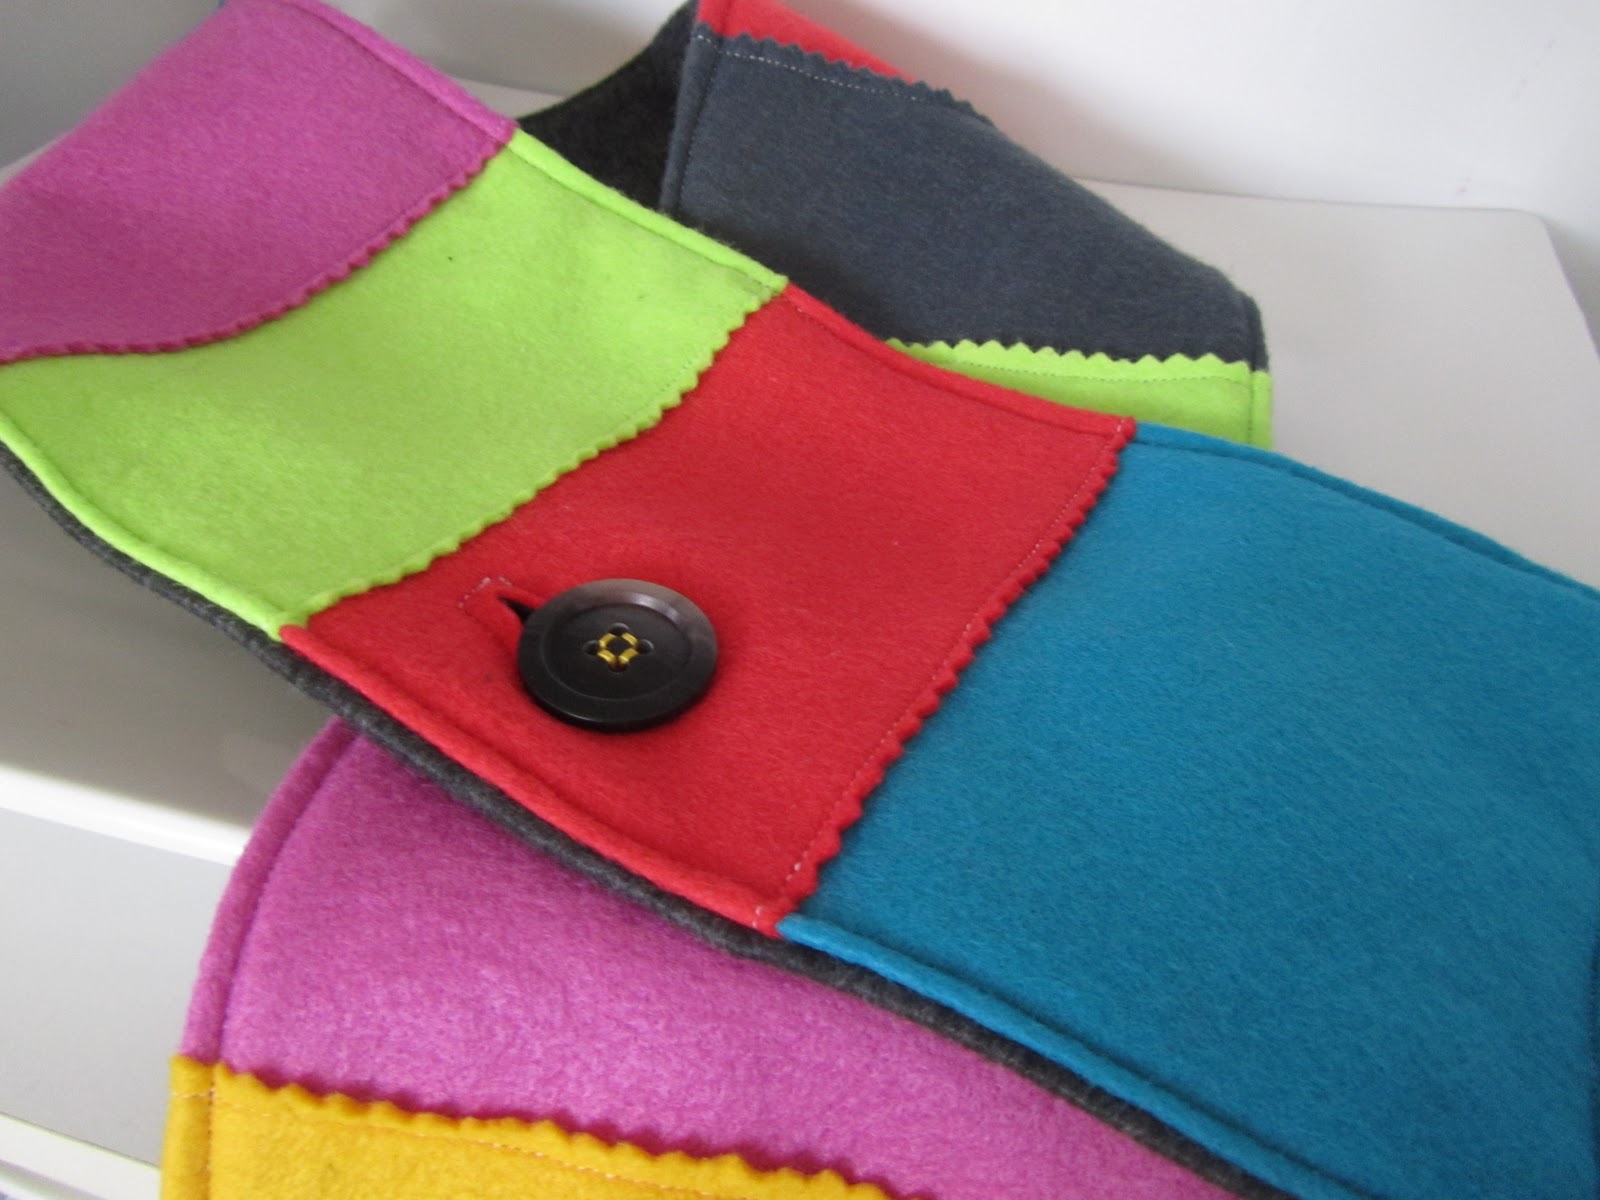
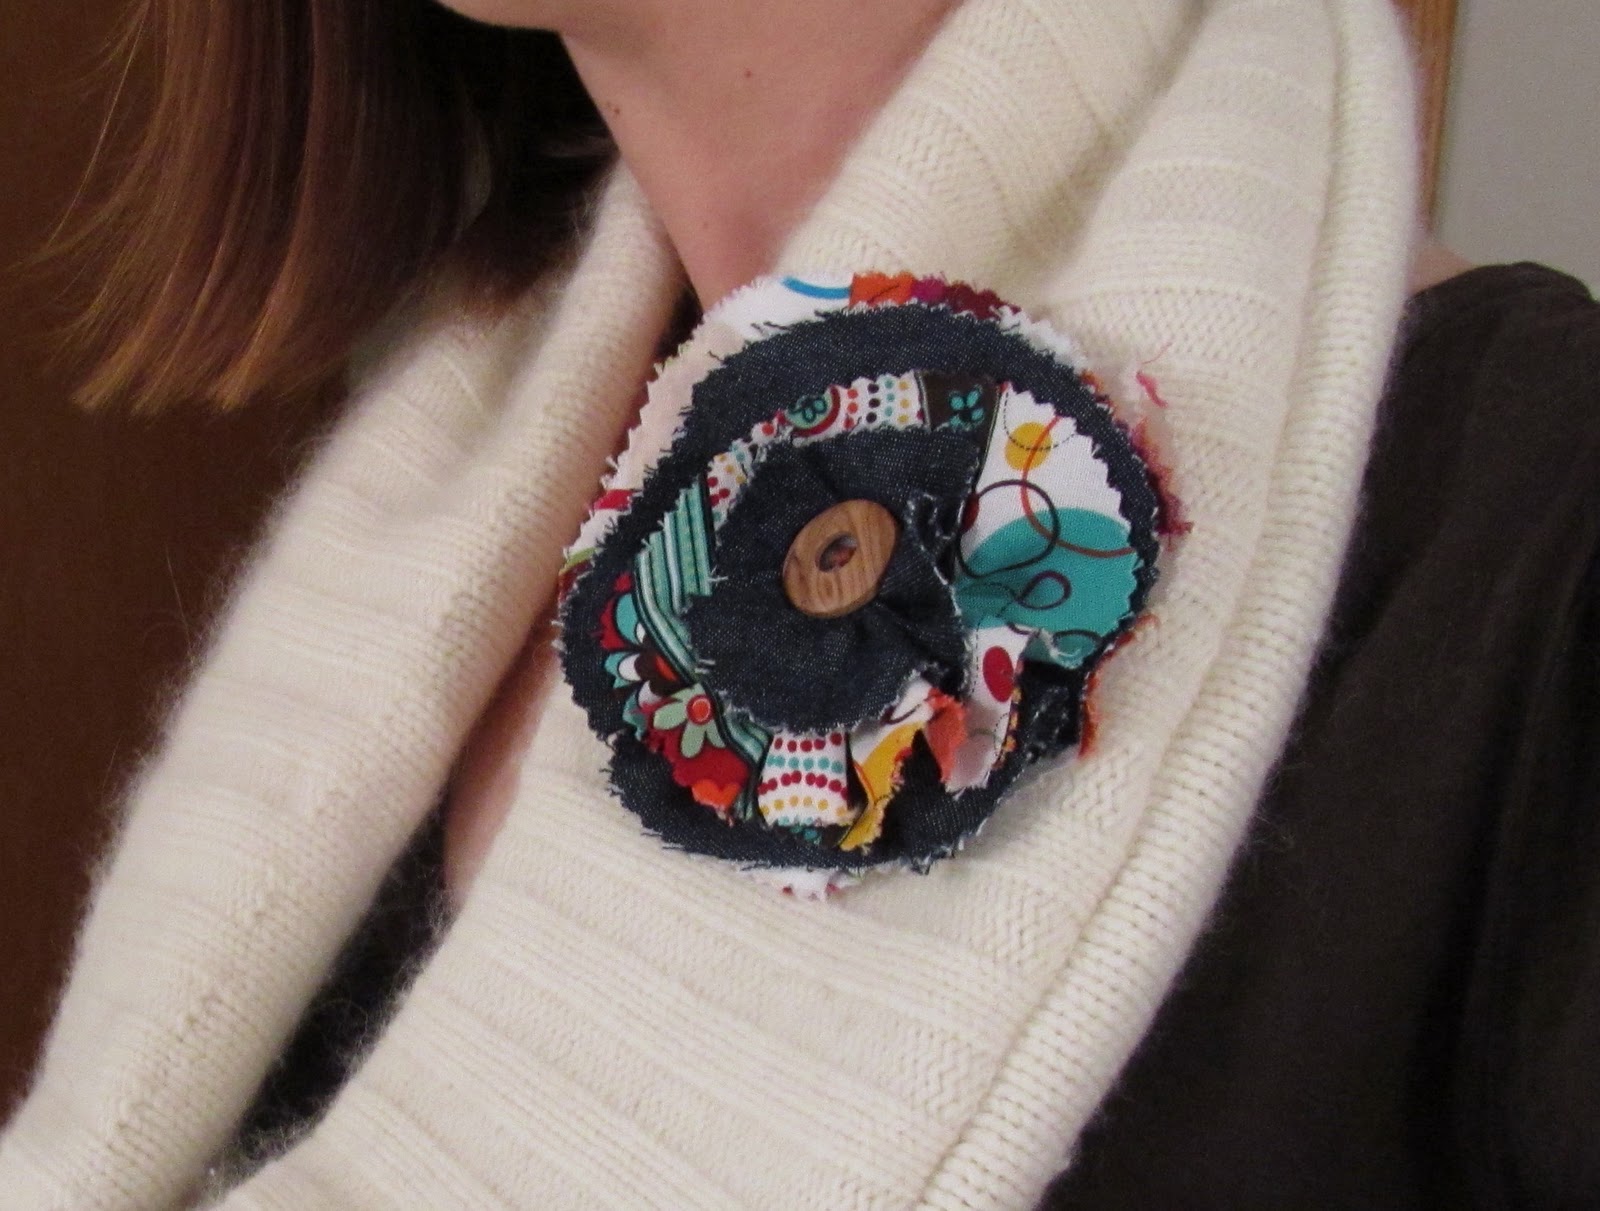
With the help of some old sweaters, I'm adding a few ear warmers to our winter stash.  Add a little hook and loop to these and all the girls in our family (including this big girl) can wear the exact same ear warmers.  Woo hoo!  More options for all of us!

Adjustable Ear warmers

Here's what you need for the ear warmer:
~an old sweater or some fleece
~2 pieces of 2 to 3 inches of hook and loop

Here's what you need for the removable flower:
~various sizes of circles cut out from the sweater, fleece of other fabric
~follow this tutorial

Here's what you do for the adjustable ear warmer:
1)  Measure around the head of the largest head you want these to fit and cut that length by 6 inches wide from the sweater.

2)  Pin on one side of the two strips of hook and loop to the right side of the ear warmer about an inch from the long edge and the short edge.  Pin the other side of the hook and loop strips to the diagonal corner.  Sew strips on.  

3)  Fold sweater strip in half right sides together and pin.  Sew along long edge.  Turn.  Fold in ends and pin around entire perimeter.  Top stitch all the way around the strip.

5)  Make flower using circles and this tutorial.

Done!  The top picture is of my five year old wearing the ear warmer.  The bottom picture is of me wearing it.  It fits my two year old as well.  However, I couldn't get her to sit still long enough to take a picture.  She's an elusive little Monkey!

Go check out other ideas in Make it for Winter, and come back here later tonight for Stuff Your Stockings.

Craft on!

This post is sponsored by Arise Shine Designs.  Visit Arise Shine Designs for beautiful Scripture-inspired jewelry:
Photobucket


Check out the great parties I may link to by clicking on the blog name below or visiting my "I like to party" page that shows off all the party buttons.  These gals go to a lot of work to host these parties.  If you participate in parties please take time to look through a variety of the projects linked up.  They are a great source of inspiration!

Weekend - a little lovely, Craft Envy, Under the Table and DreamingBe Different Act Normal, A Vision to Remember, 504 Main - Tickled Pink, Funky Junk Interiors, Tatertots and Jello, I heart naptime


Monday - Keeping it Simple, Craft-O-Maniac, The Girl Creative, The Trendy Treehouse, CRAFT, Making the World Cuter, Mad in Crafts, Sumo's Sweet Stuff, Between Naps on the Porch, Tools Are For WomenIt's So Very Cheri, Skip to My Lou, Sew Can Do, Polly Want a Crafter


Tuesday - All Thingz Related, Sugar Bee, New Nostalgia, Creative Itch, Lucky Star Lane, Hope Studios, These Creative Juices, My Delicious Ambiguity, Today's Creative Blog-Get Your Craft On!,


Wednesday - It's So Very Cheri, Beyond the Picket Fence, Blue Cricket DesignTrendy Treehouse, Tea Rose HomeSomeday Crafts, My Backyard Eden, Sew Much Ado, Night Owl Crafting


Thursday -  Fireflies and Jellybeans, Life As Lori, House of Hepworths, Somewhat Simple, Seven Thirty Three, The Train to Crazy, PonyTails and FishScales


Friday - The Sabby Nest, A Little Knick Knack, Fingerprints on the Fridge, It's Fun to Craft!, It's a Hodgepodge Life, Kojo Designs, Simply Sweet Home, Frou Frou Decor, Remodelaholic, Momma's Kinda Crafty
Related Posts with Thumbnails