Wednesday, June 9, 2010

make it: crossbody bag for kids


Okay, there are a TON of bag tutorials out there . . . I cannot exaggerate that enough!  However, my very brief sewing experience has told me that I'm HORRIBLE at following tutorials . . . I also cannot exaggerate that enough!  I can't, for the life of me, understand simple step-by-step instructions.  That's just not how my brain is wired.  I learned years ago that I should never try to follow a recipe while cooking, and that same rule-of-thumb also applies to sewing/crafting.  That's basically why I have more than a dozen tutorials here after only four months of blogging.  My motto is . . . If I'm going to do it, I'm going to figure it out myself.  (If my mom is reading this, she is smiling.  Some people never change, right mom?)

So before I give you my version of the crossbody bag, I'm going to link you up to a few other versions out there.  I didn't actually read these versions because after the first line of instruction on all of them my brain turned to mush and I forgot my own name.  (Tuesday's true confession would be that I barely even made it past the supplies/materials part before my head started spinning in total confusion . . . if this were a Tuesday.)  I do know a pretty bag when I see it though, so if you've been blessed with the ability to understand simple instructions, check out these other options:

Between the Lines Tote
Calico Ruffle Tote
Salty Pineapple Easy Envelop Bag
Fishsticks and Fries Messenger Bag
Handmade Matters Messenger Bag

Oh good, you're still here.  I was afraid you may have gone off to one of those tutorials created by someone who actually knows what she's doing. 


Here's my disclaimer . . . A while ago I picked up a very simple envelope bag at a thrift store for practically nothing.  I took it apart for the fabric and in doing so, took note of how I think it was made.  This is my basic version of that with a few changes: shape/dimensions, flap instead of zipper (Quite frankly, I haven't tackled putting in a zipper yet and I'm not about to try!), and strap length to go across the body of a child.
  
For this version of the crossbody bag, grab this stuff*:
*I did this as a mail bag to include in a Pretend and Play Mail Carrier Kit for my girls.  You could easily do the same crossbody bag without including the "Mail" label on the front.  Then it becomes a library bag, a beach bag, a treasure-finding bag.

BAG-
  2 - 11 x 22 inch rectangles in contrasting fabrics*
  1 - 10 1/2 x 21 inch rectangle of pellon 809 decor bond or other firm/crisp iron-on backing
*I wanted a square shape to my bag, so I used this square box for my shape, but you could use these same steps with a rectangle shape if you prefer. 

FLAP-
2 - 9 1/2 x 10 1/4 inch rectangle of fabric
1 - 9 x 10 inch rectangle of pellon 809 decor bond

STRAP-
1 - 5 x 30 inch rectangle of fabric*
This is the easy measurement.  You will notice that my strap isn't a solid one color piece because I had scraps I wanted to get rid of, so I pieced together a 30 inch rectangle.  You can just use one long piece for ease and quickness, or you can go my route to make things more complicated.  Either way . . . come up with something 30 inches in length.

LETTERING-
-fabric scraps of your color choice
-double-sided fusible webbing (Heat n Bond)
 

BAG STEPS-
1)  Put two 11 x 22 inch rectangles right sides together (RST).  Pin.  Sew RST both short edges.  In other words, the two long sides remain open.

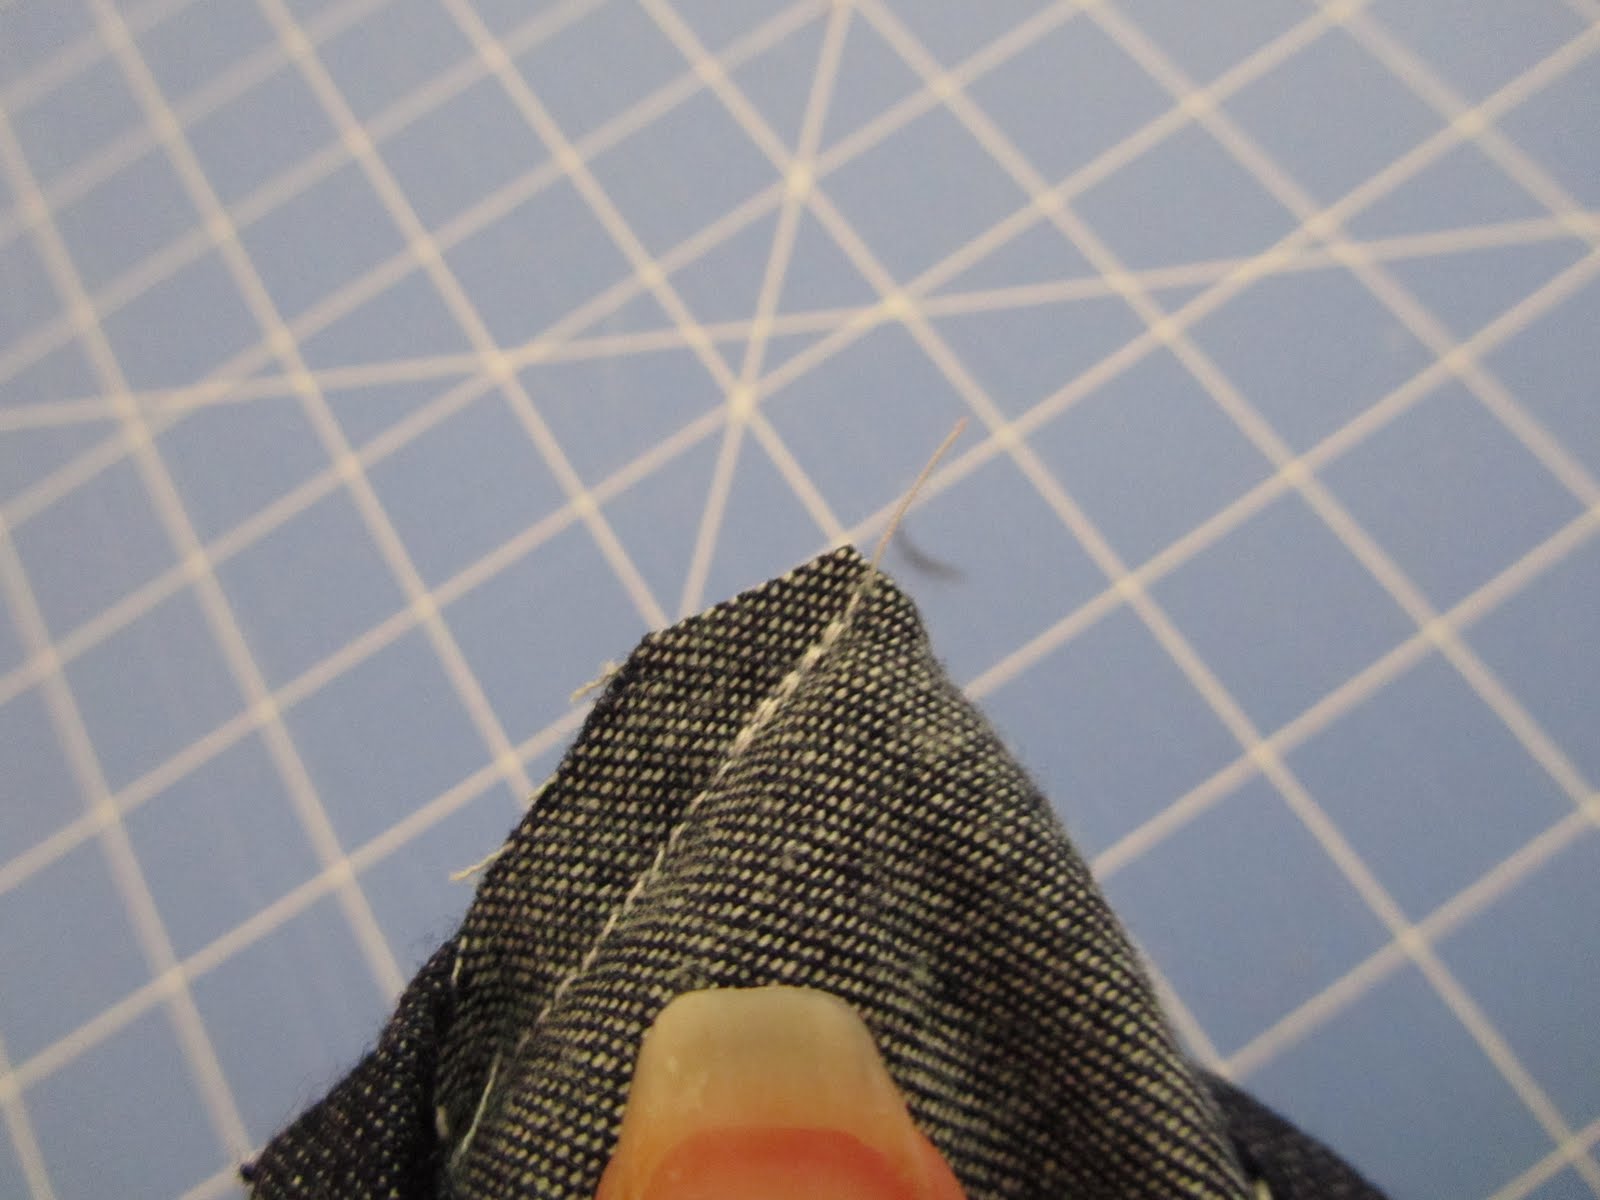
2)  Match the seams of the short sides up in the center of the fabric rectangle.  The lining will be on one side of the rectangle and the outside fabric on the other side.  Iron. Pin.  Sew both long sides leaving a three inch opening on the lining side for turning.  Trim corners.

3)  Take 10 1/2 x 21 inch piece of pellon and fold it around both sides of the side that will be the outside of the bag.  Pin and iron on according to package directions.

4)  Turn right sides out.  Close turning hole with sewing machine, fabric glue or hand stitching . . . just close it.

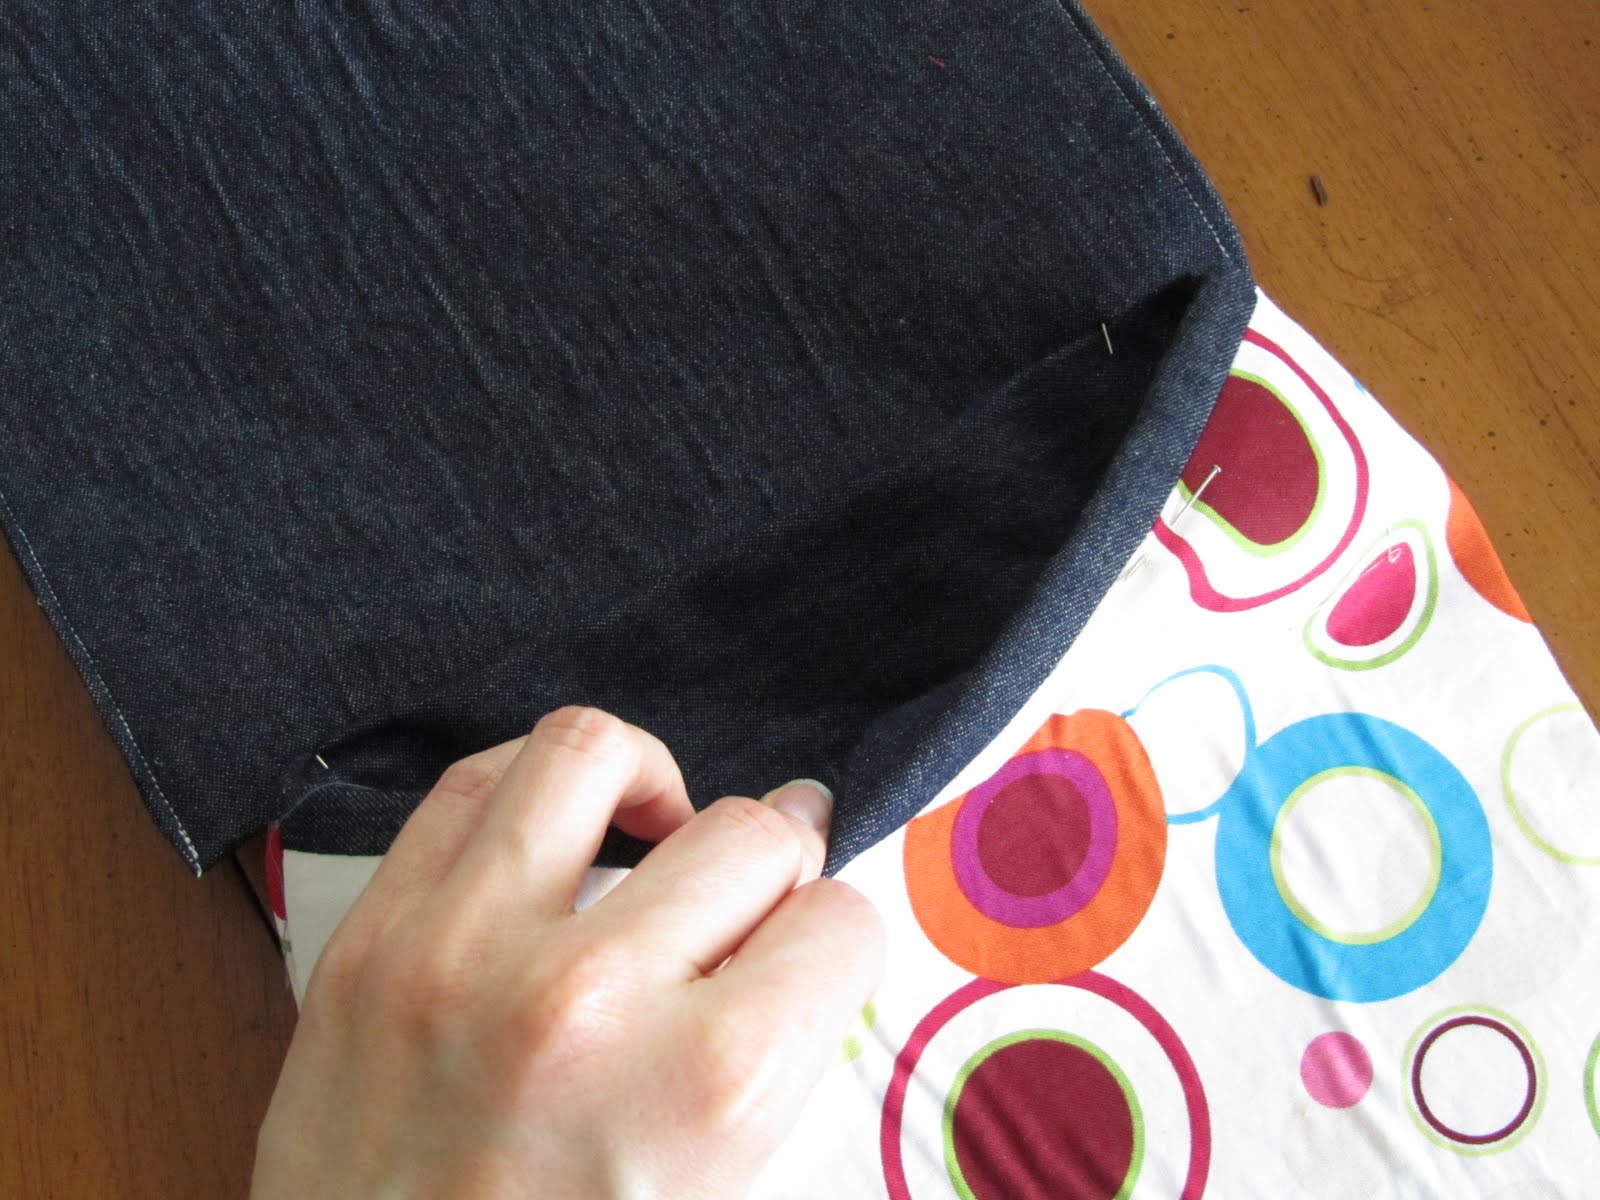
5)  Push lining into the outside piece to make the bag.  You have two options: 1) push lining in all the way and try to make it line up evenly so that the lining is completely hidden inside OR 2) leave a bit of the lining exposed at the top of the bag. (I chose number 2 because I got frustrated trying to keep the lining completely hidden.)  Either way pin this in place. You are going to leave these pins in for the rest of the process.   

6) Using a needle and thread, tack to the lining to the Pellon with a few stitches on both side seams and the bottom seam.  This secures the two pieces together.

The bag part is done.  Put it aside for later.

FLAP STEPS-
1)  Sew two fabric flap pieces right sides together leaving a three inch opening for turning.  

2)  Iron on pellon 809 according to package directions.

3)  Trip corners and turn.

4)  Sew around three sides closing up turning opening as you go.  (Leave the side that will be attached to the bag unsewn.) 

5)  Fold in edges of open side and iron.  Then pin this piece on the outside of the back of the bag.  You want to line the edge of this piece up at the seam where the lining meets the outer fabric.  (Remember you pinned it so that the lining created an edge at the top?  This flap will be sewn into place when you sew around this edge at the end.)


STRAP STEPS-
1)  Fold rectangle in half right sides together to make a 2 1/2 x 30 piece, iron and pin.

2)  Sew long side and one short side leaving one short side open for turning.

3)  Turn right side out.  Fold in open end.  Iron.  Sew around all four sides.

4)  Pin each end in place on opposite sides of the bag.

PUTTING IT ALL TOGETHER-
1)  Sew around top edge of bag joining flap and both strap sides to bag body as you go around.

3)  (Obviously, if you like your bag as is, don't continue to this step.  Or perhaps you don't want a pretend and play mail bag.  If you just want a crossbody bag with a name or other words, go for it.)  Print off letters in font and size of your choice.  Cut them out and trace onto fabric.

4)  Fuse fabric to one side of double-sided fusible webbing (Heat n Bond) according to package directions.

5)  Cut our fabric letters.  Take off backing on fusible webbing.  Fuse in place on bag using package directions.

Mail bag done!

I will have on more post to finish up the Pretend and Play Mail Carrier Kit that will include links to all the tutorials to make this kit.  If you make the whole kit or bits and pieces, let me know.  I would love to see your creations!

Craft on!

stay tuned for a give-away!

If there is one thing I've learned in my 33 years of life, it's that I should NEVER say NEVER.  When I first started blogging, I said I would NEVER do a product review.  I don't have a problem with review blogs doing reviews . . . it's not that.  It's just my blog isn't a review blog.  It's a "hey-I-have-to-make-a-lot-of-stuff-by-next-Christmas" blog.  And because I have to make a lot of stuff by next Christmas, I need to stay focused on the task at hand.  BUT . . . then I got an e-mail from a representative at CSN stores asking if I would be interested in doing a product review or a give-away.  I have gotten a few requests from other's asking me to do give-aways or promote their sites with posts, and I have said no.  And that was my immediate gut-response to the CSN representative, but I was a little curious about CSN.  I thought I would check it out, so I did.  Hello one-stop-shopping site for pretty much everything from lights to luggage and shoes to sofas.  I was actually hooked because I have been looking for an inexpensive, child's sized suitcase forever.  Not only do they have one of those, they have an entire selection.  Here are a few I think are super cute! 


So . . . I will be doing a product review AND a CSN give-away before June is out.  This isn't going to be a regular occurrence, but I thought it would be a special way of celebrating 120 followers.  You see, I was hoping that I might have 120 followers by next Christmas, but it's June . . . Christmas is still 6 months away.  So what better way to celebrate and thank you for following than with a give-away to a great online site! 

Stay tuned and . . .

craft on!

Tuesday, June 8, 2010

tuesday's true confession and the seventh craft

This is a two-for-one post . . . you are getting a Tuesday's True Confession post AND the much anticipated (by me but probably nobody else) announcement of my seventh craft till Christmas all rolled up into one.  Aren't you the lucky blog reader?  (If you are new here, and wondering why in the world I'm already talking about Christmas crafts, please go to my first post.  Trust me, I'm not Christmas crazy.)

Okay, first let's tackle my true confession for this week.  I'm both a procrastinator AND a perfectionist.  This is without a doubt THE WORST COMBINATION EVER!  In case you have no experience with either, let me explain. 

Procrastinators put off doing stuff as long as they possibly can until it absolutely MUST be done.  For example, during my college years, if I had a paper due on Monday, some sort of force of nature prevented me from doing any writing until Sunday.  It was as if it was beyond my control.  The kicker was that this practice was only enforced by my professors.  If, for some uncanny reason, I happened to write my paper in advance, I always got a lower grade than if I waited until the very last minute to start the writing process.  What did I learn from this?  Clearly, it's better to wait until the last minute. 

Perfectionists have a compulsion to do things as perfectly as possible.  This is an extremely annoying personality trait on its own . . . just ask my husband who has graciously learned . . . 
1)  how to put all the silverware pointing the same exact direction in the drawer and 
2)  how to fold towels into three sections so they fit evenly in the linen closet. 

But pair perfectionism with procrastination, and you get someone who MUST wait until the very last minute to do something that MUST be done perfectly.  YIKES!  A deadly, or at least highly frustrating combination.    

So I've put off announcing my seventh craft till Christmas because I had such a hard time finishing up my eighth craft till Christmas just the way I wanted it.    I finished and refinished and then completely redid my mail bags for the pretend and play mail carrier kit, and I'm still not totally thrilled with the way they turned out. (That's the perfectionist in me rearing it's brutal , depressing, bubble-popping head.)  But they are done, and I'm refusing to let myself rework them yet again.  With the mail carrier bag tutorial that I will be posting tomorrow, I'm closing the book on the pretend and play mail carrier kit. 

And I'm opening the book on . . . animal pillows!!!!!  "Animal pillows?" you say.  YES, animal pillows!  I have no idea how to make animal pillows.  I suppose like most of my little crafts/Christmas presents, I'll figure it out along the way.  And I'll show you how too.

So here's the background on this particular project pick for June . . .

The other day my girls and I were sitting together watching one of the few shows they are allowed to watch . . . The Adventures of Pippi Longstocking.  Love this show!  We aren't commercial people, so usually I skip right over the commercials.  However, on this particular day, I didn't get to the remote fast enough.  The first commerical at the break was a commerical for cute, fluffy animal pillows.  They are stuffed animals one minute, and with a quick Velcro change, they become pillows.  To my girls, this was as amazing as landing someone on the moon.  They were drooling all over the TV.  And then they looked at me with these big, sad eyes and the oldest said, "Mommy, we NEED one of those!"  (This is, of course, why we don't watch commericals) 

After a drawn out conversation about the difference between NEEDS and WANTS (it's official, I've turned into my mother), I hatched a secret plan to add the animal pillow idea to my "crafts till Christmas" list. 

So . . . due to my procrastination, I now have only three weeks to make two perfect quick-change animal pillows that are pillows by night and cute stuffed animals by day. 

Should be interesting and commical and frustrating all at the same time.  I hope you'll stick around for the month to encourage me, laugh with me, kick me in the pants when I seem to be stalling, or maybe even join me in making your own animal pillow/stuffed animal.  

Craft on! 
  

Monday, June 7, 2010

matching soda can ring tutorial

Before we get to the tutorial on soda can rings, remember to head on over to Fireflies and Jellybeans to vote for the Iron Crafter Challenge.  They happened to pick my soda can jewelry for the top ten final vote.  If you like my soda can jewelry, head on over there and vote.  As a little blog in a sea of bigger blogs, every reader that votes counts.  Of course, it goes without saying that if you think another project fits the criteria better (originality, presentation, and use of the secret ingredient), you should totally vote for it.  I did just say it though, so I guess it doesn't exactly go without saying.  :)

Okay, I said I would post this tutorial a week ago, so let's get to it. These soda rings go great with soda can bangles and anklets.  Go back to that post to check out the tutorial and make your own.  (And feel free to stop by Fireflies and Jellybeans on your way out to vote for the Iron Crafter.) 

Go to your recycle bin and your scrap pile and grab:
-a soda can
-coordinating or contrasting scraps


You will also need:
-Modge Podge and paintbrush
-a hot glue gun
-scissors

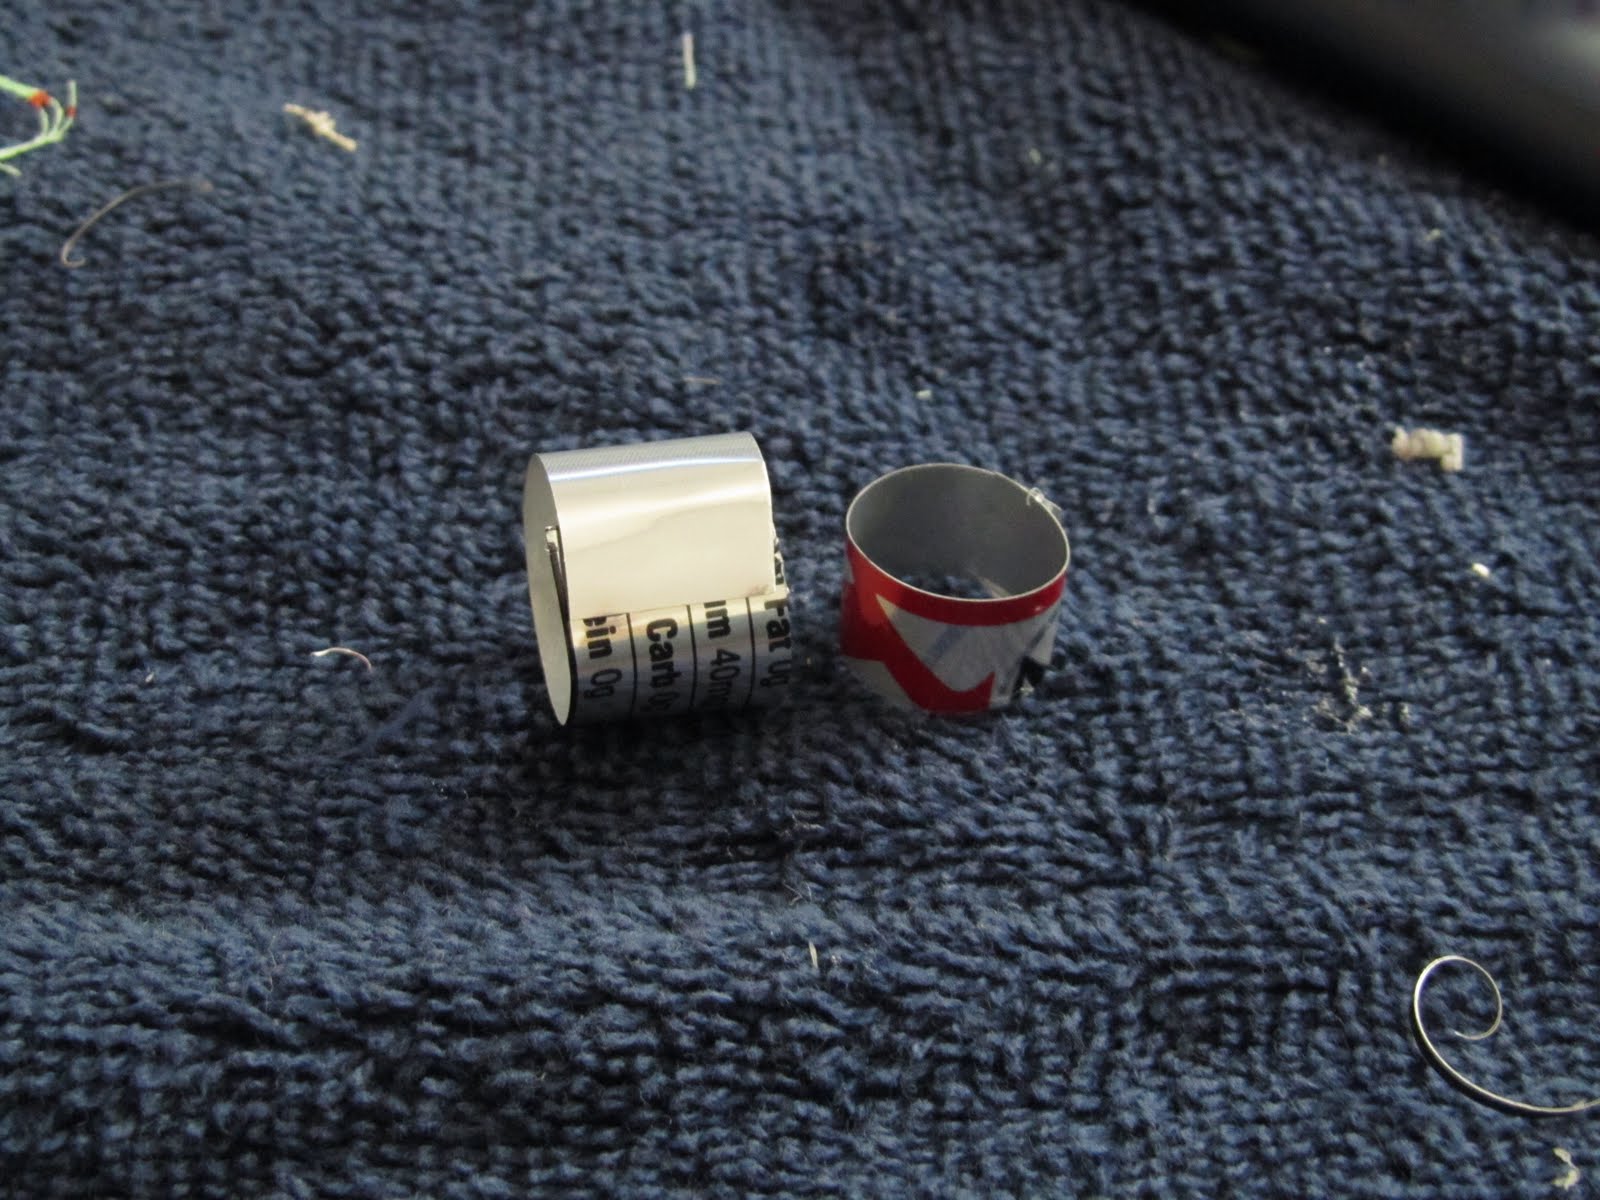
1) Cut a thin strip from your soda can. (This is way easier than you might think. Poke your scissors into the can and cut around the can.) Once you have the strip cut, cut off any jagged edges.

2) Wrap the can strip around your finger to size it. Make sure you cut the strip so about 1/4 of an inch overlaps.

3) Use your hot glue to form the ring by gluing the overlap. Hold tightly at this spot until glue cools a bit.

4) Cut strips of fabric scraps long enough to wrap around the soda can and overlap on the inside. You will want to use fairly thin strip of fabric - not varied widths like with the bangles and anklets.

5) Use Modge Podge and paint brush to affix fabric to can. With each strip added, paint the Modge Podge on before you wrap the fabric strip on AND paint the Modge Podge over the fabric strip. Keep adding strips this way all the way around covering up the overlapping section. Try to line up the inside overlap seam. Don't worry about the white, gluey Modge Podge look. It will dry clear.

6) Add one more coat of Modge Podge. Let dry.

7) (Optional) Use hot glue gun to add a button on the top of the ring. I didn't show this in the picture, but it's something I did on other rings.  (I didn't take a picture yet and blogger has been given me a little trouble so I just want to get this done while I still can tonight.)  I made the ring band narrower and added a button on top. I think this is super cute!

Here's a set - bracelet, anklet and ring.

Enjoy your new jewelry and . . .

craft on!
Related Posts with Thumbnails