
So before I give you my version of the crossbody bag, I'm going to link you up to a few other versions out there. I didn't actually read these versions because after the first line of instruction on all of them my brain turned to mush and I forgot my own name. (Tuesday's true confession would be that I barely even made it past the supplies/materials part before my head started spinning in total confusion . . . if this were a Tuesday.) I do know a pretty bag when I see it though, so if you've been blessed with the ability to understand simple instructions, check out these other options:
Between the Lines Tote
Calico Ruffle Tote
Salty Pineapple Easy Envelop Bag
Fishsticks and Fries Messenger Bag
Handmade Matters Messenger Bag
Oh good, you're still here. I was afraid you may have gone off to one of those tutorials created by someone who actually knows what she's doing.
Here's my disclaimer . . . A while ago I picked up a very simple envelope bag at a thrift store for practically nothing. I took it apart for the fabric and in doing so, took note of how I think it was made. This is my basic version of that with a few changes: shape/dimensions, flap instead of zipper (Quite frankly, I haven't tackled putting in a zipper yet and I'm not about to try!), and strap length to go across the body of a child.
For this version of the crossbody bag, grab this stuff*:
*I did this as a mail bag to include in a Pretend and Play Mail Carrier Kit for my girls. You could easily do the same crossbody bag without including the "Mail" label on the front. Then it becomes a library bag, a beach bag, a treasure-finding bag.
BAG-
2 - 11 x 22 inch rectangles in contrasting fabrics*
1 - 10 1/2 x 21 inch rectangle of pellon 809 decor bond or other firm/crisp iron-on backing
*I wanted a square shape to my bag, so I used this square box for my shape, but you could use these same steps with a rectangle shape if you prefer.

FLAP-
2 - 9 1/2 x 10 1/4 inch rectangle of fabric1 - 9 x 10 inch rectangle of pellon 809 decor bond
STRAP-
1 - 5 x 30 inch rectangle of fabric*
This is the easy measurement. You will notice that my strap isn't a solid one color piece because I had scraps I wanted to get rid of, so I pieced together a 30 inch rectangle. You can just use one long piece for ease and quickness, or you can go my route to make things more complicated. Either way . . . come up with something 30 inches in length.
LETTERING-
-fabric scraps of your color choice
-double-sided fusible webbing (Heat n Bond)
BAG STEPS-
1) Put two 11 x 22 inch rectangles right sides together (RST). Pin. Sew RST both short edges. In other words, the two long sides remain open.


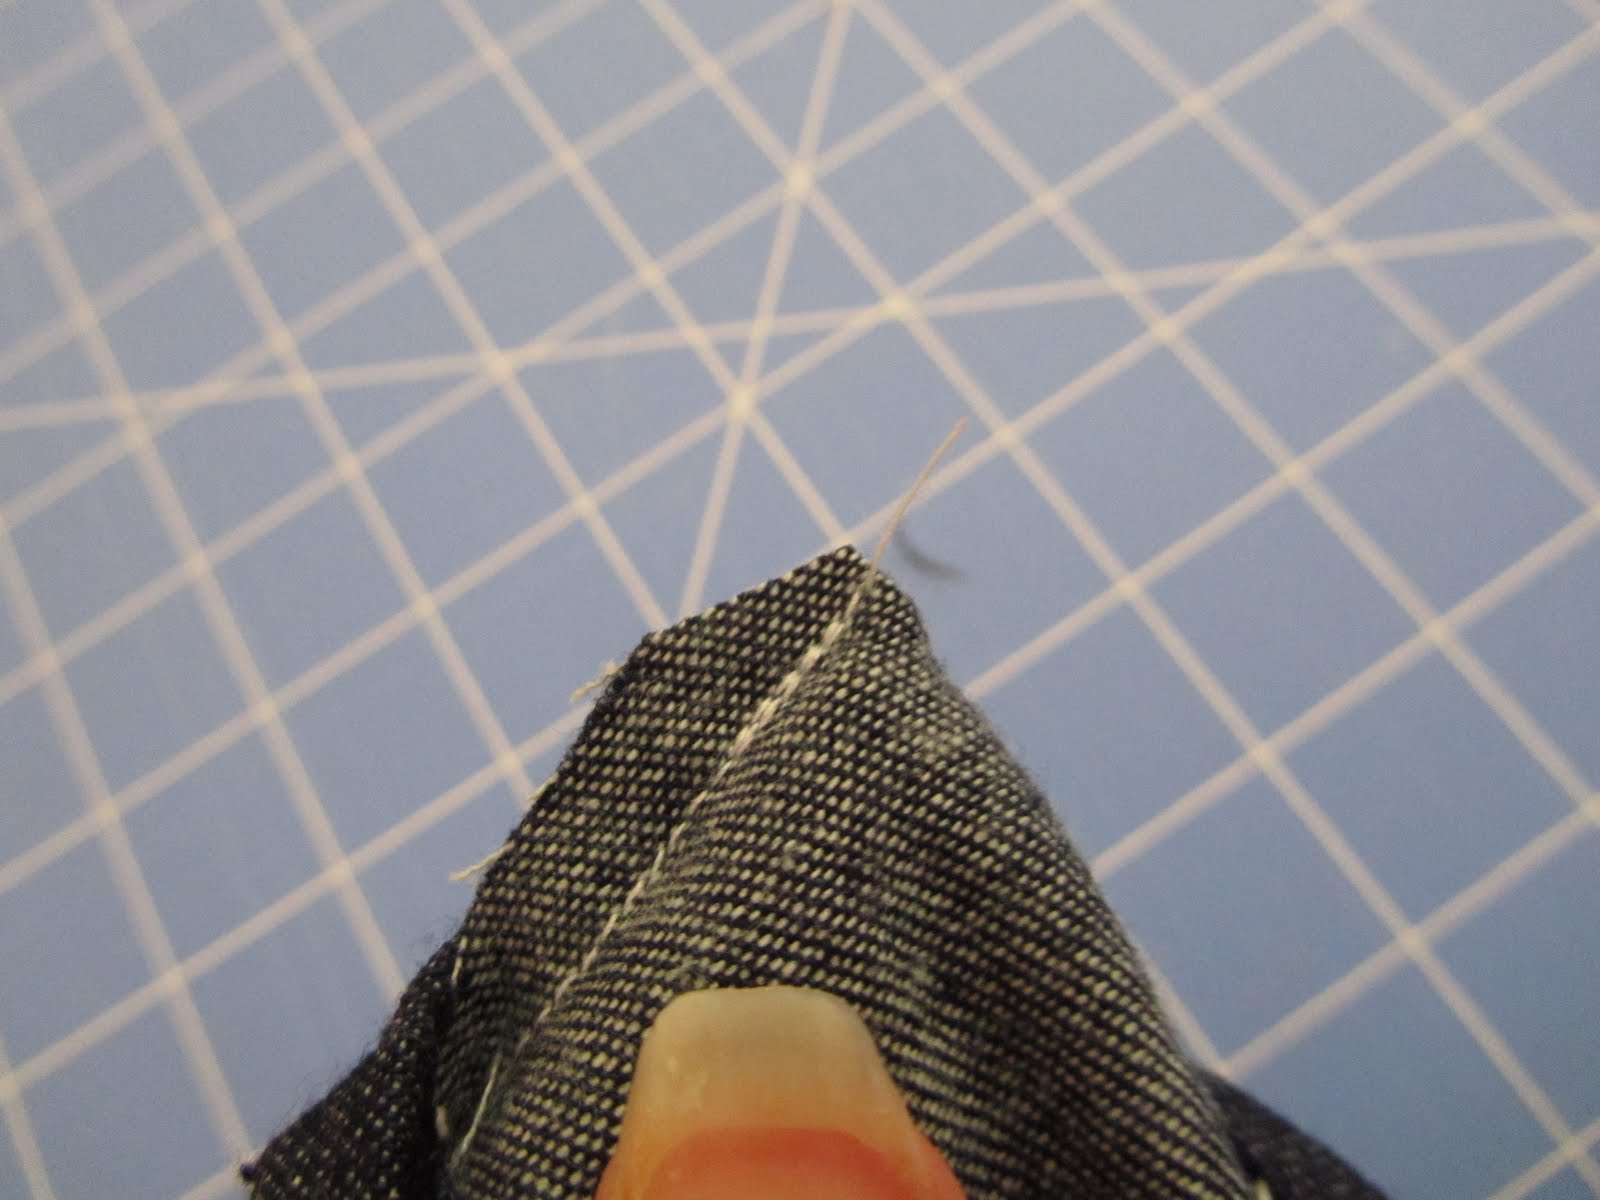
2) Match the seams of the short sides up in the center of the fabric rectangle. The lining will be on one side of the rectangle and the outside fabric on the other side. Iron. Pin. Sew both long sides leaving a three inch opening on the lining side for turning. Trim corners.


3) Take 10 1/2 x 21 inch piece of pellon and fold it around both sides of the side that will be the outside of the bag. Pin and iron on according to package directions.


4) Turn right sides out. Close turning hole with sewing machine, fabric glue or hand stitching . . . just close it.

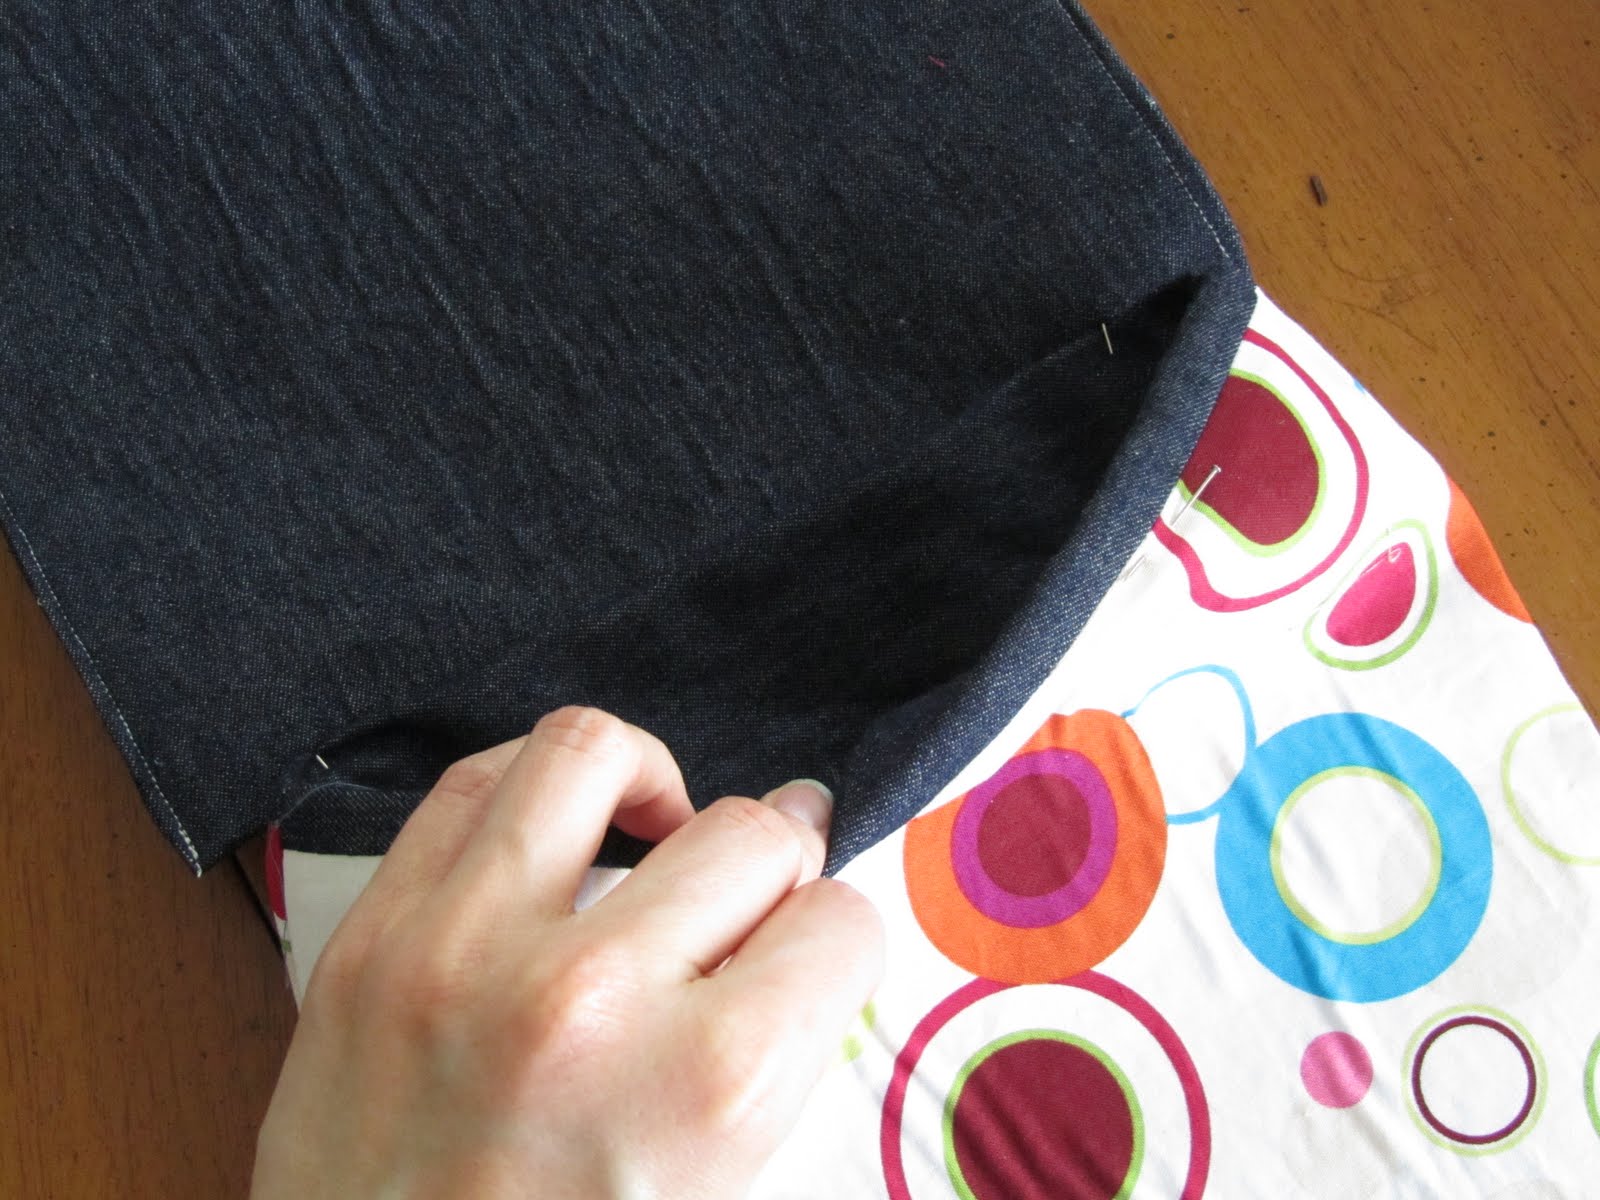
5) Push lining into the outside piece to make the bag. You have two options: 1) push lining in all the way and try to make it line up evenly so that the lining is completely hidden inside OR 2) leave a bit of the lining exposed at the top of the bag. (I chose number 2 because I got frustrated trying to keep the lining completely hidden.) Either way pin this in place. You are going to leave these pins in for the rest of the process.


6) Using a needle and thread, tack to the lining to the Pellon with a few stitches on both side seams and the bottom seam. This secures the two pieces together.
The bag part is done. Put it aside for later.
1) Sew two fabric flap pieces right sides together leaving a three inch opening for turning.

2) Iron on pellon 809 according to package directions.

3) Trip corners and turn.
4) Sew around three sides closing up turning opening as you go. (Leave the side that will be attached to the bag unsewn.)

5) Fold in edges of open side and iron. Then pin this piece on the outside of the back of the bag. You want to line the edge of this piece up at the seam where the lining meets the outer fabric. (Remember you pinned it so that the lining created an edge at the top? This flap will be sewn into place when you sew around this edge at the end.)


STRAP STEPS-
1) Fold rectangle in half right sides together to make a 2 1/2 x 30 piece, iron and pin.

2) Sew long side and one short side leaving one short side open for turning.


3) Turn right side out. Fold in open end. Iron. Sew around all four sides.


4) Pin each end in place on opposite sides of the bag.

PUTTING IT ALL TOGETHER-
1) Sew around top edge of bag joining flap and both strap sides to bag body as you go around.


3) (Obviously, if you like your bag as is, don't continue to this step. Or perhaps you don't want a pretend and play mail bag. If you just want a crossbody bag with a name or other words, go for it.) Print off letters in font and size of your choice. Cut them out and trace onto fabric.

4) Fuse fabric to one side of double-sided fusible webbing (Heat n Bond) according to package directions.

5) Cut our fabric letters. Take off backing on fusible webbing. Fuse in place on bag using package directions.


Mail bag done!

I will have on more post to finish up the Pretend and Play Mail Carrier Kit that will include links to all the tutorials to make this kit. If you make the whole kit or bits and pieces, let me know. I would love to see your creations!
Craft on!


3 comments:
Great idea! You've just received an award on my blog :) Stop by to check it out!
a.DOR.able, dahling!
Very well done! I also have tutorial issues, but it's not that I can't follow directions, it's that I WON'T. I think I am humanly incapable of just following someone else's directions. I have to leave my own stamp on it or I won't do it. I combine different ideas, sub what I have, add my own dogged determination to do it MY way, and, well... it usually works out one way or another. I think it's a side effect of being the youngest of 8 kids. :)
Post a Comment