 I'm baaack!
 Where was I? My hard drive crashed on Sunday, and I have been off the technology grid for four days. Well . . . not completely off the grid. I hopped on and off various computers at work to check e-mail and reply to a few messages from lovely blog readers, but for the most part, I felt off the grid. And I realized how much of my "life" is on this little thing called a hard drive . . . precious family pictures and videos, important work related projects, all my friends/family members e-mails/addresses/phone numbers, music, etc. I'm so thankful that a local computer guru recovered all that stuff, and put it on my brand new hard drive!
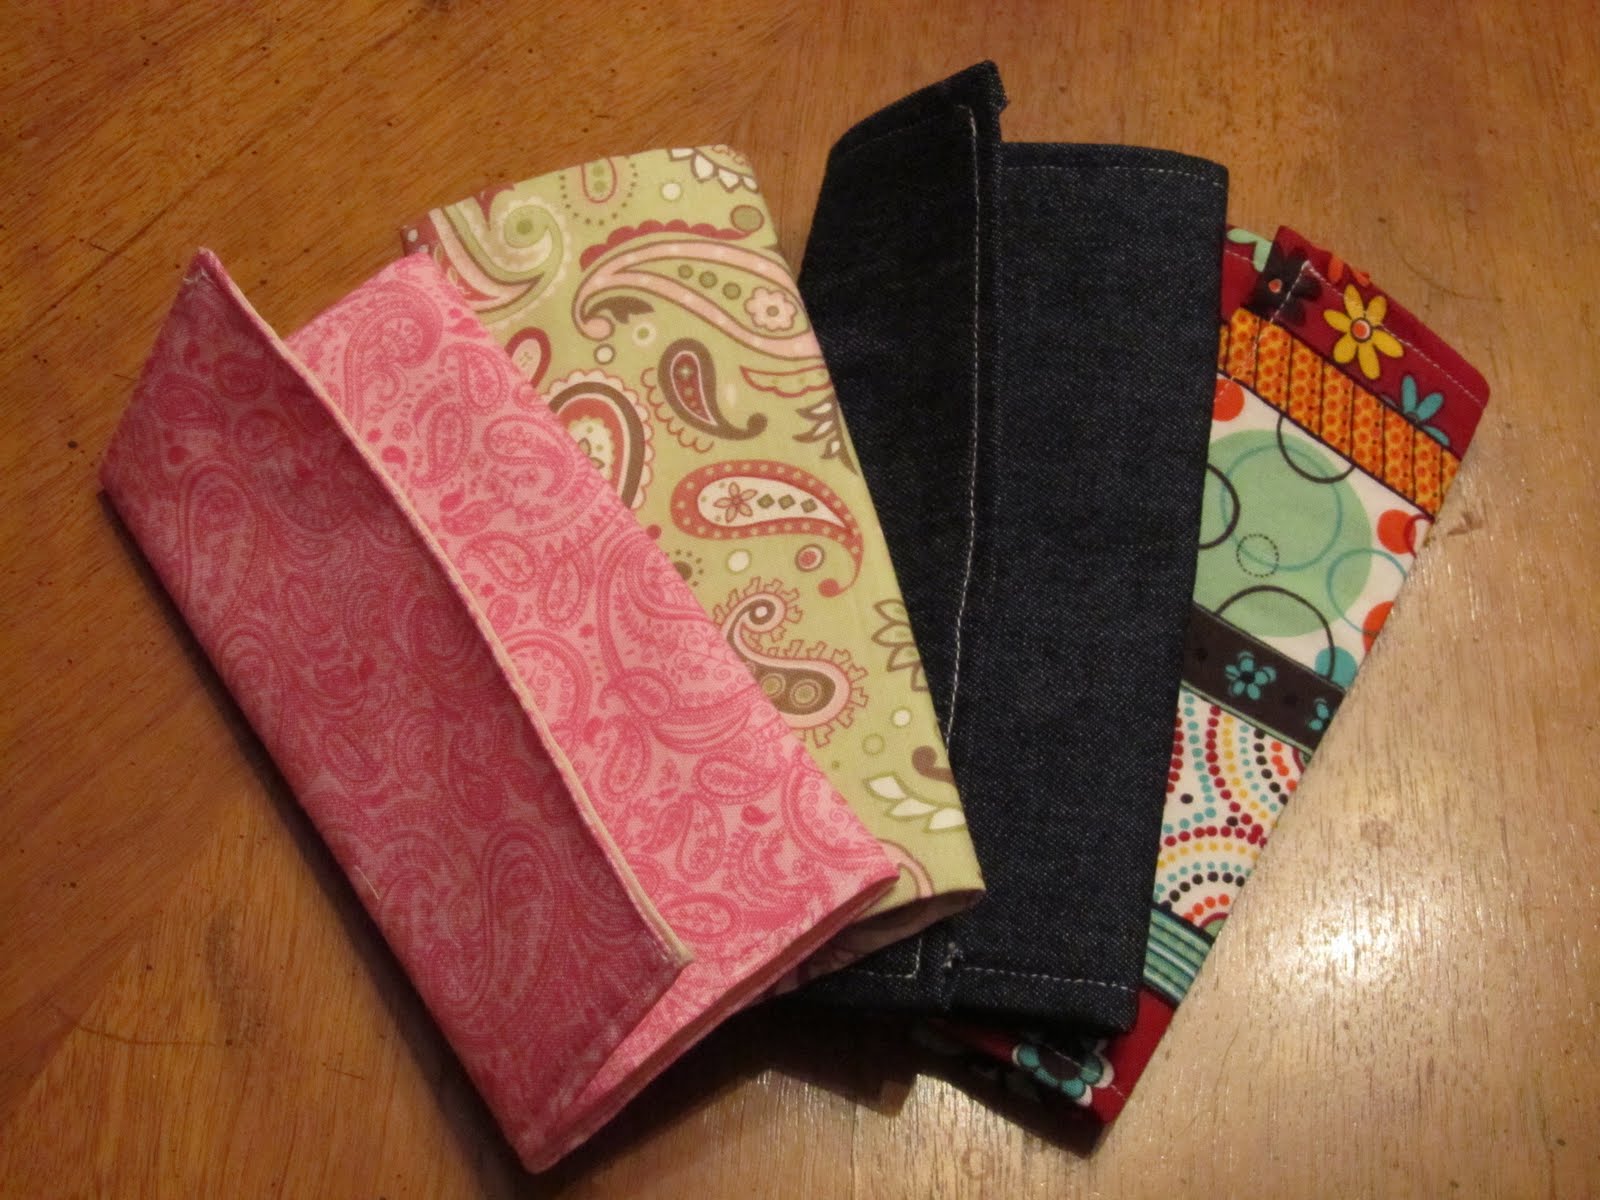
All that time I usually would have spent on the computer at night was spent crafting and working on my eighth craft till Christmas. So now I get to share my tutorial for fabric stationery. Enjoy!
1 - 6 1/2 x 8 1/2 inch piece of solid-colored light fabric
1 - 6 1/2 x 8 1/2 inch piece of flour sack or other light material that you could use as a filler1 - 8 X 10 inch piece of pattern or contrasting fabric
a roll of double-sided fabric fuse hem tape or fabric fuse sheets**

**Fusible hem tape is perfect for this project because it allows for creating spaces in the stationery for folding and makes the fabric stiff, but you may prefer to use a 6 1/2 x 8 1/2 inch sheet of fusible fabric filler make sure it has fuse on both sides.
1) Cut 8 strips of fusible hem tape about 6 1/4 inches in length. Place these strips down in parallel rows on the light colored 6 1/2 x 8 inch piece of fabric.
2) Place flour sack material on top and fuse together by ironing according to package directions.

3) Cut 2 strips of fusible hem tape 7 inches in length and 2 strips 6 1/4 inches in length place these on top of the flour sack material along the edges (in the shape of a rectangle). Obviously, it's very hard to see the white-on-white in this picture, but trust me . . . the hem tape is in the shape of a rectangle on the white flour sack material.

4) Place 8 x 10 inch piece of fabric on top of this piece. Flip over so this large piece is on the bottom and the light-colored piece is on the top. Make sure this piece is centered in the middle of the 8 x 10 piece.
5) Fuse together again according to package directions.

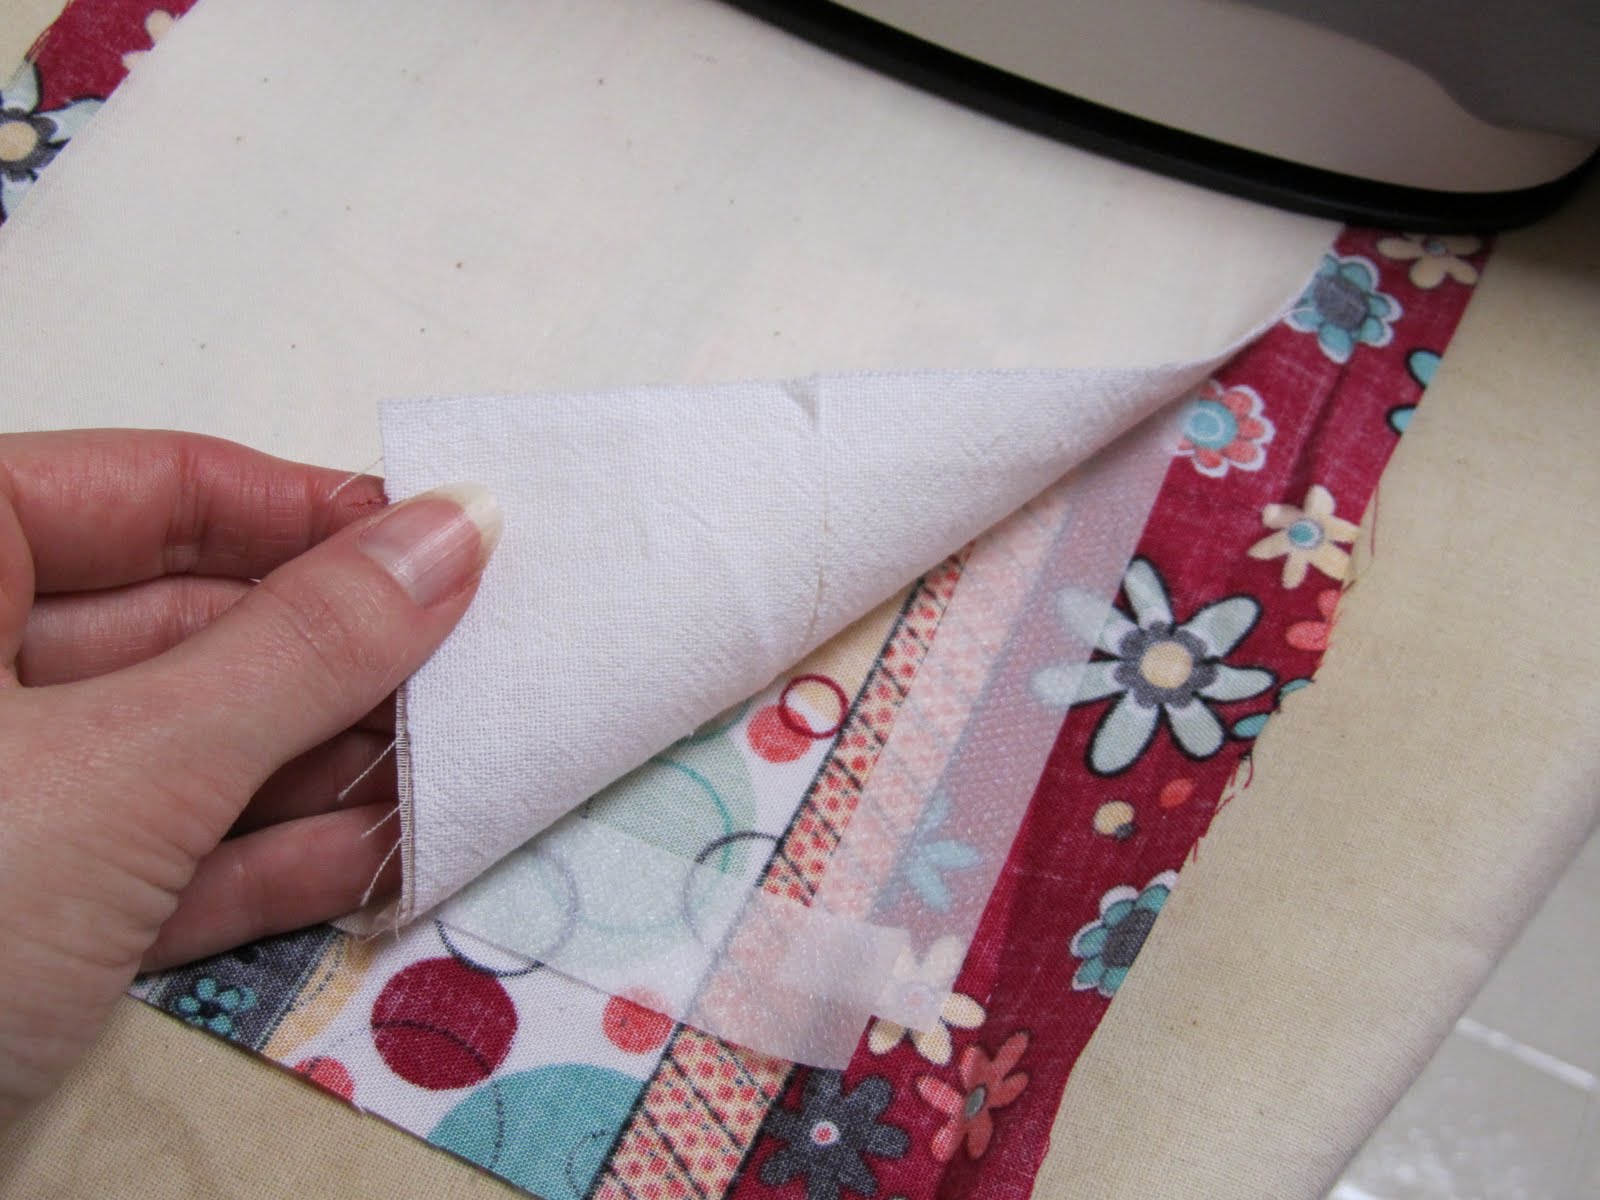
6) Now, double fold all the edge of the bigger piece of fabric and iron them in place. This step will fold in the raw edges of the bigger piece and cover up the edge of the smaller piece.


8) You may need to hand sew a small X in each corner to tack the corners down.
9) Write a message to your friend, family member or co-worker.


Fabric envelop tutorial coming soon!
Get your favorite large fabric scraps, start making your stash too and . . .
craft on!
Still to come . . . fabric envelopes, fabric postcards and a mail carrier's bag.


16 comments:
that is great!
but when I try it, I think I will only do a postcard! ;)
Papgena-
Yes, I have a postcard tutorial coming up in the next few days. It's a little different than this one. Send me a pic of yours if you get a chance!
these are so perfect to go with the mailbox!!! you could even quilt it with lines with blue thread to look like the lines on paper.
Oh no, not a hard drive crash! Hope you didn't loose too much of your life, isn't it amazing how much we depend on those little drives?
I do love the fabric letters! This would be a great gift for toddlers, especially since they all seem so focused on opening, closing, taking out, and putting back!
What a great idea! This would be perfect for special occasions!
this is a great project, who would have thought! I can't wait to try this out.
Adorbale! These would make perfect little gifts too! Great tutorial! Thanks so much for joining the Sunday Showcase! I greatly appreciate it. Hope you have a wonderful week! ~Stephanie Lynn
Cute idea!
what a great idea!
this could have a neat eco-twist if one used markers that washed out totally. it's so small that one could toss it in the wash and not use extra water/hydro and then it could be used over and over! saving trees :-)
It's me again! Thanks for linking up all your awesome mailing creation ideas with PonyTails and Fish Scales! I love your craftiness!
What a great idea!
Fun idea!! Thanks for linking @Creative Itch's "Sew Cute Tuesday"!
oh my goodness...I'm going to have to do these for notes to the grandparents from the kids - they keep EVERYTHING we make and this would make it so much more special. GREAT idea! -diane
http://sweeteuropeandreams.blogspot.com
You are too creative! : ) I love all your fabic stationary! :)
I can't wait to try to make this. I really need to learn to use my sewing machine and this seems like something I could do. Plus, I love stationary.
I was thinking of doing this for the hubby. Silly I know. But I thought it would be fun to have a place to put love letters in. Anyways do they wash? Are there washable markers that you can use on that?
Post a Comment