Today is the first official day of fall in North America.
So . . . naturally, I made a winter wreath.
What?
I know . . . I'm just a tad bit ahead of the calendar.
I tired and tried and tried to get into the fall crafting mood. Every single blog that I follow is full of festive fall crafts - painted pumpkins, Mod Podge leaves, corn husk wreaths . . . I could go on and on. Inspiration is everywhere . . . for fall, but I just couldn't do it.
Then I received this little package of bamboo felt from National Nonwovens treasures from my blog-friend Sandi over at A Legacy of Stitches. . .

. . . and my mind went instantly to winter. I have lots of plans for these beauties. Here's my first one.
Let It Snow Wreath

Here's what you need:
-felt . . . I used bamboo felt. I love the look and feel of it - so soft.
-cardboard or a wreath form . . . I'm cheap, so I use cardboard.
-glue . . . You could use any kind. I used Gorilla Glue because I had it on hand.
-invisible thread
-a snowflake stencil or clip art cut out
-ribbon
Here's what you do:
1) Cut out several circles of the same size from cardboard and glue them together with Gorilla Glue or other glue. Use as many layers as you like for thickness.


2) Cut the felt you are using to cover the cardboard wreath form into strips that are 1 1/2 inches wide and long enough to wrap around your cardboard form.

3) Wrap felt pieces around cardboard form. Do not glue the first piece very securely yet because you are going to have to tuck the very last felt strip underneath this one. Glue them on the back using Gorilla Glue. Layer each piece over the previous piece as you go around the form.


4) Wiggle the last felt piece underneath the first one to completely cover the cardboard.


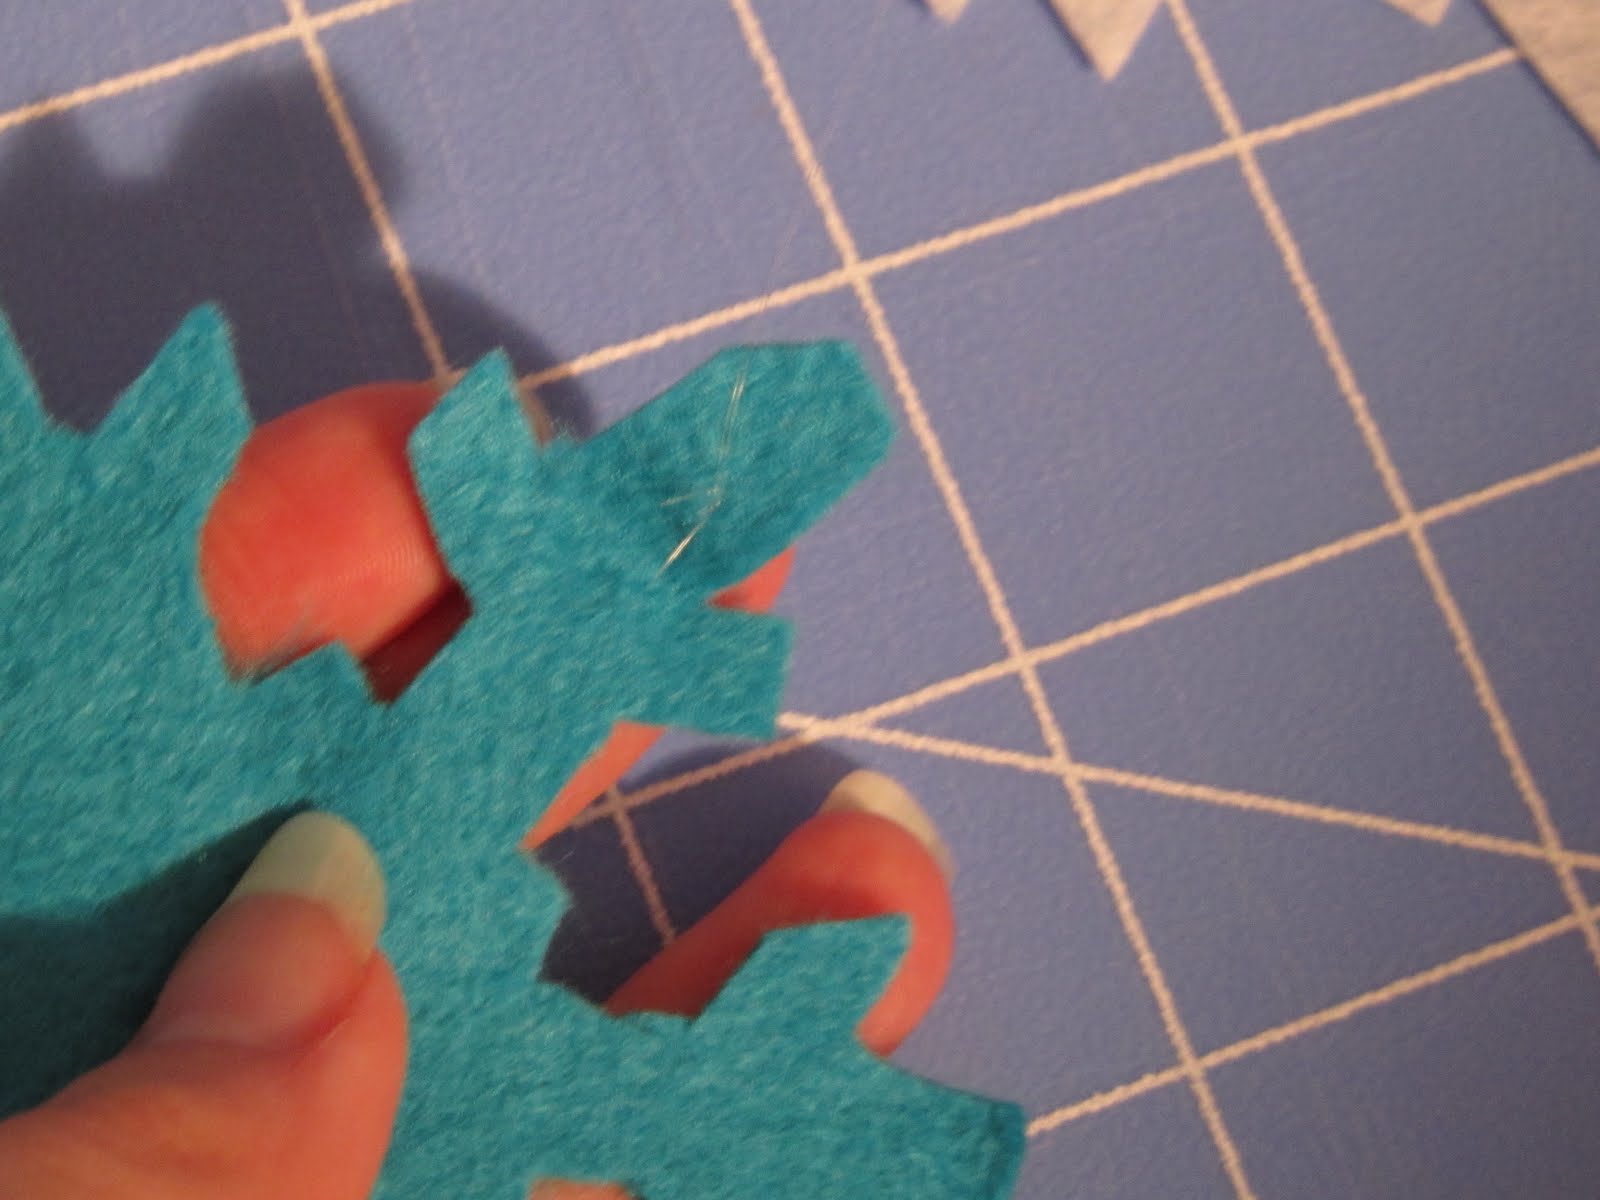
5) Use snowflake stencil or clip art cut out to trace and cut out as many snowflakes as you like. I used three blue and two white.

6) Use needle and invisible thread to attach the snowflake to the back of the wreath at varying lengths.


8) Slide ribbon under wreath and glue together overlapping ends. I had the most perfect snowflake ribbon from Michael's for this project.


9) Hang up . . . of course, you may actually want to wait for winter. ;)

Craft on!
Check out the great parties I may link to by clicking on the blog name below or visiting my "I like to party" page that shows off all the party buttons. These gals go to a lot of work to host these parties. If you particpate in parties please take time to look through a variety of the projects linked up. They are a great source of inspiration!
Weekend - a little lovely, Craft Envy, Under the Table and Dreaming, Be Different Act Normal, A Vision to Remember, 504 Main - Tickled Pink, Funky Junk Interiors, Tatertots and Jello, I heart naptime
Monday - Keeping it Simple, Craft-O-Maniac, The Girl Creative, The Trendy Treehouse, CRAFT, Making the World Cuter, Mad in Crafts, Sumo's Sweet Stuff, Between Naps on the Porch, Tools Are For Women, It's So Very Cheri, Skip to My Lou, Sew Can Do, Polly Want a Crafter, Texas Monkey
Tuesday - All Thingz Related, Sugar Bee, New Nostalgia, Creative Itch, Lucky Star Lane, Hope Studios, These Creative Juices, My Delicious Ambiguity, Today's Creative Blog-Get Your Craft On!,
Wednesday - It's So Very Cheri, Beyond the Picket Fence, Blue Cricket Design, Trendy Treehouse, Tea Rose Home, Someday Crafts, My Backyard Eden, Sew Much Ado, Night Owl Crafting
Thursday - Fireflies and Jellybeans, Life As Lori, House of Hepworths, Somewhat Simple, Seven Thirty Three, The Train to Crazy, PonyTails and FishScales
Friday - The Sabby Nest, A Little Knick Knack, Fingerprints on the Fridge, It's Fun to Craft!, It's a Hodgepodge Life, Kojo Designs, Simply Sweet Home, Frou Frou Decor, Remodelaholic, Momma's Kinda Crafty


