Showing posts with label soda can jewelry. Show all posts

Monday, July 12, 2010

more soda can jewelry? ugh!

**I'm starting to sound like a broken record, but go here to enter a super sweet giveaway. 
You won't be disappointed!**

Right now you are thinking, "ENOUGH ALREADY WITH THE SODA CAN JEWELRY!"  I know . . . I know . . . It's getting to be a bit much - even for me.  Pretty soon I'm going to have to start a twelve step program for people who are addicted to making various types of jewelry out of soda cans . . . I have a feeling it's going to be a pretty small group.  Weekly attendance = 1. 

Here's the rundown of my addiction:
1) Fabric Scraps + Soda Can + Modge Podge + Sewing Machine = Bracelet/Anklet
2) Fabric Scraps + Soda Can + Hot Glue Gun/Jewelry Glue = Ring
3) Ribbon + Soda Can + Sewing Machine =  Accordion-esque Bracelet/Anklet

This next (and hopefully last) version is by request. 


See that bangle on the right-hand side of the picture that is blue and silver.  It was in a picture on my last soda can tutorial, and the only explanation I gave for making it was apparently unclear, "If you don't know how to sew, use Modge Podge and sandwich soda can strips in between ribbon."

Thanks Katie for pointing out the complete inadequacy of that sentence!  After I reread it, I didn't even know what I was talking about, so don't feel bad.  Katie wrote me asking for clearer directions for those in the crafting world who are not on friendly terms with a sewing machine or don't want to use their sewing machines to sew through aluminum cans. 

So here's a super easy, quick and much clearer description of how to do that.

By now you know what you need:
-soda cans
-ribbon
-Modge Podge
-jewelry glue or metal glue or super glue or . . . Well, you get the point.


Now, here's what you do:
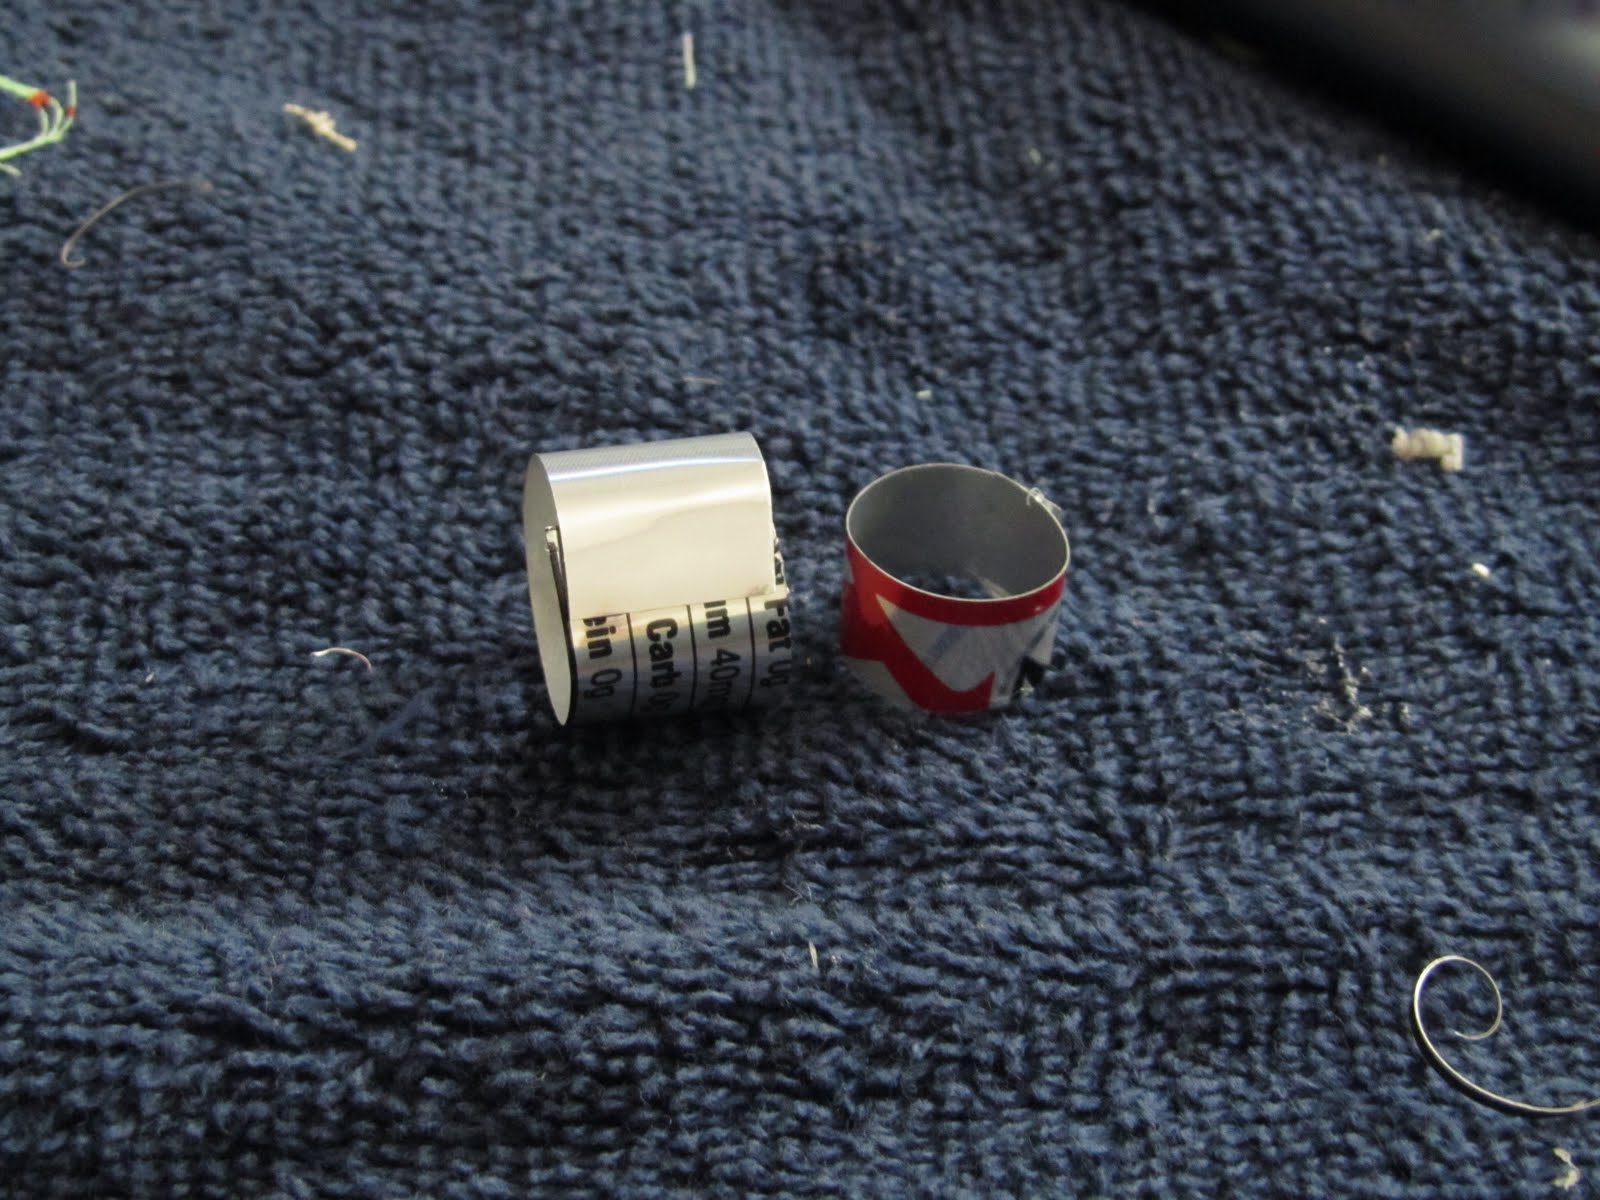
1)  Cut two strips from you soda can that are equal in width but also smaller in width than the ribbon you are using.

2)  Fuse these together (one on top of the other) with your choice of glue.  Let dry while you move onto the next step.

3)  Wrap ribbon around remaining part of can for measurement.  You will want to wrap it around the can and cut ribbon about 1/2 inch longer.  You need two ribbons cut to the exact same size.

4)  Now paint Modge Podge all over the outside of the can strip and wrap ribbon around on top of strip making sure that there is an equal amount of excess ribbon on each end of can.  You will need this excess later to overlap and fasten bangle  (By the way, this is about to get super messy!) 

5)  Cover the inside of the can strip with Modge Podge and place other ribbon inside can to cover Modge Podge.  Now, let this dry.  (I held the whole thing together with clothes pins so I could actually have a life while this was drying.) 

6)  Now, slather (oooo . . . I love that word!) on the Modge Podge over ribbons - both on outer and inner ribbon.  Let dry.  I hung it over a thin metal hanger and carefully repositioned it every so often so the metal hanger wouldn't end up glued to the bangle.  (Not a good idea to use clothes pins for this part unless you want to end up with a bracelet that has clothes pins attached to it.)  It dries clear.

7) You could leave it just like this if you want . . . if that's how you roll, skip down to the next step.  If you would rather add something to it, take thinner ribbon, use Modge Podge or fabric glue to glue it around the center of the bigger ribbon.  (Or get creative and do whatever you want.)  Then Modge Podge over the new ribbon and let dry.

8)  Size bangle by checking to see how big you need it so that it will slide on and off over your hand.  Then use fabric glue or Modge Podge to join one end on top of the other hand at the appropriate size.  Hold together with clothes pin while it dries.

9)  I also used Modge Podge to attach two other ribbon details - one of them covers the place where the can was joined together.

Done!
 **The one with lime green/brown striped ribbon is made in a similar way.  The one with the orange ruffle is also made in a similar way except I did do some sewing to make and attach the orange ruffle before I Modge Podged the ribbon on to the can.

Please don't hate me for my addiction to soda can jewelry.  I will try my best to make this the last soda can jewelry tutorial! 

Craft on!

Friday, July 2, 2010

accordion-style ribbon bracelet

This week I had one of those pinch-me-I'm-dreaming moments.  I had the opportunity to guest post on Tatertots and Jello!  I was filled with excitement and absolute panic . . . terror actually!  Tatertots and Jello is a blog I've been in awe of for quite sometime.  Jen, the blog's mastermind, is so wonderful kind and amazingly creative, so I have to admit that my brain completely froze in the anticipation of guest posting.  Usually my mind is swimming with crafty ideas.  I toss and turn in bed almost every night trying to make myself stop thinking about all the things I want to try to make, but the minute I found out I would be guest posting on TT & J, my mind was a COMPLETE BLANK!!!!!!  What a nightmare!


I FINALLY came up with this little idea . . .


The Soda Can Accordion-esque Ribbon Bracelet


As you know, if you've been around here for a while, I went through a small obsession with recycled cans during Fireflies and Jellybeans first Iron Crafter Challenge. 


(Here's my soda can fabric scrap bracelet and ring.) 

I led you to believe I was over my obsession with cans.  To be honest, it wasn't true.  I'm still as obsessed as I was a few weeks ago.  I just took my obsession underground - hiding it in my non-bloggy world.  Well, go dig out those soda cans ladies (and gents?) because here's another soda can bracelet to add to your personal or gift-giving jewelry collection. 

This is a basic version, but the possibilities are endless.  Just experiment with ribbon lengths and widths, ribbon colors, layering ribbon, etc.  If you don't know how to sew, use Modge Podge and sandwich soda can strips in between ribbon like the green and brown one below. 
Go check out the tutorial at Tatertots and Jello, be inspired to make your own and . . .

Craft on! 

make it wear it


Monday, June 7, 2010

matching soda can ring tutorial

Before we get to the tutorial on soda can rings, remember to head on over to Fireflies and Jellybeans to vote for the Iron Crafter Challenge.  They happened to pick my soda can jewelry for the top ten final vote.  If you like my soda can jewelry, head on over there and vote.  As a little blog in a sea of bigger blogs, every reader that votes counts.  Of course, it goes without saying that if you think another project fits the criteria better (originality, presentation, and use of the secret ingredient), you should totally vote for it.  I did just say it though, so I guess it doesn't exactly go without saying.  :)

Okay, I said I would post this tutorial a week ago, so let's get to it. These soda rings go great with soda can bangles and anklets.  Go back to that post to check out the tutorial and make your own.  (And feel free to stop by Fireflies and Jellybeans on your way out to vote for the Iron Crafter.) 

Go to your recycle bin and your scrap pile and grab:
-a soda can
-coordinating or contrasting scraps


You will also need:
-Modge Podge and paintbrush
-a hot glue gun
-scissors

1) Cut a thin strip from your soda can. (This is way easier than you might think. Poke your scissors into the can and cut around the can.) Once you have the strip cut, cut off any jagged edges.

2) Wrap the can strip around your finger to size it. Make sure you cut the strip so about 1/4 of an inch overlaps.

3) Use your hot glue to form the ring by gluing the overlap. Hold tightly at this spot until glue cools a bit.

4) Cut strips of fabric scraps long enough to wrap around the soda can and overlap on the inside. You will want to use fairly thin strip of fabric - not varied widths like with the bangles and anklets.

5) Use Modge Podge and paint brush to affix fabric to can. With each strip added, paint the Modge Podge on before you wrap the fabric strip on AND paint the Modge Podge over the fabric strip. Keep adding strips this way all the way around covering up the overlapping section. Try to line up the inside overlap seam. Don't worry about the white, gluey Modge Podge look. It will dry clear.

6) Add one more coat of Modge Podge. Let dry.

7) (Optional) Use hot glue gun to add a button on the top of the ring. I didn't show this in the picture, but it's something I did on other rings.  (I didn't take a picture yet and blogger has been given me a little trouble so I just want to get this done while I still can tonight.)  I made the ring band narrower and added a button on top. I think this is super cute!

Here's a set - bracelet, anklet and ring.

Enjoy your new jewelry and . . .

craft on!
Related Posts with Thumbnails